
Here we go again! I can not get enough maternity/maxi dresses. I love a maternity/nursing maxi dress especially in the summer because I don’t have to worry about shaving!!! When I’m super pregnant I cant do it comfortably (or safely for that matter!) and after baby arrives, well, who has time for shaving?! Plus these are great for C-sections since its loose around the tummy area…. Have I convinced you yet??

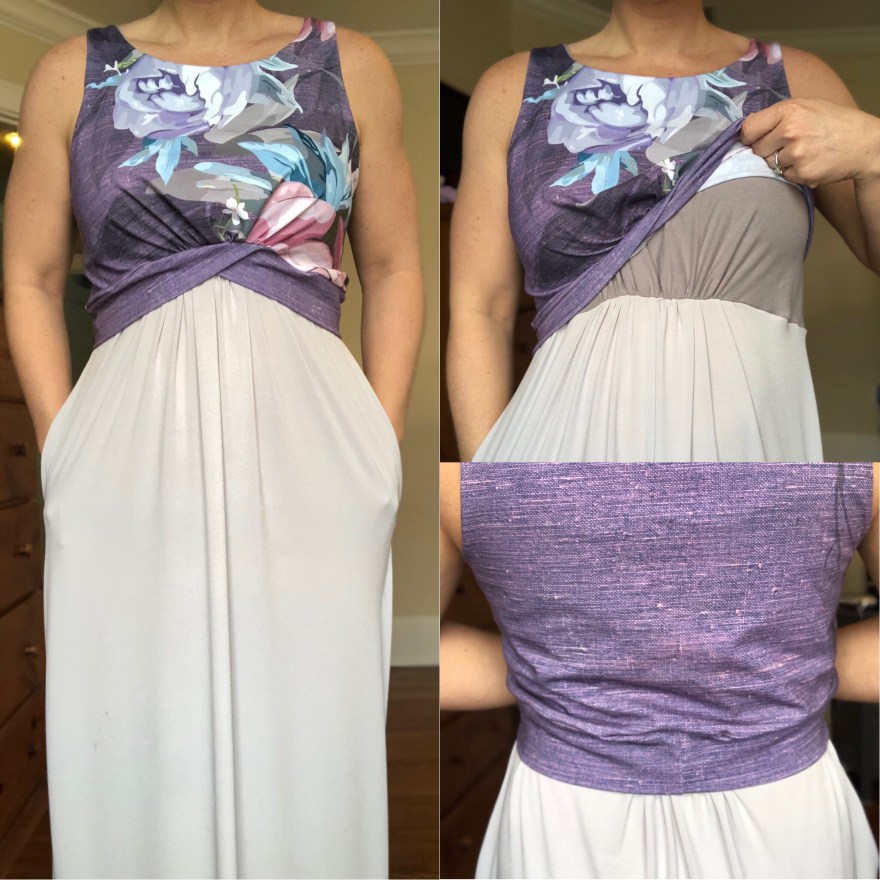
This time I wanted to try the Picnic Dress from George and Ginger is only $5. Hurray for an awesome (and hackable) pattern thats only $5!!!! I love the gathering in the center, its SO figure flatting (true Kristi drafting). I made several hacks to this pattern to get the style/fit I was looking for. I added more gathering in the front skirt (more room for baby), pockets (because I always need pockets), I extended the length of the skirt to a maxi, and a lift up front bodice for nursing access after baby arrives.
First is always fabric talk… The top bodice is CL (cotton lycra) from Blended Thread Fabrics. I just LOVE the textured look to her prints. The skirt is ITY (read my previous blogs about why its my favorite for maxi dresses) from Fabric Mart. I have to say its a bit of a thinner ITY. I do like light weight ITY but the ones I have gotten from the facebook group LDG Show Room have been slightly better quality in my opinion.
So, lets get hacking! I cut two bodice pieces (a purple floral outer and a grey lining). I did not adjust anything here (besides sizing up since I expect to be getting bigger as the pregnancy progresses).
The pattern is written with neck and arm bands. You can totally follow the pattern for these, I decided to not have these and attach my lining and main fabrics. I sewed my should seams together. Then I put right sides together of the main and lining and sewed the neck opening. Then I used the burrito roll method for doing the armcye. I didn’t post pics of this since watching a video is WAY easier. I found this one on UTUBE to be helpful, but you can search for others to help you too.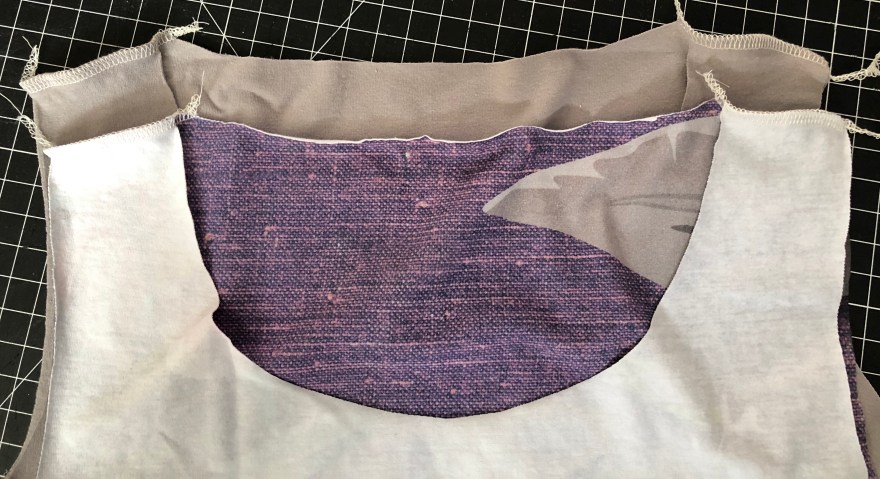


Then matched the right sides together for each of the side seams (the main should match up with the other main and lining with the other lining). Sew these together. This will keep the front bodice separate from your lining for easy lift up access.

Attach the band according to the directions – but only attach it to the main outer fabric – not the lining!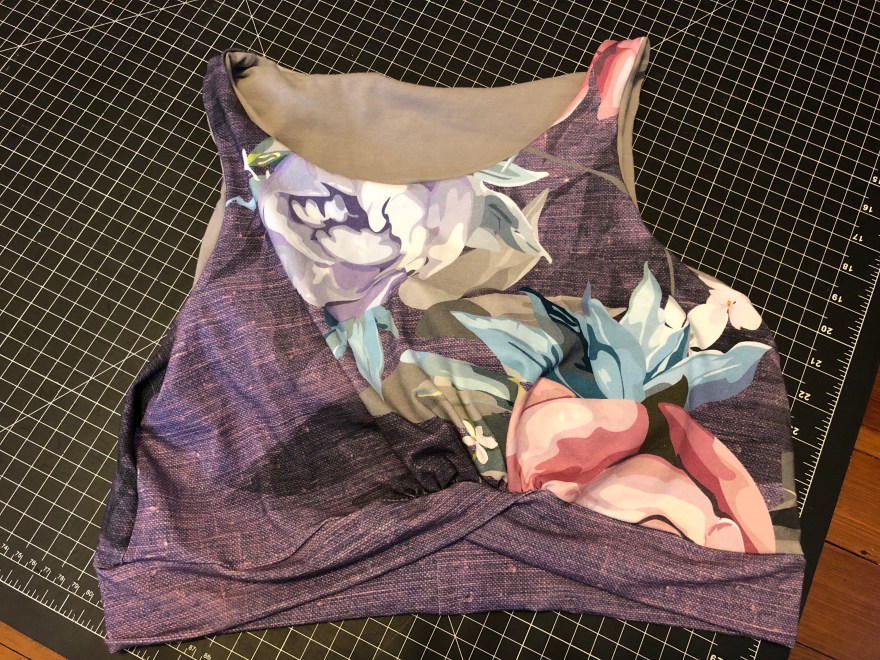
Next the skirt… I used butcher paper to extend my pattern to maxi length. (If you don’t have butcher paper get some now! Its very affordable to use for tracing multiple sizes of the same pattern or hacking patterns. Its also great if you have a kid that loves to hang out with you while you sew. I keep coloring tools in my sewing room for my little girl to play with on the butcher paper while I do my thing). I extended mine to 43 inches. You may want to do your more or less depending on your height. I’m 5″5′ but wanted it a little longer in front since The Bump will pull it up as it grows.
I cut my back skirt according to the pattern. I placed my pattern about 1.5 inches away from the fold when cutting my front skirt so that I could add a bit more Bump room in the front.
Next I did pockets. I used an inseam pocket piece I had from another pattern. I found this tutorial and pattern piece from Pinterest that may be helpful for you if you don’t have another pattern with an inseam pocket piece you like. I placed my pockets 2 inches from the top of the skirt.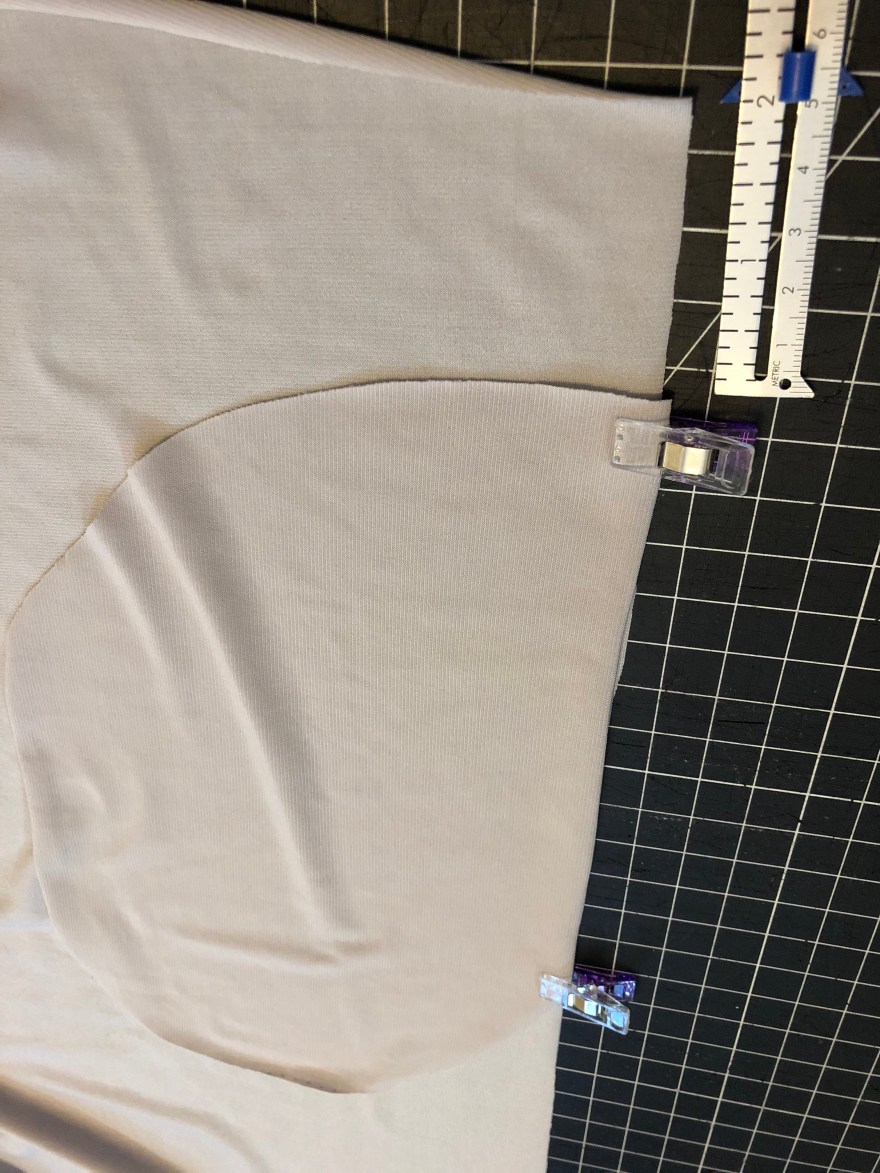
Sew your skirt piece and attach it to the bodice according to the directions – but only attach it to the lining of your bodice! Lift up your outer main fabric and attach your skirt piece wrong side out to the lining.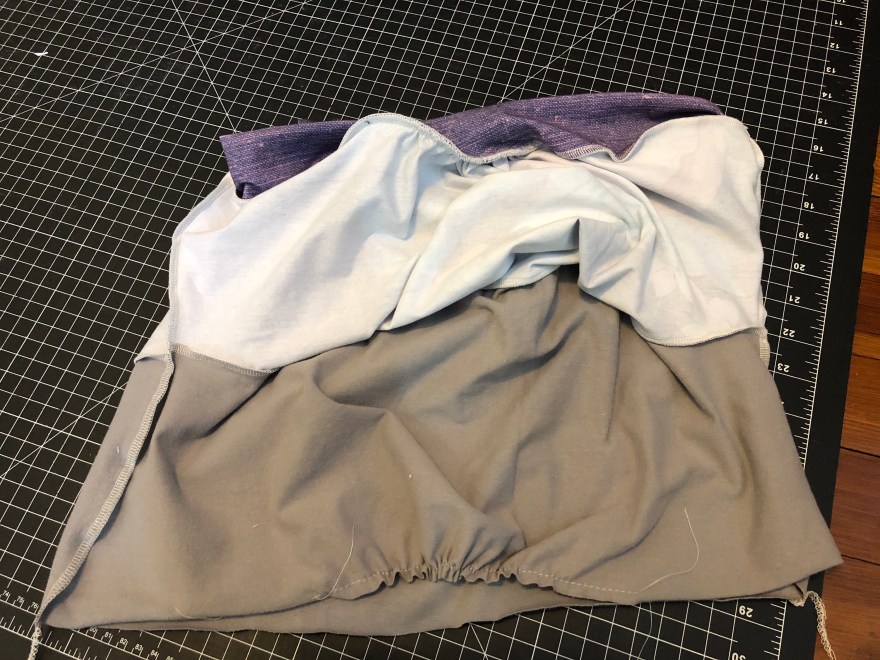

When sewing the skirt and bodice together add clear elastic to the front side only. This will help to stabilize your gathers, which will be especially important after you cut your nursing slits. (seriously, this clear elastic is the best, its on a spool so it makes it SO much easier to use and the quality – and price!- are unbeatable).
When baby makes it earth side I will cut slits going up and down towards to outside edge of the lining for easy nursing access.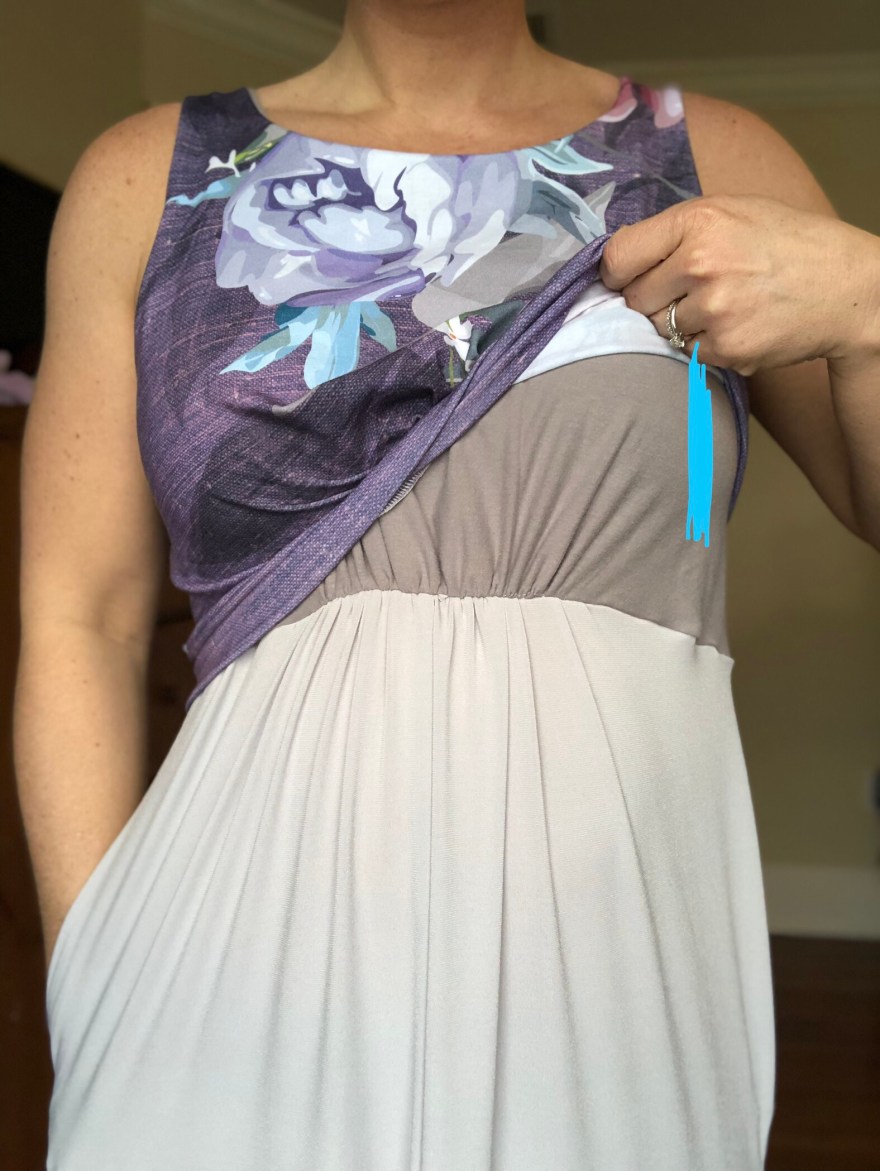
And your done!!! Enjoy the comfy, practical, and stylish new outfit you made yourself!
For other maternity/nursing maxi dress hacks (there are many!) see my other posts on using the Boundless, Daydream, and Pencil Skirt & Knotted Tee. There are still several more coming so don’t forget to sign up with your email at the bottom of this page so you get notified when the Maternity/Nursing hacks get posted!!!

Love this so much. Will definitely be making myself this dress. Curious if you cut the nursing holes yet, and how you finished them?
LikeLike