
Well this post started when I was in the Third Trimester… and not its taken until almost the end of the Fourth Trimester (yes the Bump is now a Baby) for me to finish #momminghard for REAL! The robes I have made have now been thoroughly tested so I’ll add my reviews as we go along. But the overall verdict is THEY ROCK!!! And I don’t regret making 3 (YES 3!!!) because they ALL get loads of use (spit ups, leaking, #momming) means I change often…. very often.
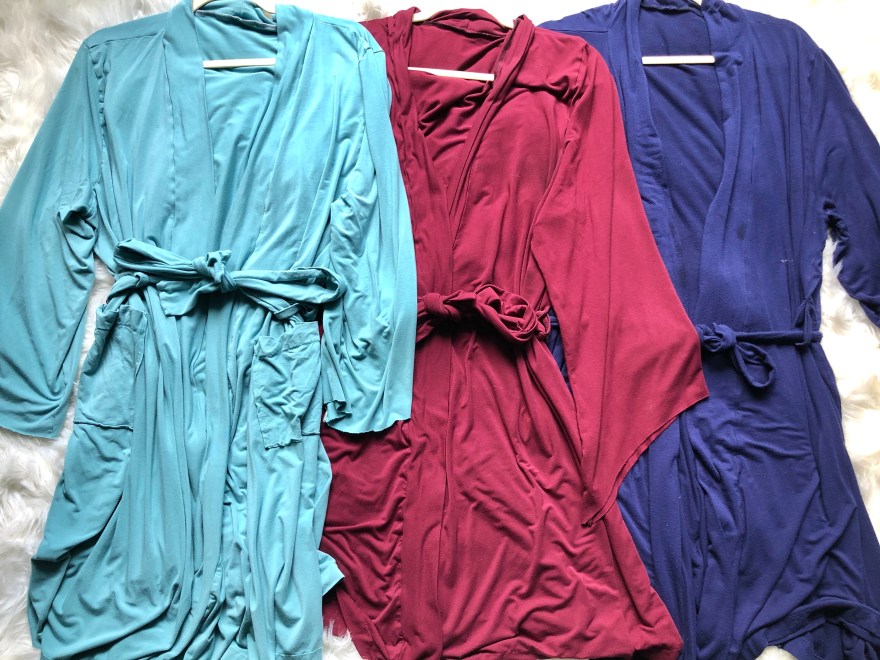
I have to start with fabric choice… always… hands down bamboo wins. But not all bamboo is the same. These are bamboo from three different shops and each one feels a little different. The seafoam is from Run Amok Fabrics and is the thickest and has held up amazingly (but this particular color does show any kind of dirtiness, not that I like staying dirty but sometimes it takes a while before I get a chance to change, even if its throwing on/off a robe). The navy is from Sincerely Rylee and is the thinest, it has also started to pill but is super soft bamboo. The maroon is from Mily Mae Fabrics and is a nice weight and has held up excellently (no pilling).
Bonus: I like to order 3 yards (this how much I needed for the robe) and I had a little bit leftover which was perfect to make a matching pair of FREE (code found in their facebook group) sleep shorts by Halla. Paired with a RTW (Ready to Wear) nursing tank top and I have my house uniform for the 4th Trimester.
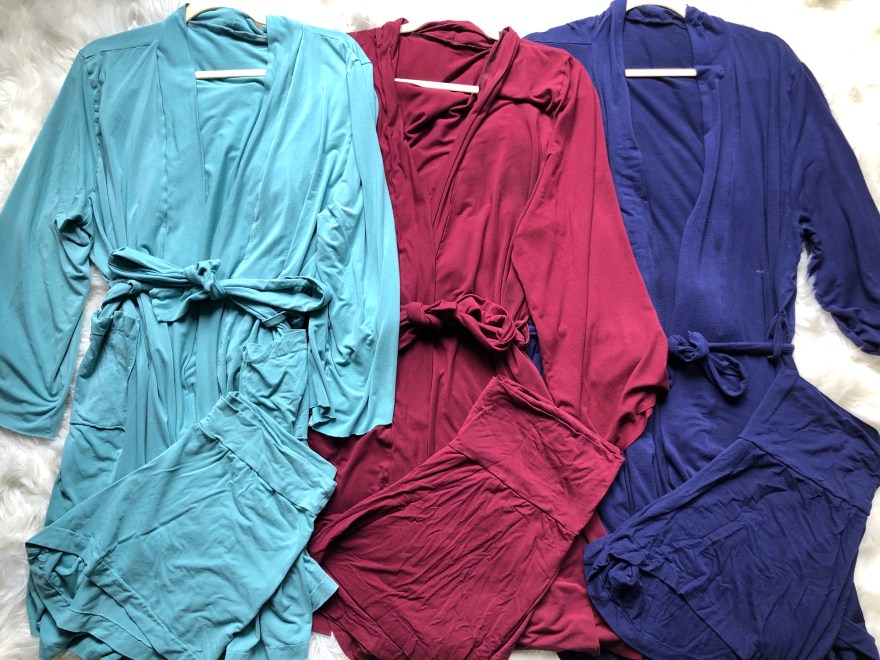
I made the robes according to the FREE Grab and Go Grab (found in the Facebook group files of Rad Patterns). My favorite version was the straight cut sleeves long length. The maroon has the angled as you can see. I also added a few finishing touches that were not detailed in the pattern (but who can complain when its a free pattern).
First was adding in side loops to hold the sash in place. I cut mine about 6″ long by 2″ wide. Fold in half the long way so right sides are together, then sew. Turn right side out so it should look like this.
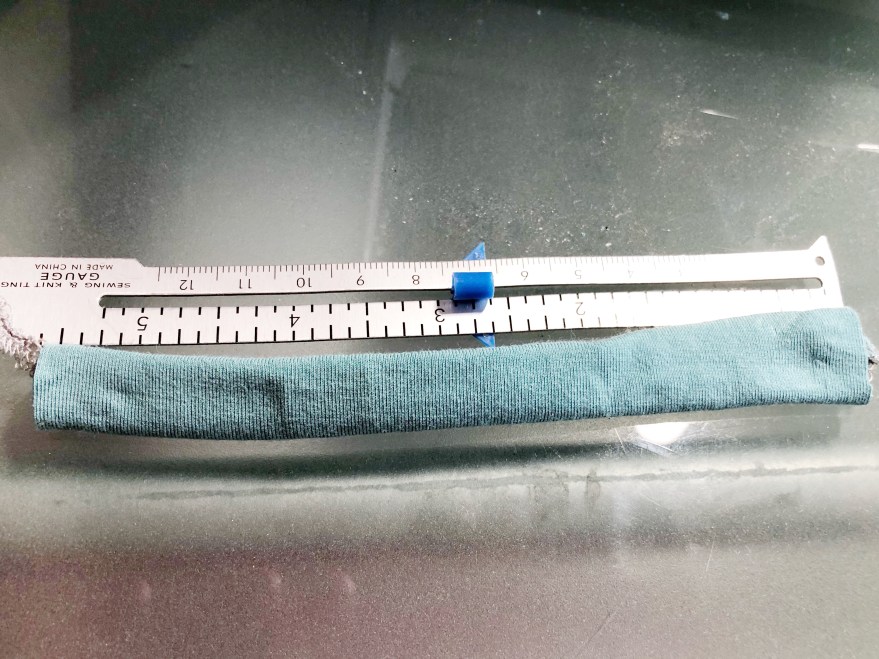
Then fold it in half place it in between your front and back piece with the raw ends coming out a bit, about 6″ down from the armcye that way it will go sewn right into the side and be a nice holder for your sash.

The next item that I couldn’t find guidance for in the directions was the pocket placement. This is totally personal preference but I thought it noteworthy to give a starting point of where I like mine. After the sides are sewn on the robe I like to add the pocket. I line it up with the side seam and place the top of the pocket about 1.5″ down from the sash holder loop. And yes I leave my pocket sides raw like this, I kind of like the raw look when it rolls up and since its just a robe it makes it a little quicker sew.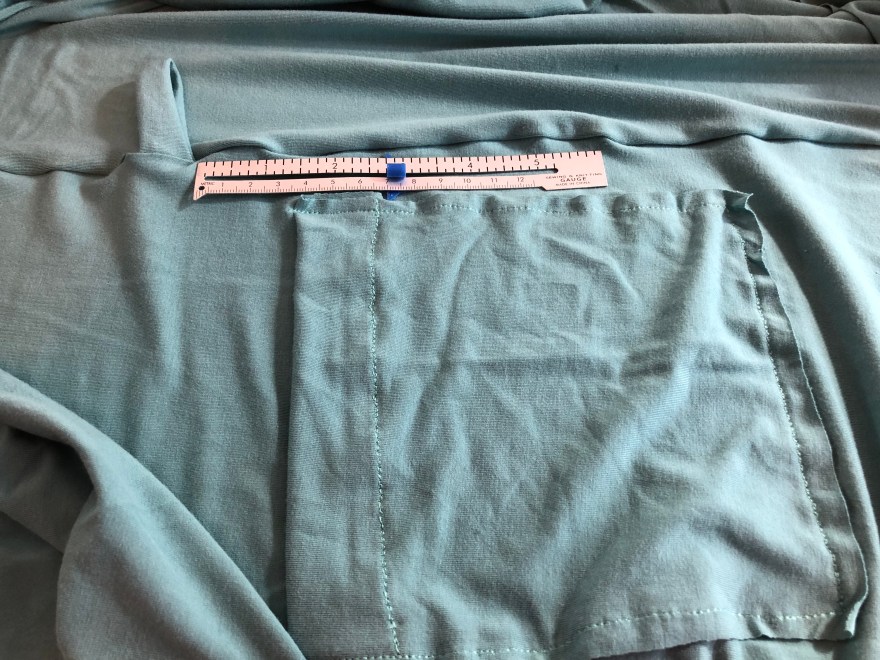
Now the sash, I used the band as the marker for the width and I made mine the length of the fabric which ended up being about 60-70″. Start by sewing the short ends. Fold right sides together and sew each end (not together).
Then sew the length of the sash, but leave a small turning hole somewhere in the middle. Like this: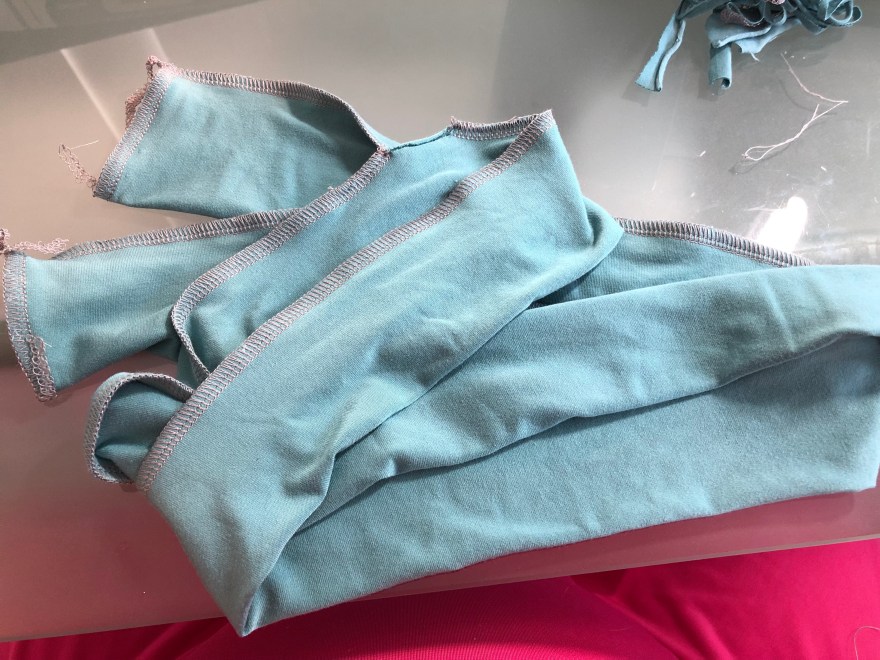
Turn right side out and top stitch your turning hole shut. TRUTH: I have not top stitched mine shut but it hasn’t shown or been noticeable so if your strapped on time because #momming then you can just tuck your serger tails in like me and leave it.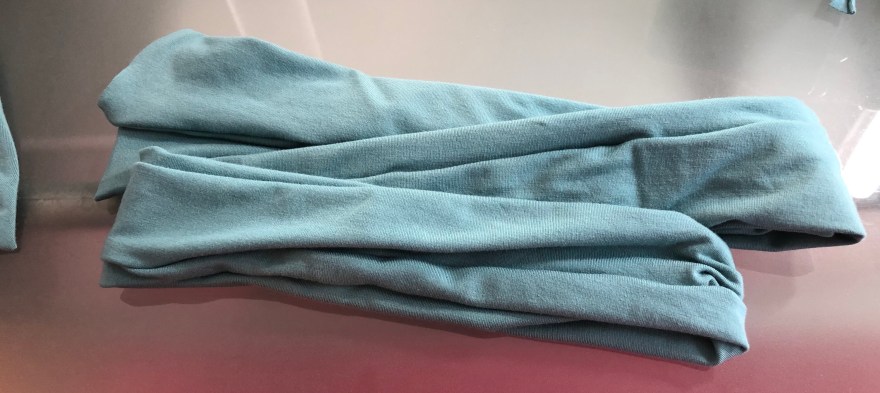
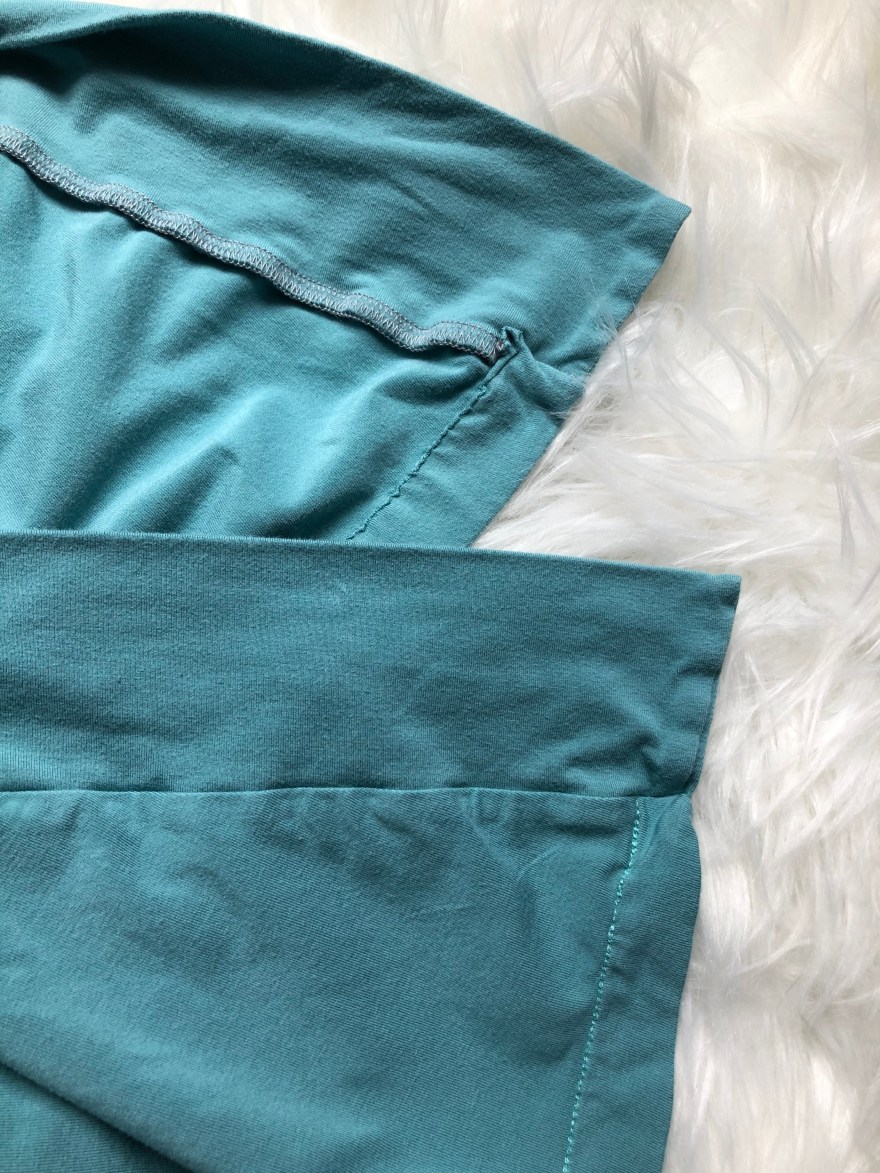
Last is a polishing critique of the bottom hem. when adding the band to the robe I like to sew the bottom shut (so fold in half with right sides together). Like this:

Then push the bottom corner right side out and attach to the robe.
Leave about 1″

Then you can fold up the bottom (thats why you kept the band about 1″ from the bottom) and hem. That way the bottom has a really clean bottom hem.
Ta Da! now your done, cozy up and enjoy your comfy (free) house coat!!!!
PS Rad Patterns also has a kids version for a matching set
