
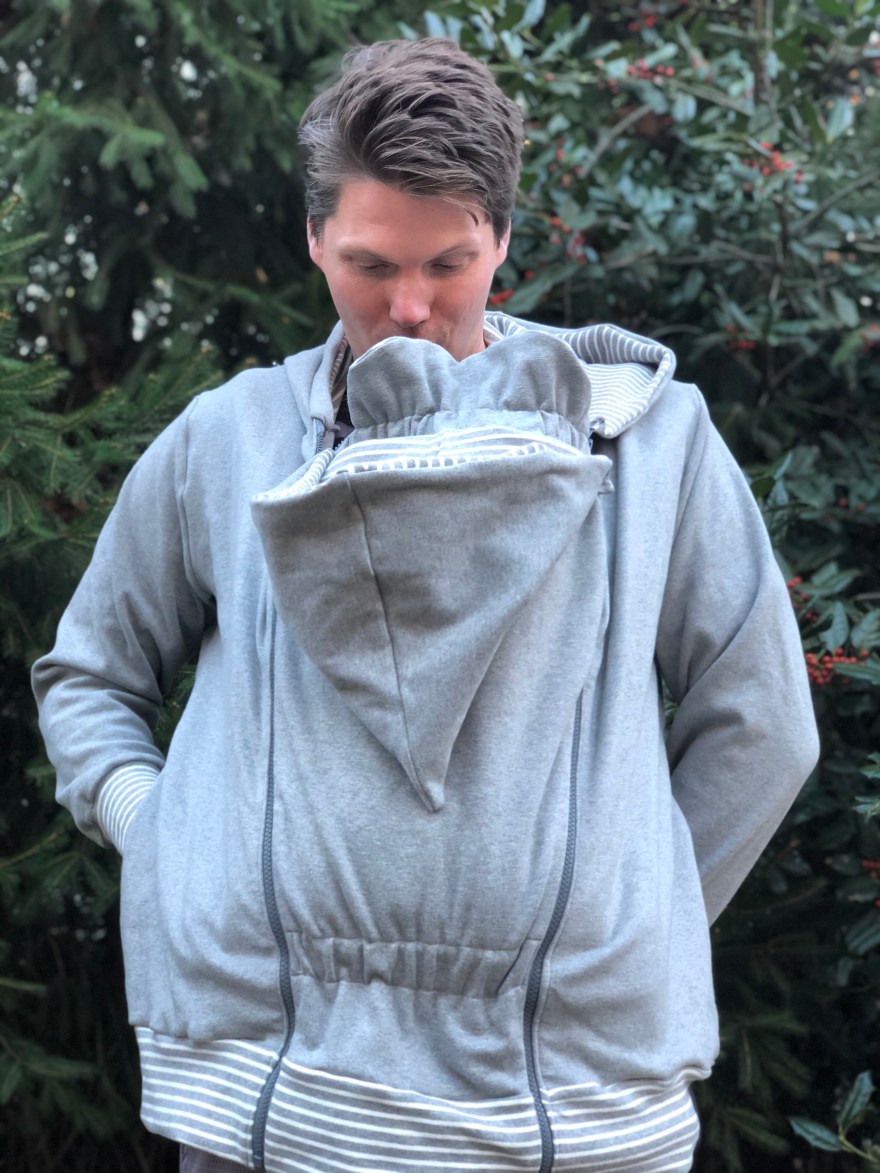
I hate the cold, and I am also lazy… ok let me reframe that, since that is not entirely true and I want to practice being kind to myself. I am incredibly busy with a four year old and a newborn so I often try to cut corners. Including bundling up, but then theres that little (big) fact that I hate being cold…. So I decided to make a two-fer hoodie. One hoodie that goes around myself and baby (and since she LOVES being in her carrier and we walk ALL.THE.TIME. I figured it was worth the time and effort to make it). 
This is definitely not my easiest project, and yet its not as hard as it may seem. In fact, hubby liked mine so much (and kept using it) that I ended up making him one. I used his jacket as the demo pics for this blog and I’ll describe the slight differences for the hoodie patterns. For both hoodies I used the Nestledown by Twig and Tale, I ended up using the exact same version/size for both as well (the women’s medium). This uses a 26″ separating zipper which I really liked ordering the YKK brand from ZIPSTOP via Etsy, great selection and if you don’t see what you want just email them (and if you do buy from them add that you heard about them through MommingHard in the comments and they will give you a free gift with your purchase).

Although it would be easiest to just make the nestledown to go into a preexisting coat thats really hard to do since the zippers have to be an EXACT match, so unless you can find the exact same zipper then making a hoodie/nestledown set is the way to go. In fact if you wanted you could make one nestledown and two hoodies (one for each you and your partner) then use the one nestledown piece interchangeably. Of course I didn’t think of that until just now so I made two complete sets…
The hoodie patterns I used are the Henley from P4P for my hubs, and the <a href=”http://Affiliate link“>Tami by New Horizons for me. I love the Tami pattern, Its got a lot of different options and I think the fit is SO comfy (I do size up one).
One of my favorite parts about this make is that after I’m done baby wearing the hoodie can still be worn just without the nestledown insert. I am so pleased I took the time to do this.

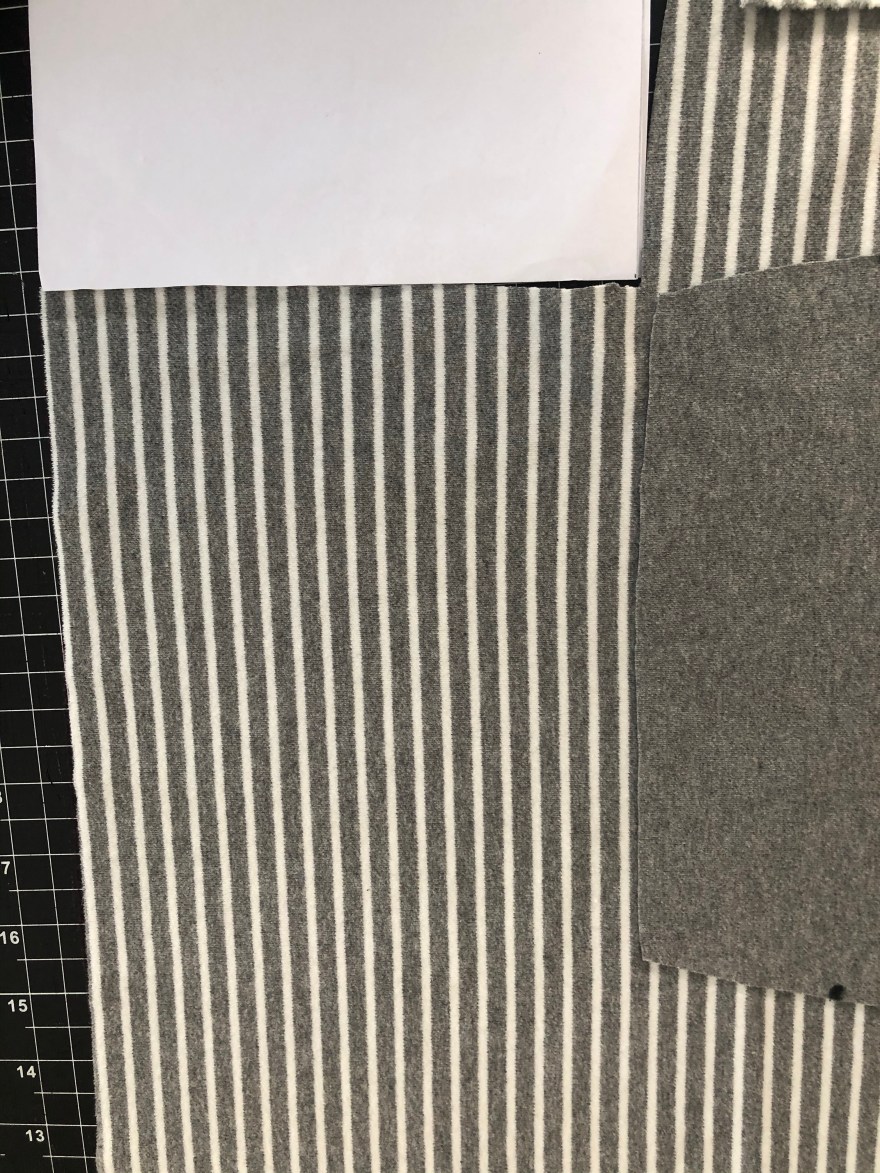
So before I begin on the “How To” I’ll quickly go over the fabrics…The outer fabric is FT (French Terry) Gilded Space from Blended Thread Fabrics. The inner is a mustard Cl (Cotton Lycra) I’m not sure where I got it from but a lot of shops carry this option. I also quilted one of hubbies old wool sweaters to the cotton lycra lining so its really warm. It took some extra time to do this but I am SO happy I did. I had never quilted before but I followed this Twig and Tale blog post describing how to do it.

The fabrics I used for hubby are interlock from The Fabric Snob. I did a double layer for the body of his jacket too. I’m not sure its as warm without the wool, but I LOVE interlock and find it to be pretty warm on its own (perfect for fall/spring or as one layer in winter bundling).

I cut the Tami pieces all according to the directions. I followed the short cut line so that it would be the correct length for a 26″ zip. Since hubby pattern didn’t have a zipper option I just added about 1/2 in to the front.

I cut the band according to the Tami pieces. But again for hubby pattern I had to modify. I cut the band in three pieces (one back piece, and two front, adding about 1/2 in to the front pieces to account for the zipper).

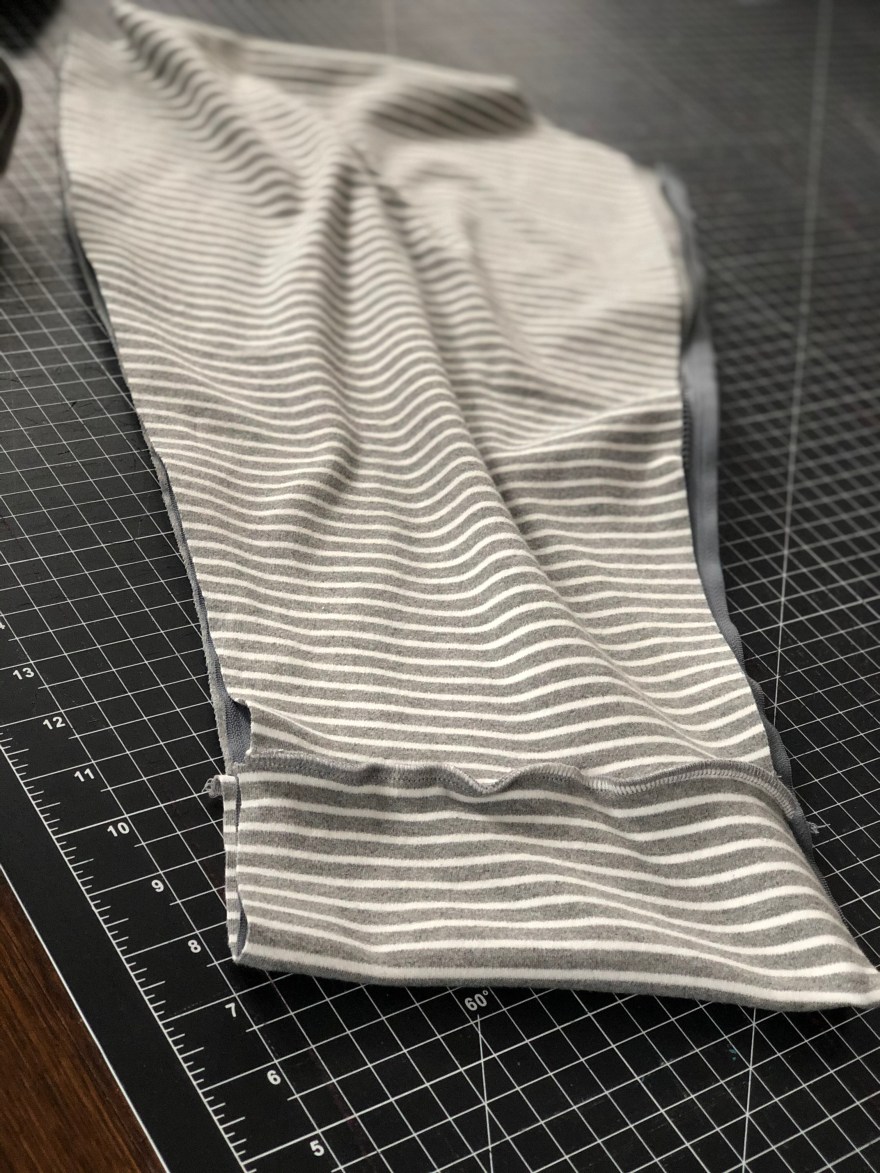
For both hoodies I cut the nestledown according the pattern, but added the band at the bottom so when it was paired with the hoodie there would be a solid look throughout. I know this makes the pattern longer but I still used the recommended zipper length and it worked just fine. I think if I hadn’t added this length I would have had to shorten the zipper. I used the waistband length and the width of the bottom of the nestledown piece. Heres how I laid it out on the fabric.
I started by sewing 3″ish of the band to the front pattern piece. I didn’t attach the whole thing so that I could stretch it appropriately at the end.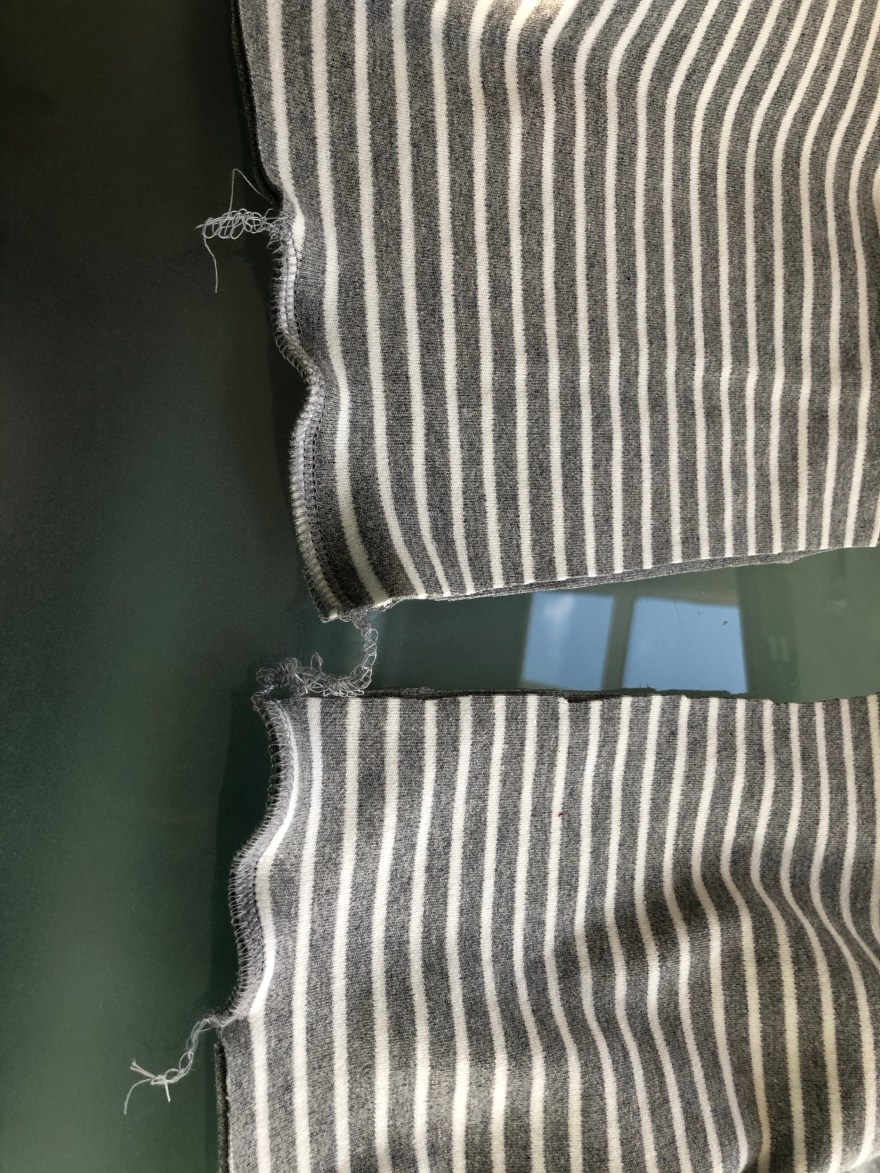
Then I cut .75″ by 26″ long pieces of knit interfacing. This step helps LOADS when sewing a zipper to knit fabric. I highly recommend doing it.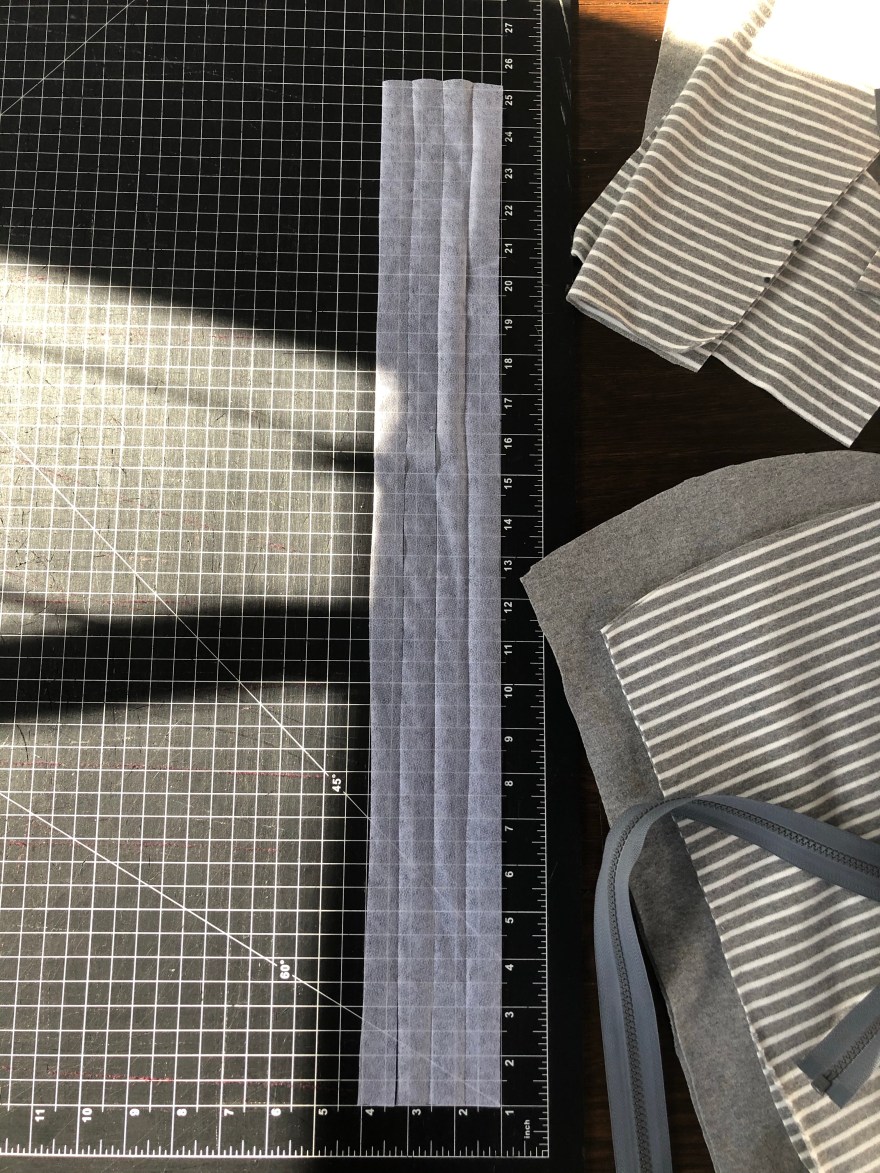
Iron the interfacing onto the backside of the fabric where you will be sewing the zipper. NOTE: it will not go the entire length of the band piece, it should only go about 1/2 way. 
Attach your band to the nestldown outer fabric piece. Then iron on the interfacing where the zipper will be sewn. AGAIN NOTE: it should only come half way down the band piece.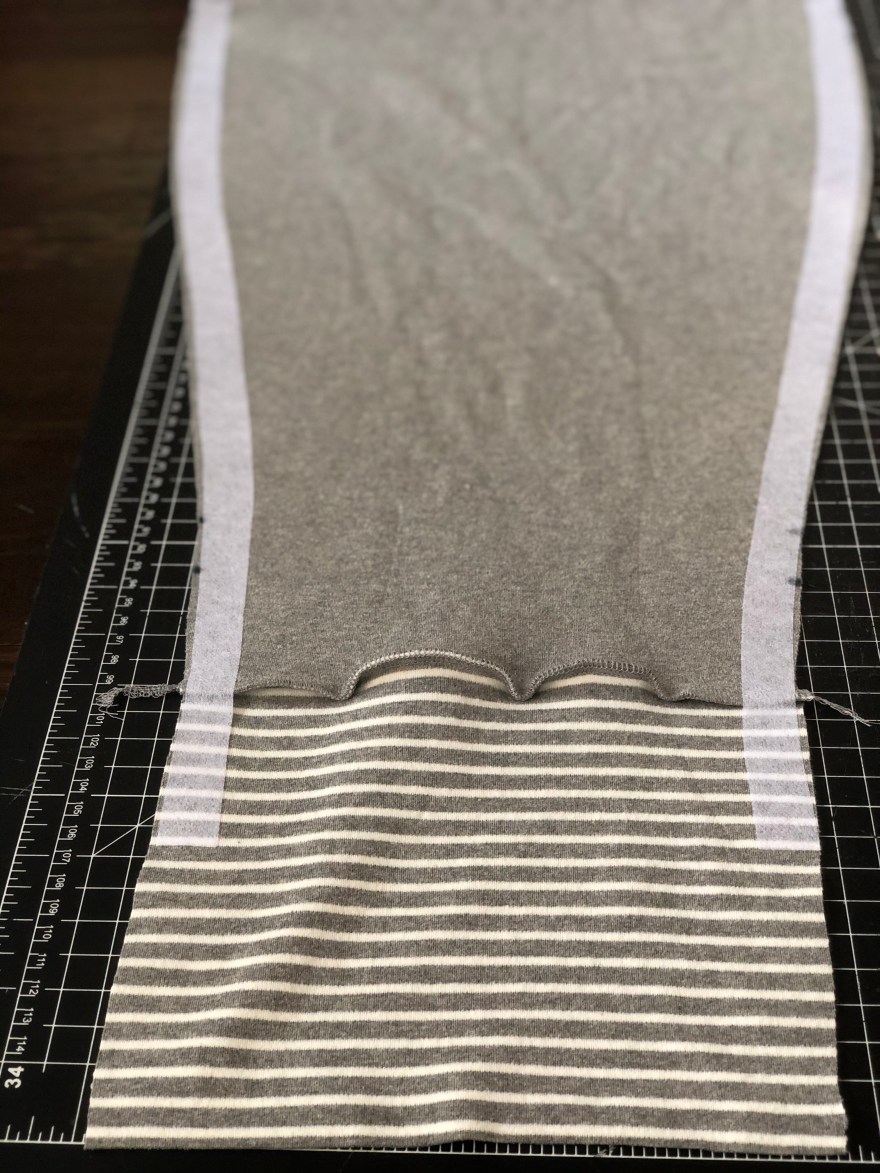
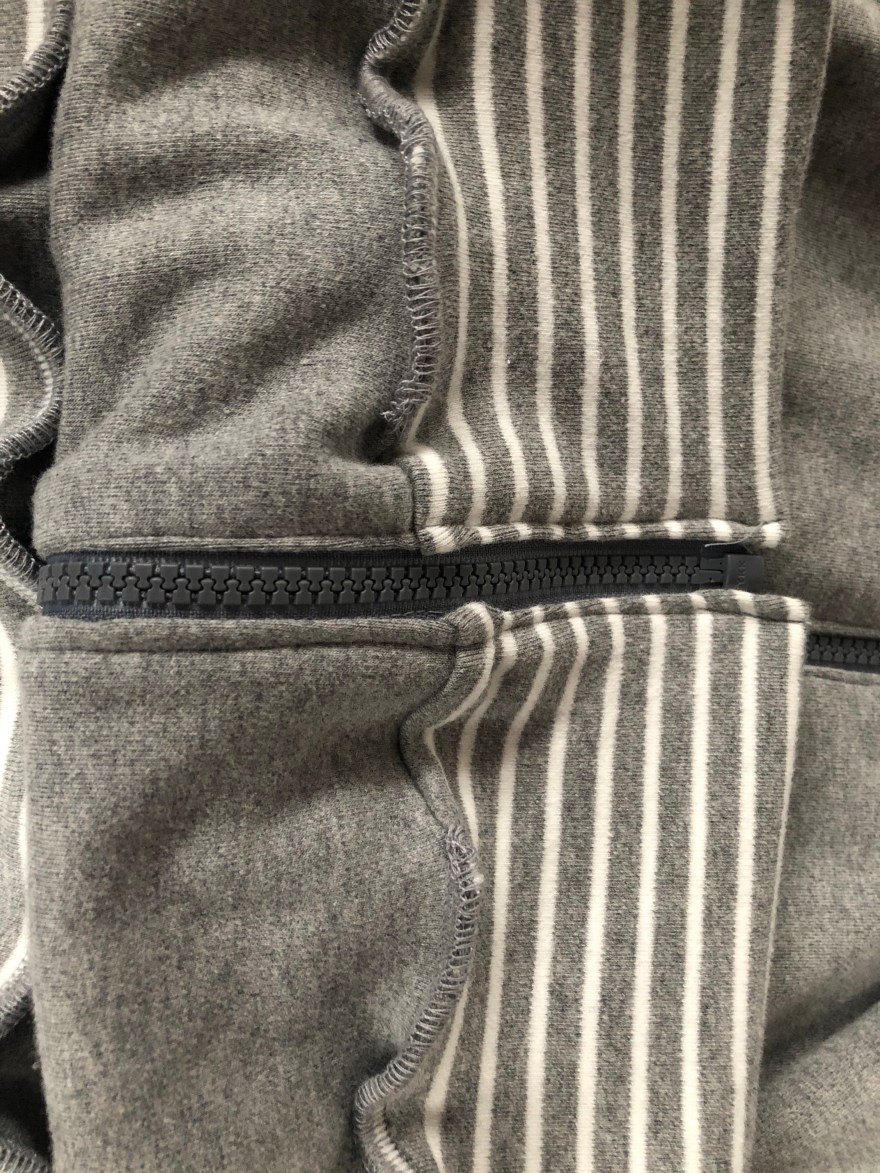
I applied the directions from the nestledown the hoodie front to encase the zipper since I was using double layer I think its a cleaner look then just folding the zipper and top stitching it back.
I did this by first connecting the inner front piece to the band. Sewing about 3″ish from the zipper side like before.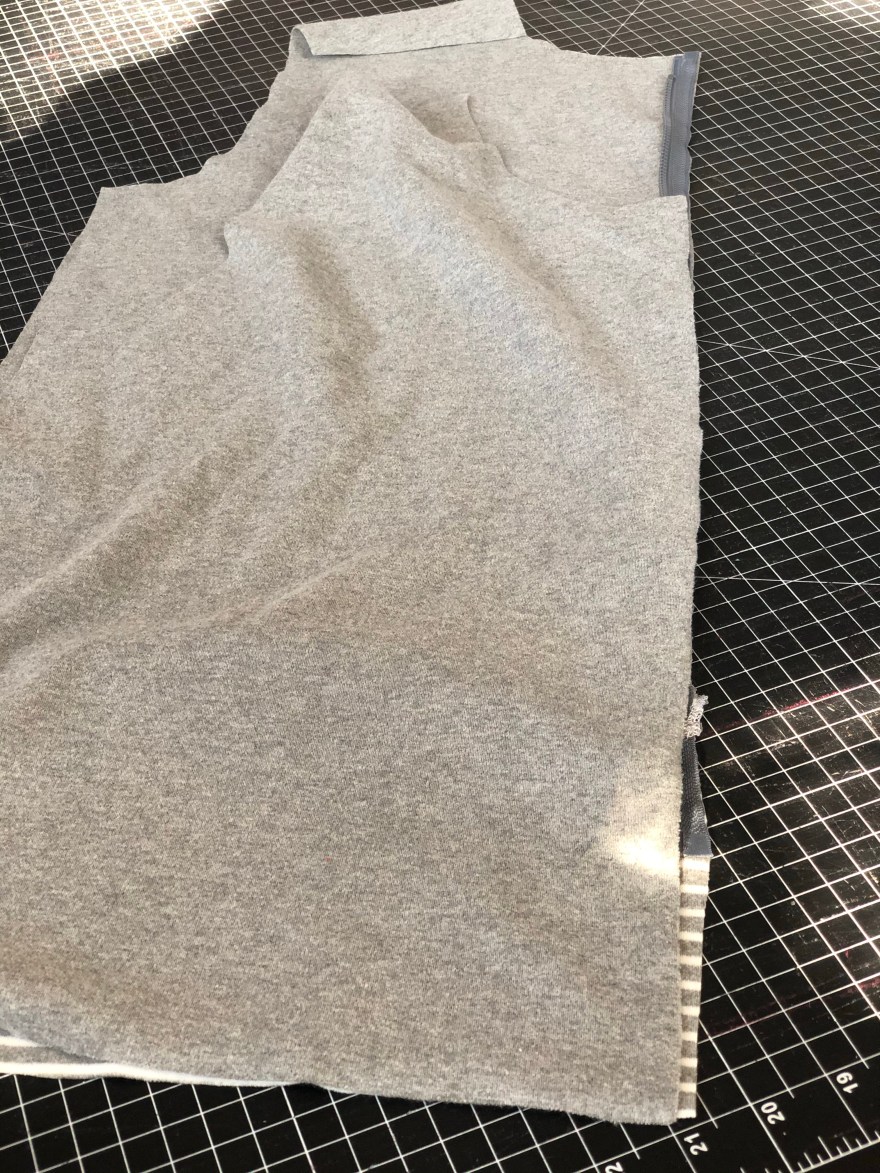
Then fold your band in half and stitch the zipper in.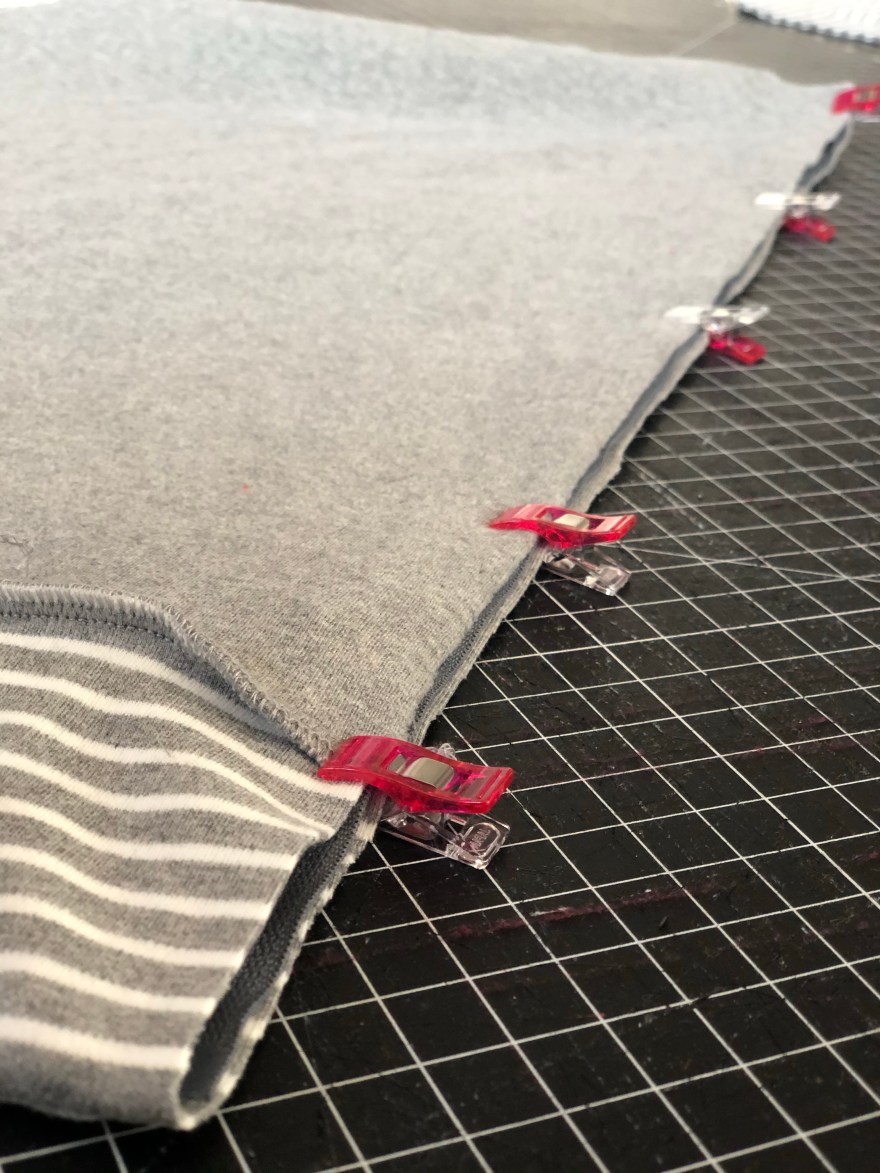

Top stitch and it should look nice and clean.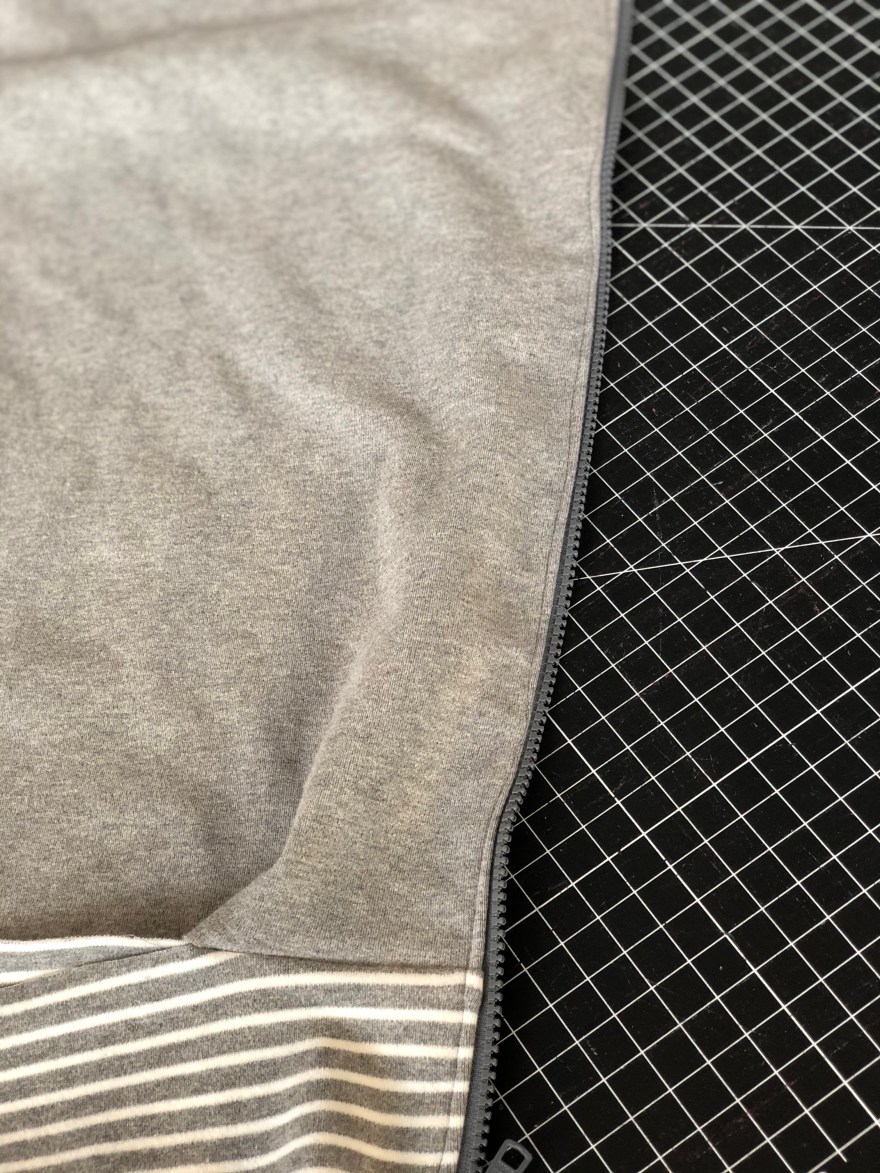
Tip: when doing the other side first line up your zipper so that the band & pockets line up correctly. Take your time with this step.
Now finish making the hoodie according to the directions, we will finishing attaching the band last. One the side seams are sewn, place your back band piece Right Sides Together on top of your front band pieces. Sew the sides.
Then stretch it to fit like you would normally. Sew over the 3″ish you did before, it looks a little funky but only you will know that. If anyone has a better way of doing this please feel free to leave a comment, this was the best I could come up with!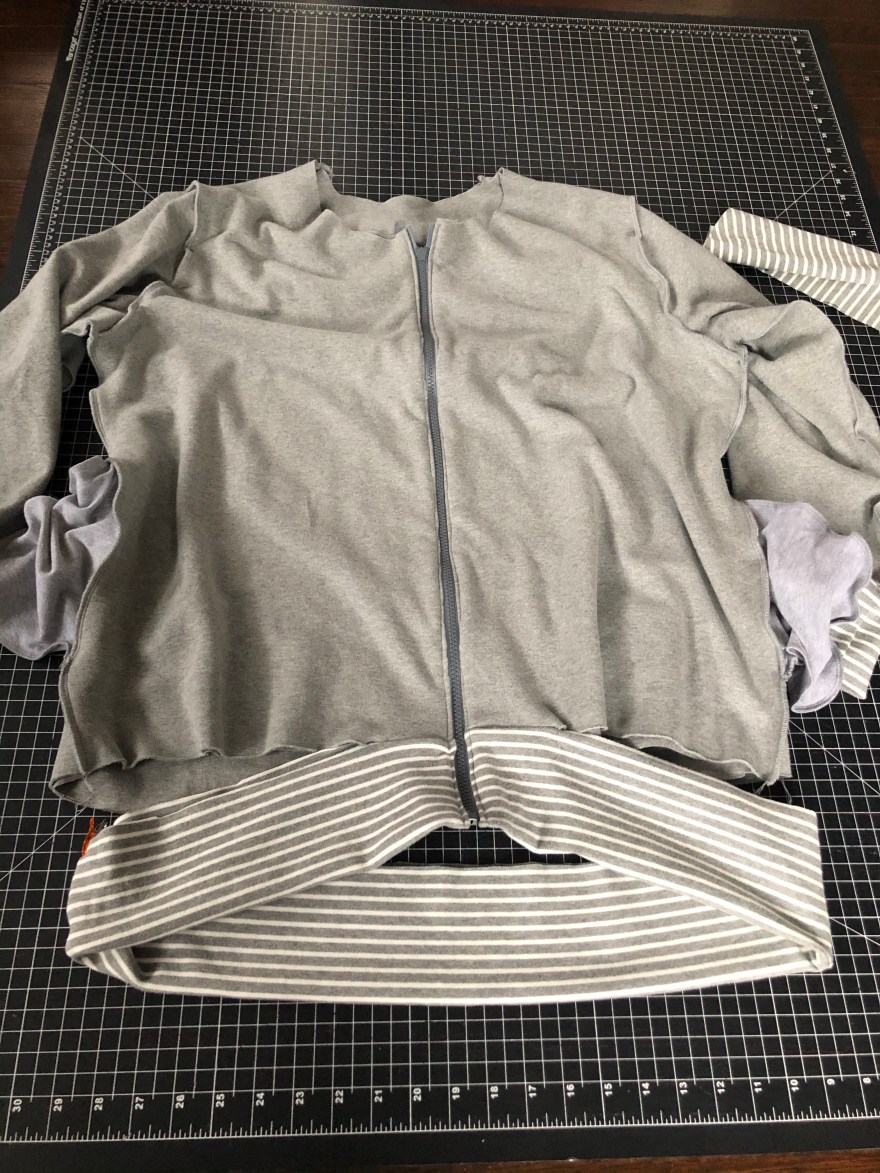
Now do your nestldown, first lining up your zipper with the band pieces. I use chalk to mark mine.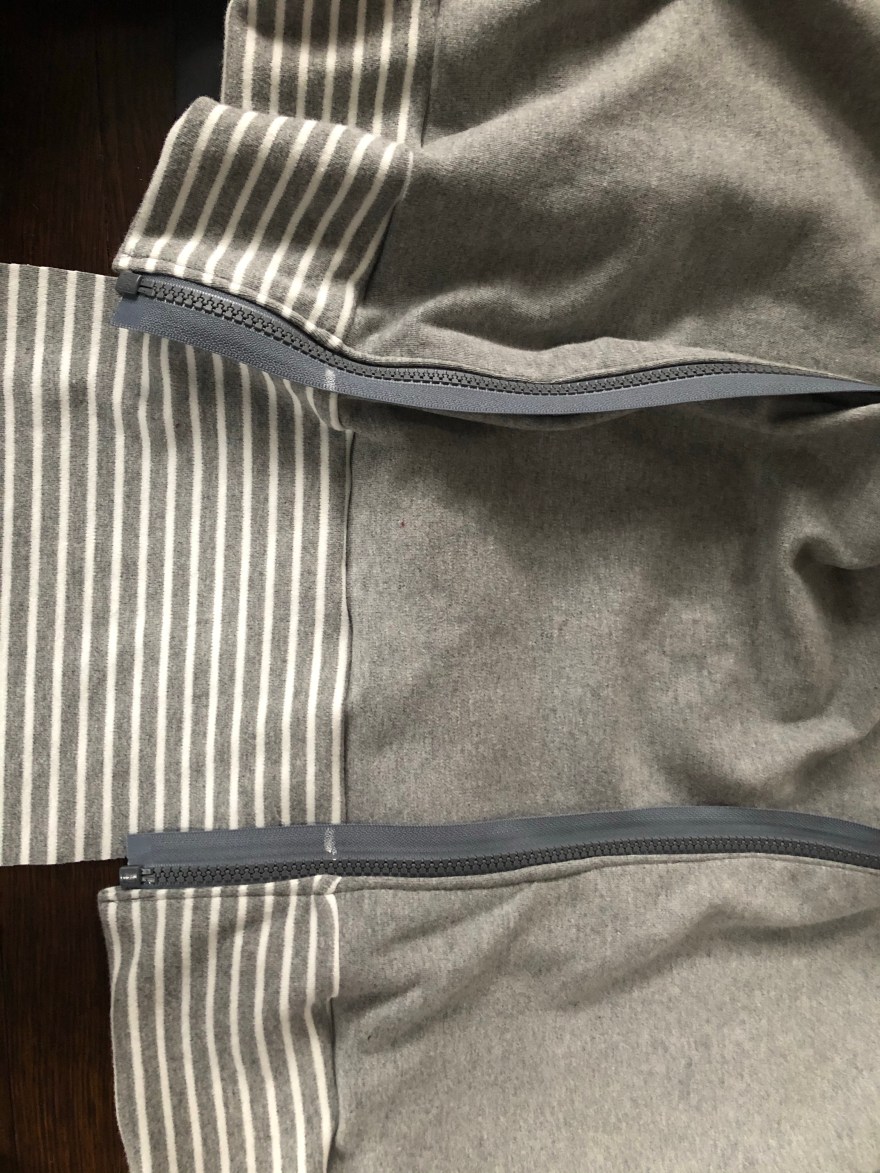
Then attach the lining piece to the band like we did before and fold over to encase the zipper.
Complete according to the nestledown directions I like to check the band piece lines up since that really catches the eye.
And you should be done! Great job. You and your little one will enjoy the snuggles and closeness even in the cooler weather.

Don’t forget to sign up with your email at the bottom of this page so that you can get the latest hacks from me! I’ve got more maternity and nursing stuff coming!!
