Don’t we all love a free pattern??? Yeah, I thought so. I was so excited to try this one, and knew that it was a fabulous base for modifying. I added all my favorite things: thumbhole cuffs, bands, and pockets.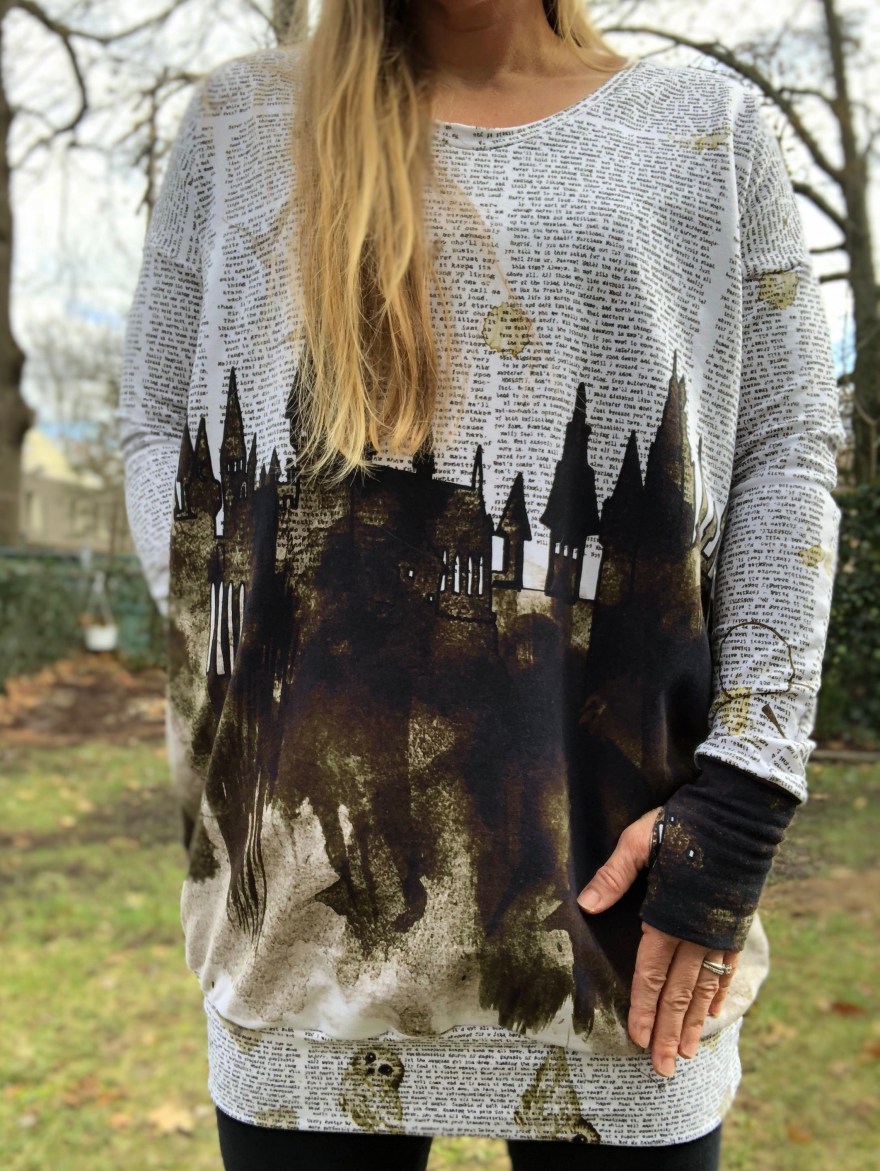
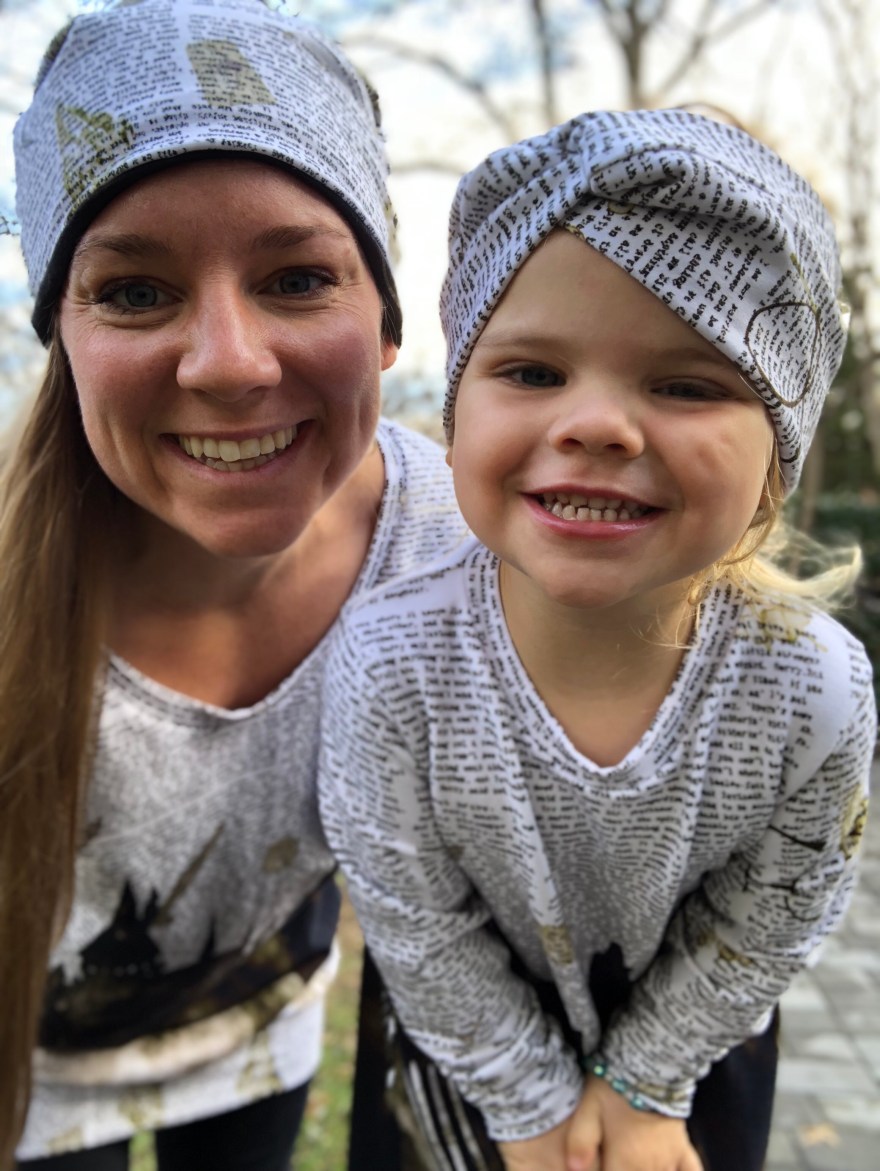
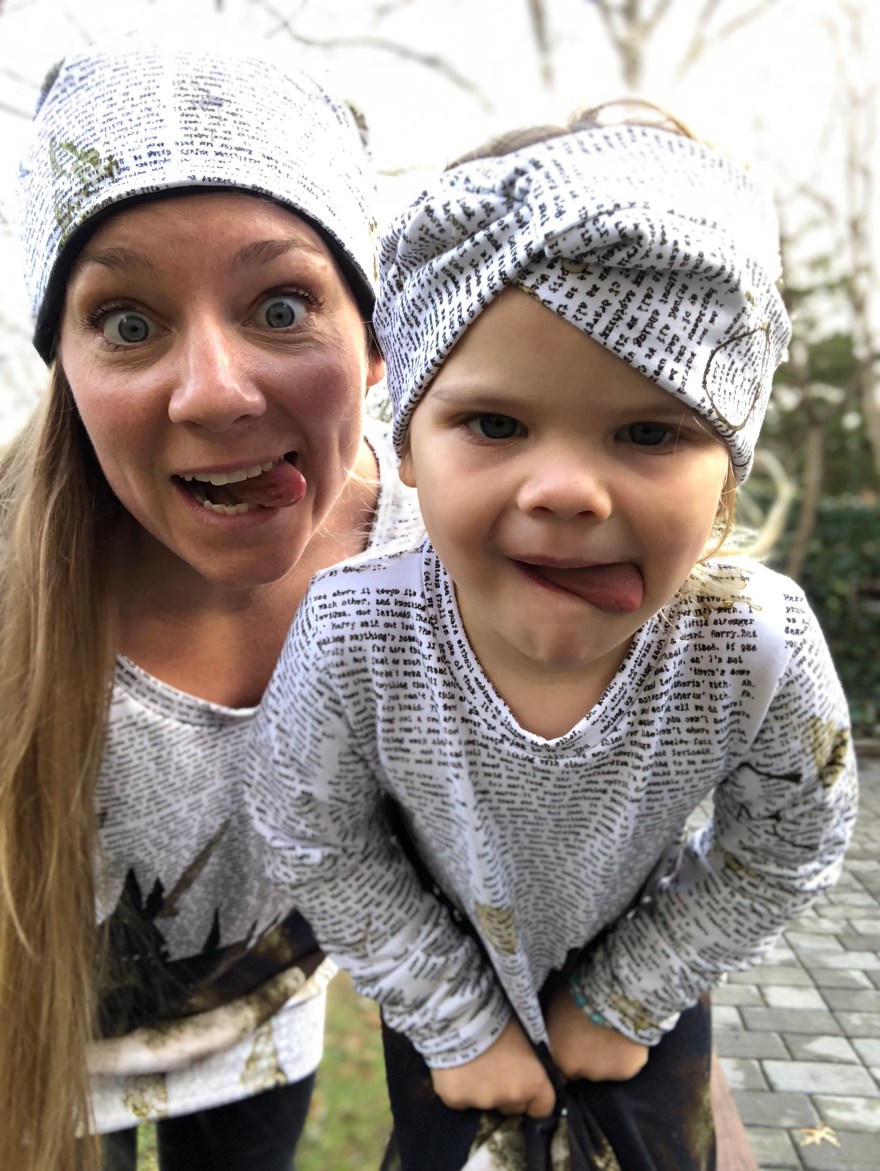
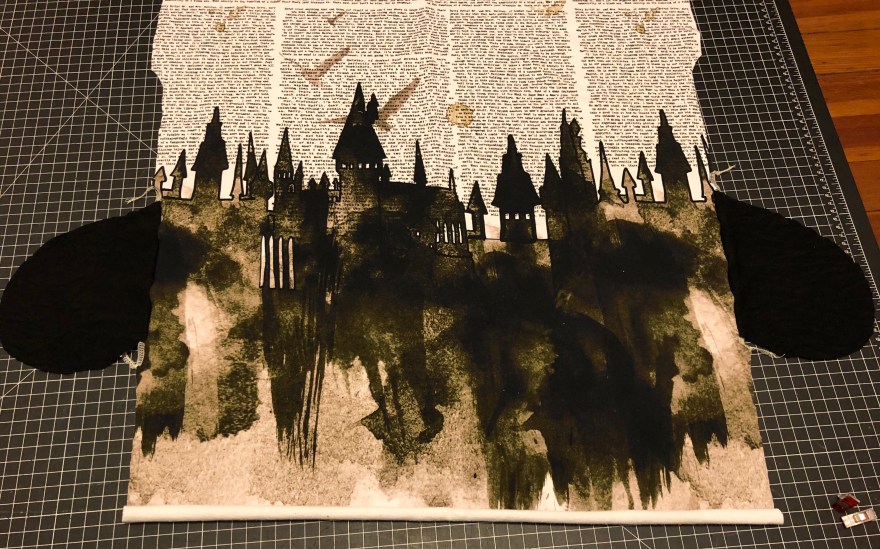
I used the *FREE* Mama Paige Piko from M4M. I really like the dolman sleeves and loose body on this free pattern. I also really like that there are different cut lengths. I’ve tried this with the straight shirt cut line (grey version) and the tunic cut line (Harry Potter Castles version). Both are made with French Terry. The grey French terry was from a store in LA fashion district (sorry no link to that one!) and the Harry Potter Castles fabric is from Snow Owl Customs.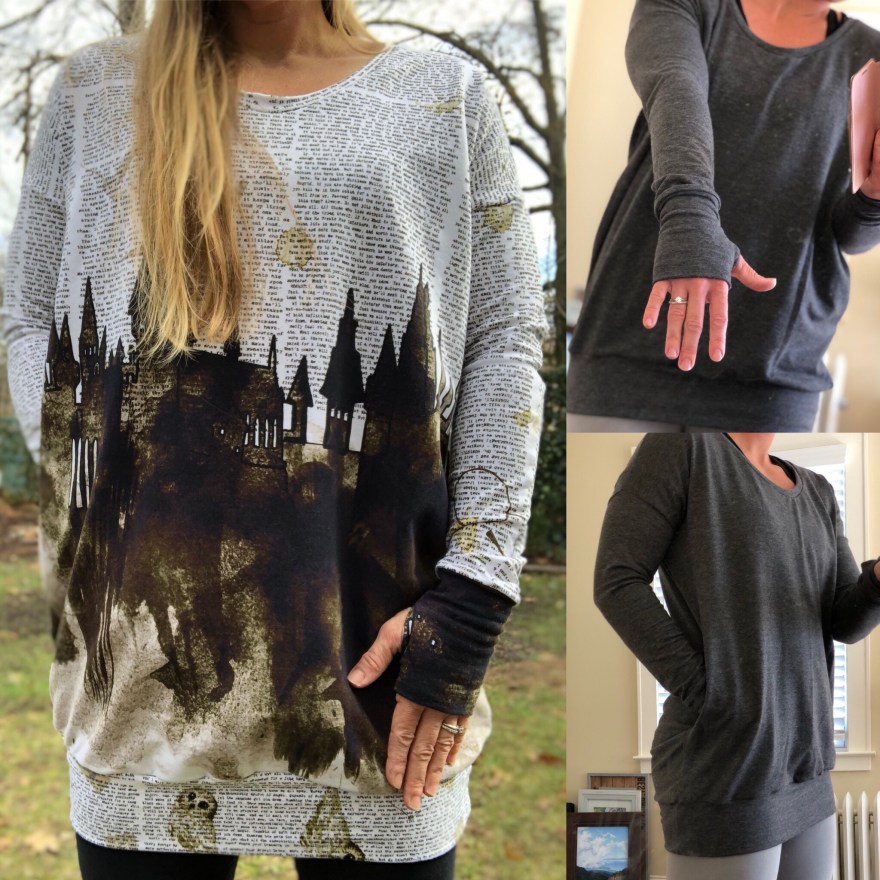
I started with drawing my inseam pocket pieces. If you have some from another pattern its easiest to just use those. But if not, then place a piece of paper on top of your bodice piece and then draw an off set egg shape.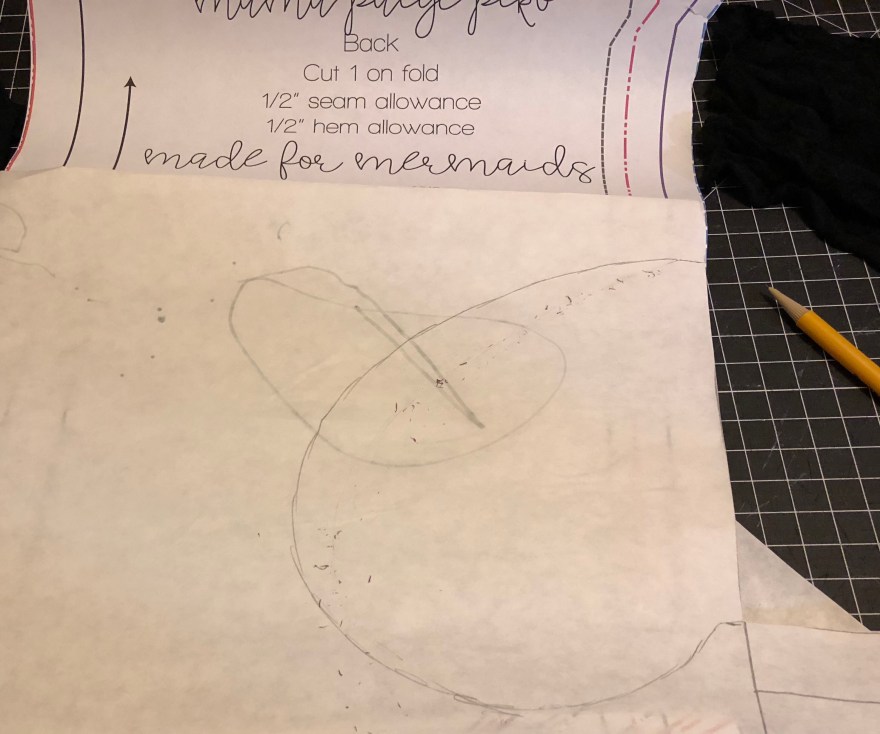
I always like to label the pattern pieces I make including how many to cut. You will want to cut four (two mirrored sets). I love using scrap pieces if I have some that coordinate (sometimes contrasting is fun too!). I also try to use a light weight fabric. For these I was able to use some leftover black bamboo scraps that I had, and they worked great!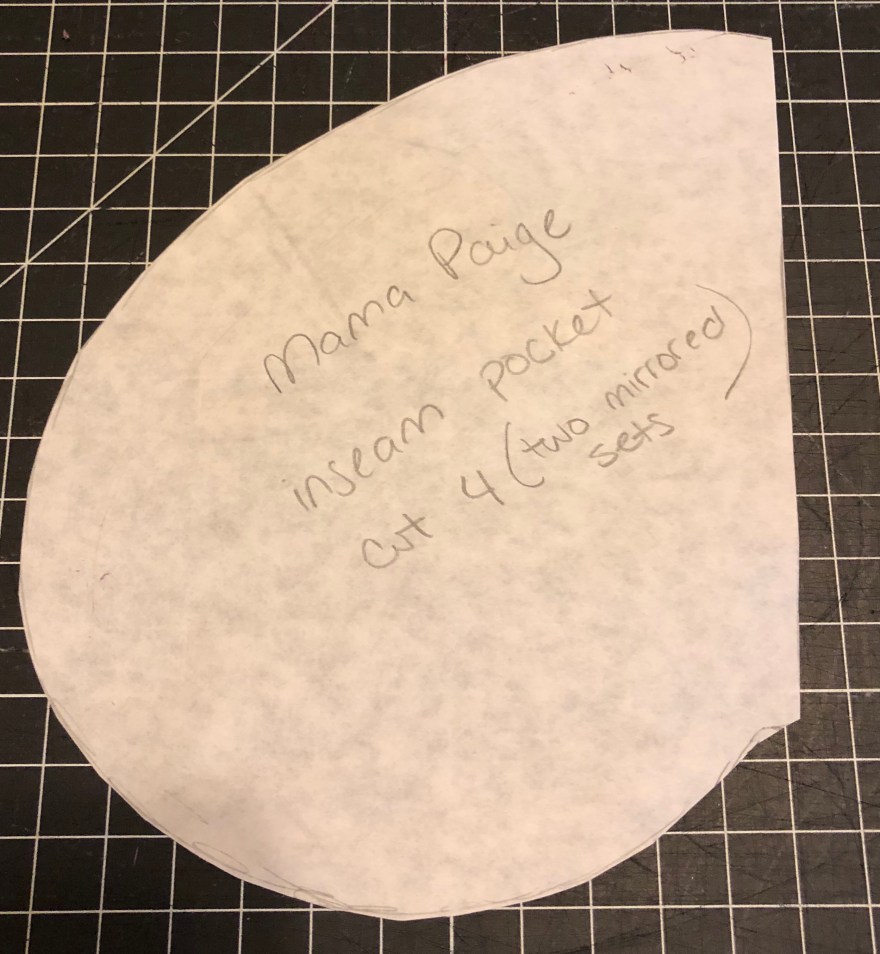
You will want to place your pocket pieces laying right sides together on top of the bodice somewhere in the middle, just be sure each piece is in the same spot. Sew the straight sides together.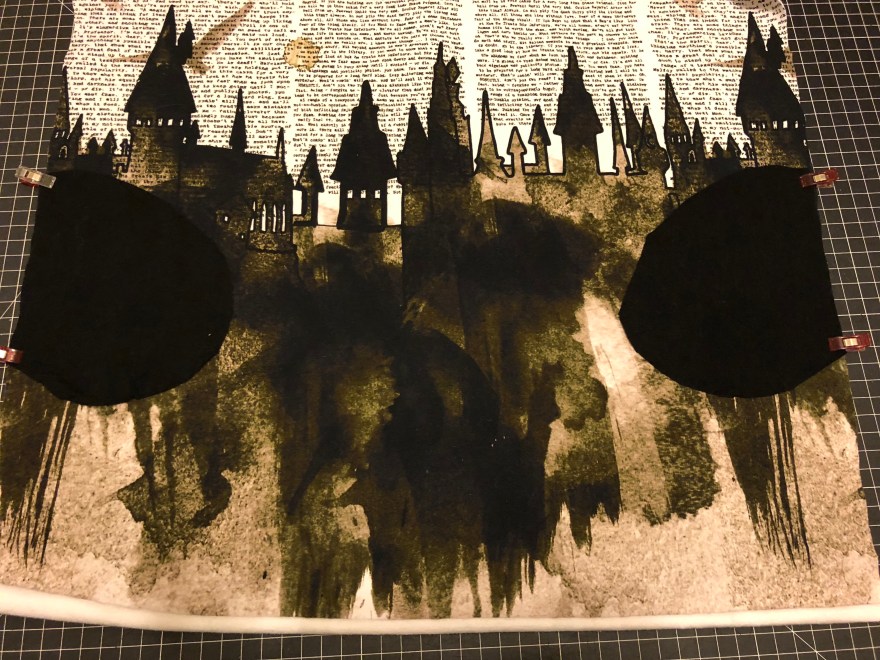
Now sew your side seams of your bodice pieces together, when you get to the pocket pieces sew around the outside of them (along where your clip them together).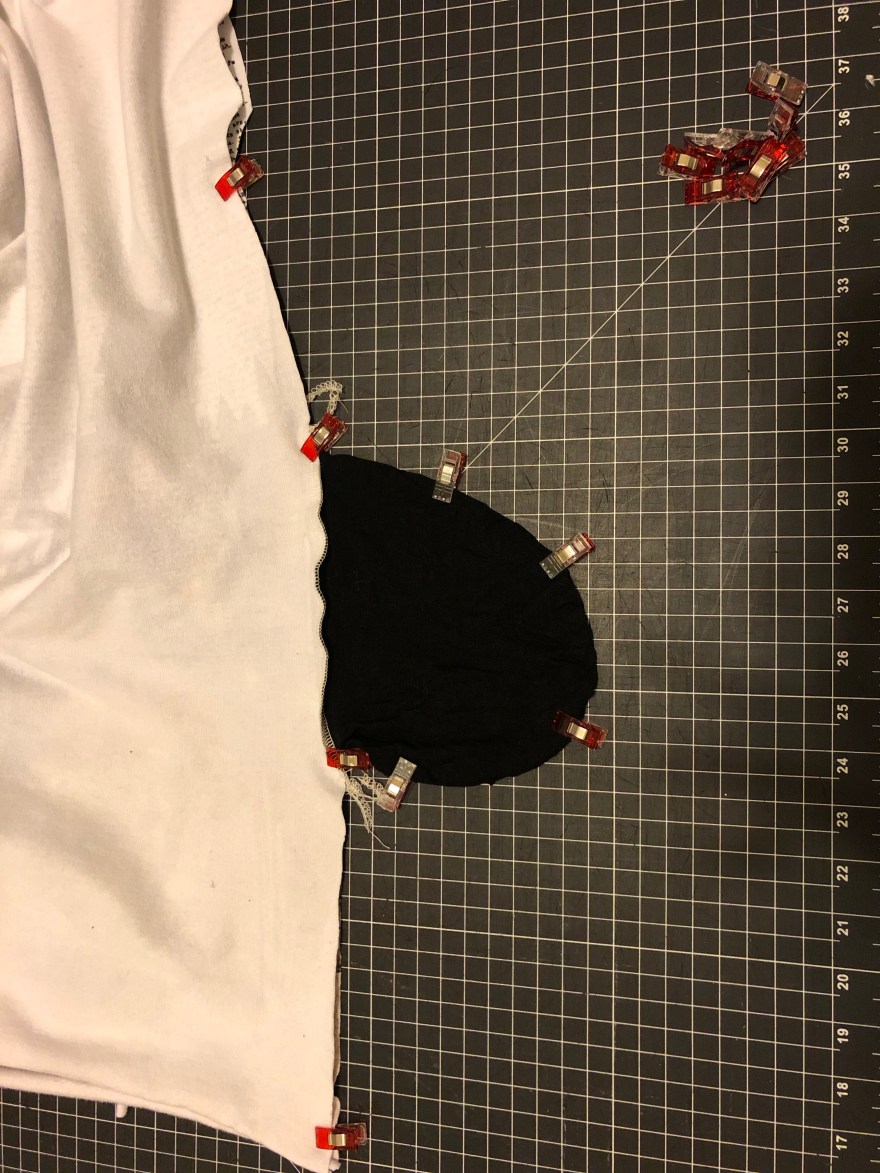
Continue to make the Mama Paige Piko according to the pattern, but do not hem the sleeves or bottom.
Next I made my thumbhole pattern. I measured the end of the sleeve to find out how wide to make my thumbhole cuff. Mine measured 3.5 (double that since it will be cut on a fold) so my thumbhole cuff width is 7inches. I made mine 10inches long so easy math. So I made my paper pattern 7×10. *my grey thumbhole was fine since it was a really light weight FT, but my HP Castles was a little tight because it was a custom FT. If I were to use custom FT again I would probably make my thumbhole cuff a bit wider.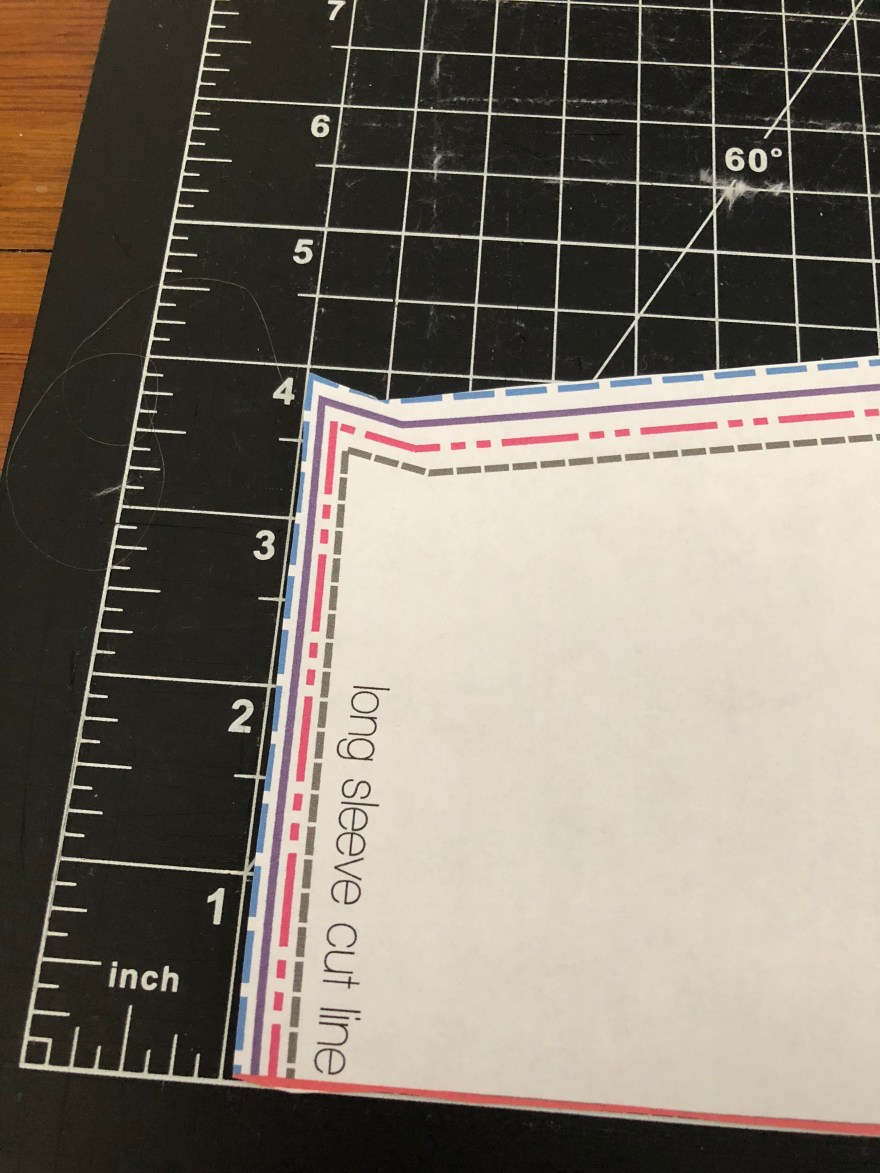
Then I marked ever two inches along my 10inch side.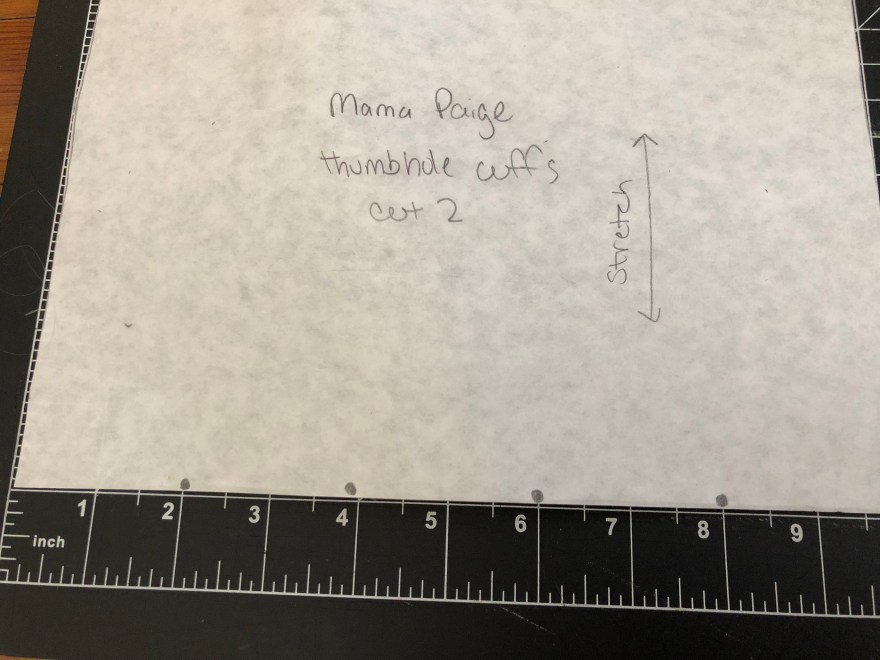
Sections two and four will become your thumbhole openings.
When you cut your thumbhole fabric be sure to transfer these dots onto the fabric. I like to use a washable marker (#momlife #kidscraftseverywhere).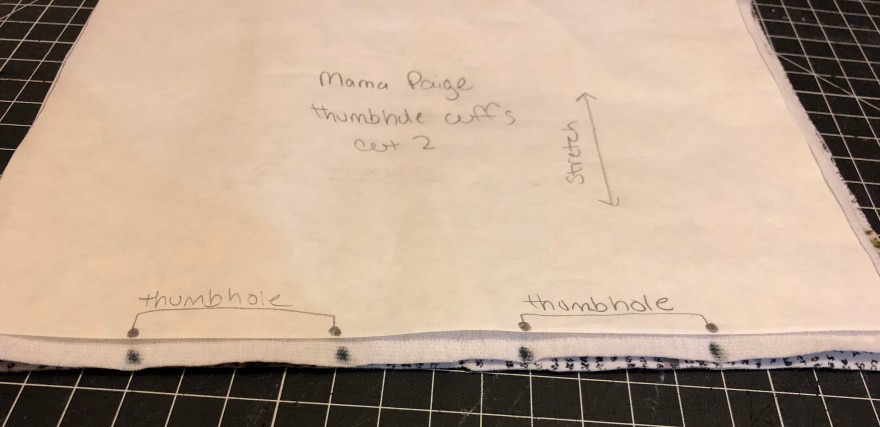
Fold your thumbhole cuff right sides together length wise. You will sew where I marked with a black marker (sections 1, 3, 5).
Then fold your cuff short ends together. (so section three will be in half)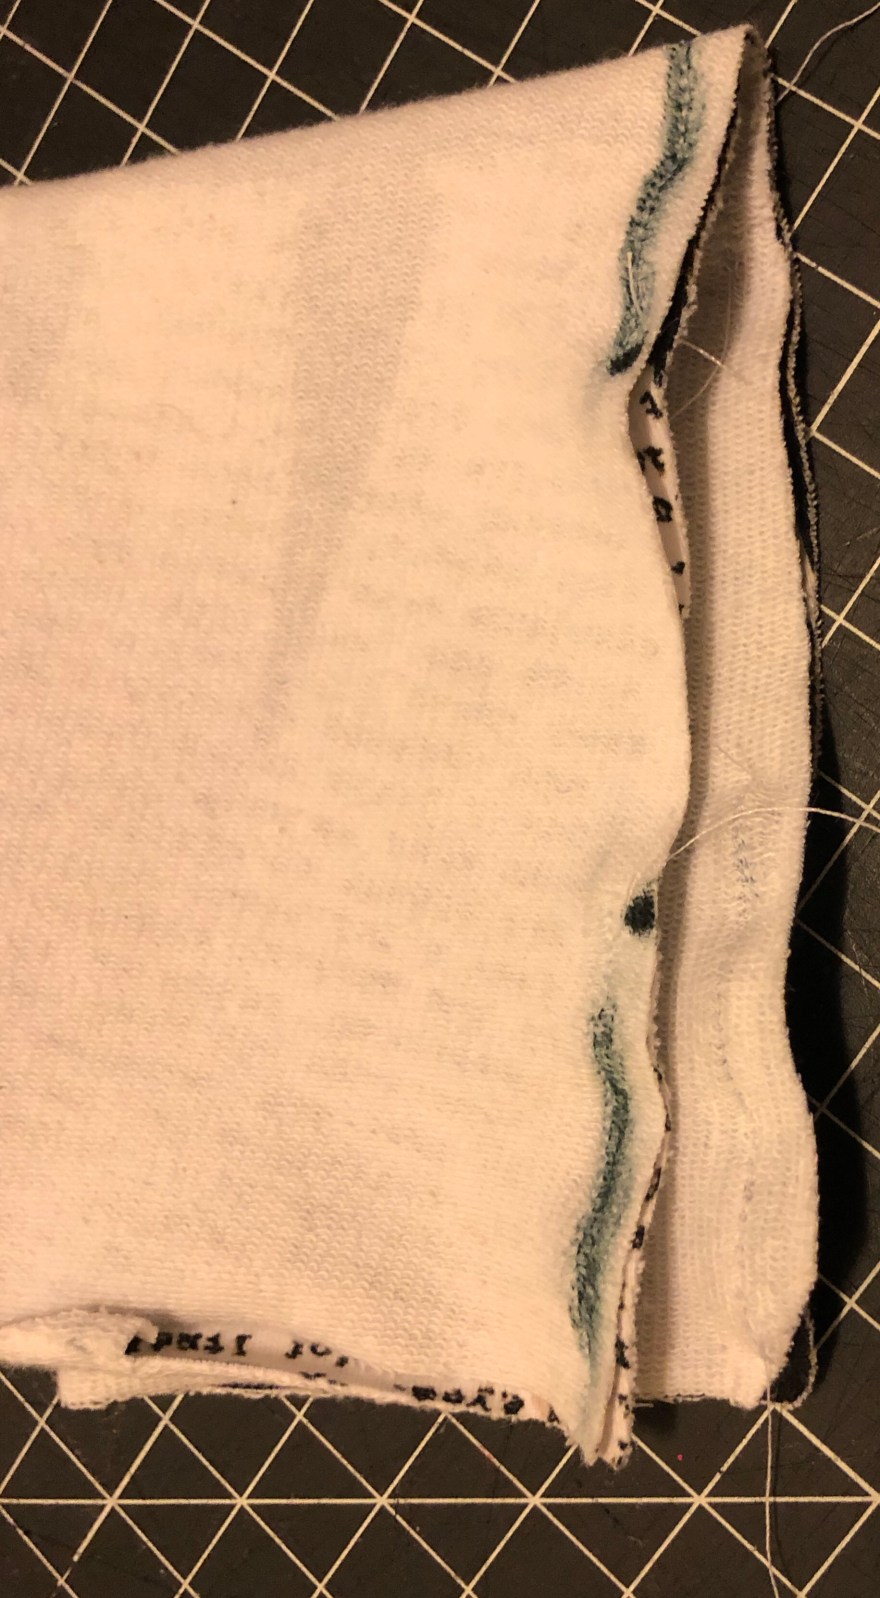
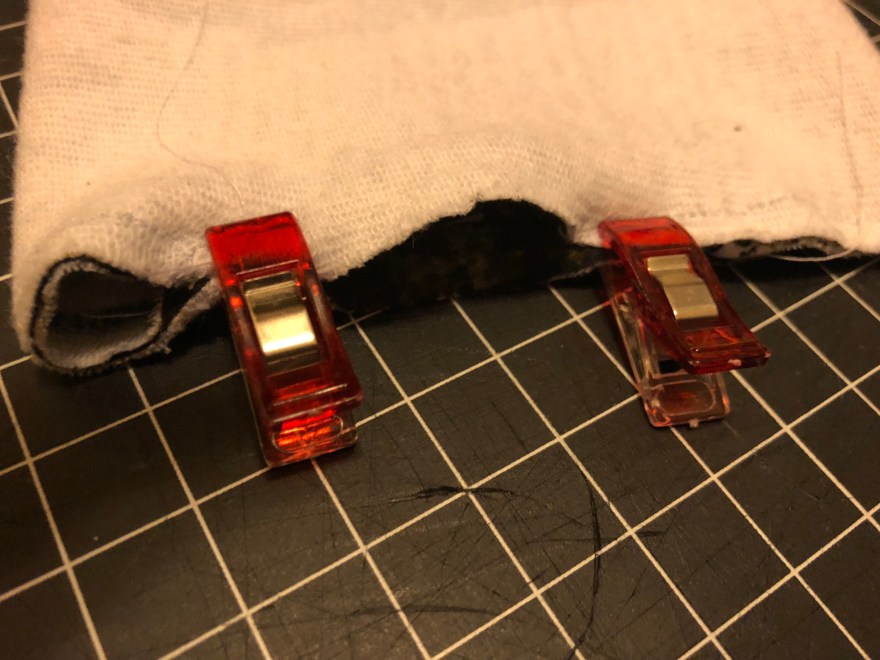
The section that has not yet been sewn, will be sewn now. The outside pieces will be matched together, so you will need to move the inside two pieces out of the way. It will be awkward but just push them down, try very hard not to catch them in this seam otherwise your thumbhole will not have an opening. You will just sew in-between the dots (in-between where I clipped).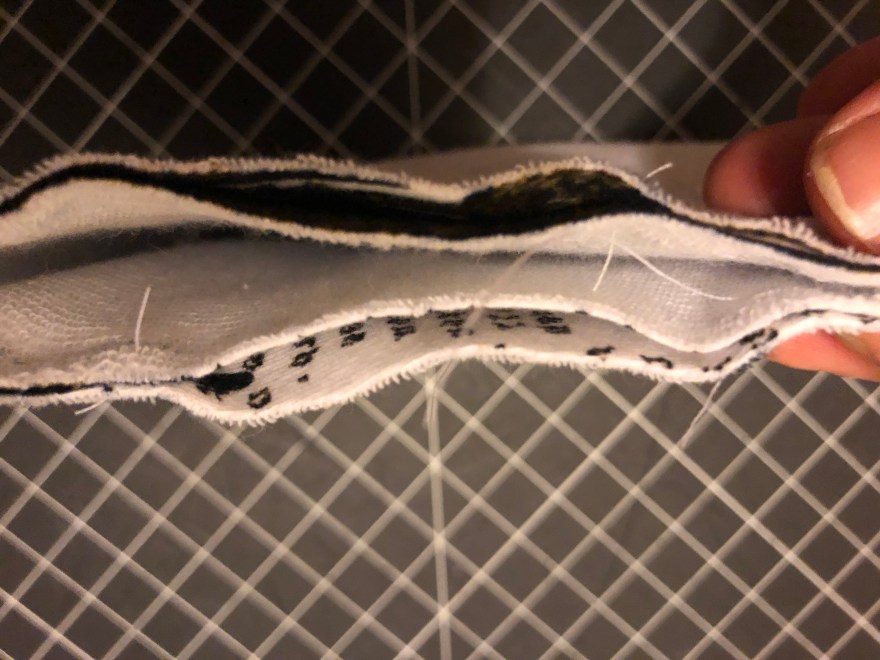
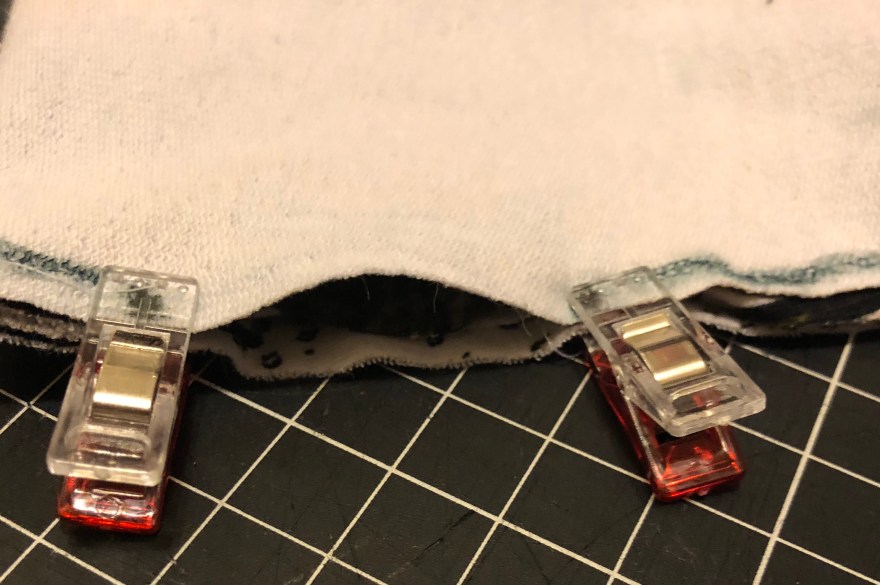
Now open your thumbhole cuff, and fold so the other sides are touching. And do the same thing on this side. It will be a little easier since we already sewed the “inside” pieces they will stay down a bit better, but still push them in to be sure you don’t catch them in the seam.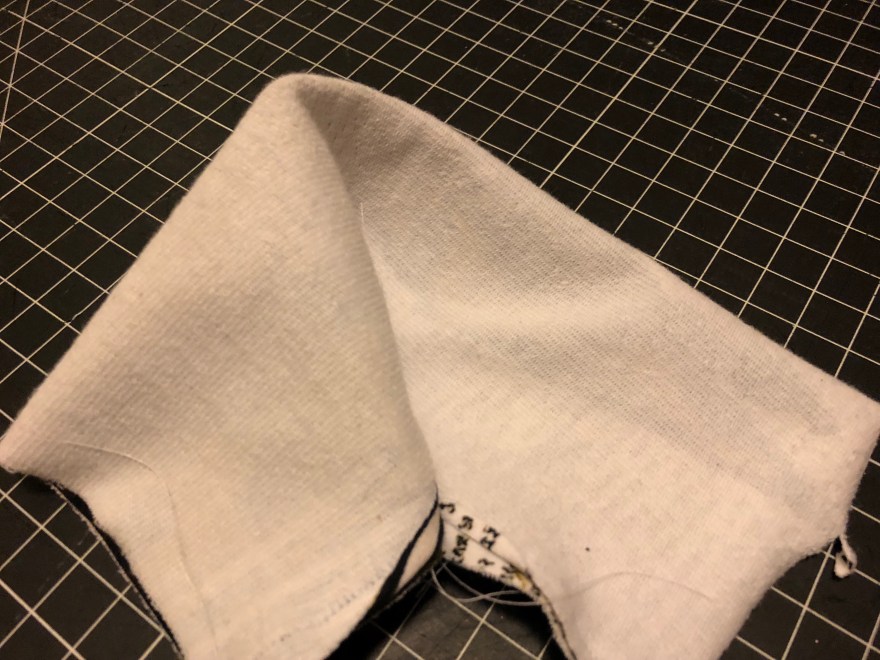
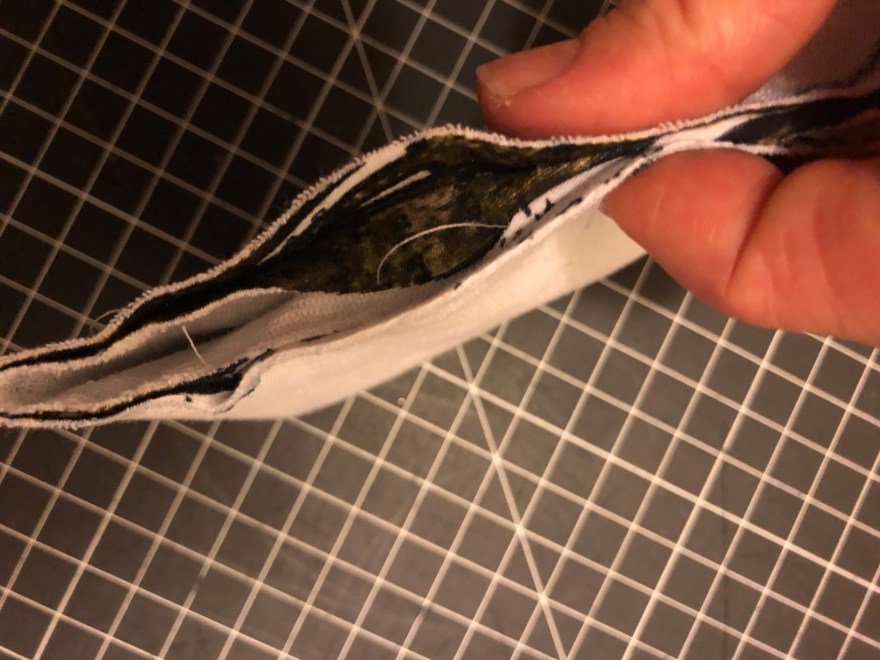
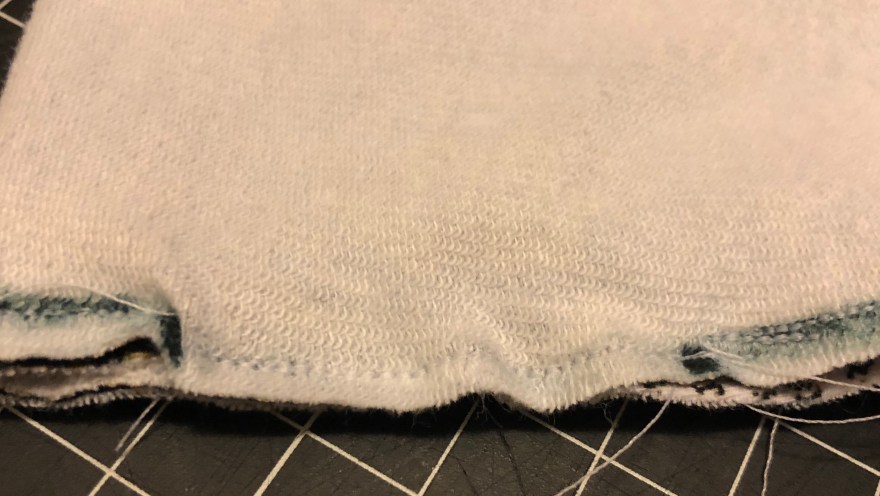
Now take one side and flip all the way around.
Ta Da! It finally looks like a cuff…. with a thumbhole! Totally magic, right?!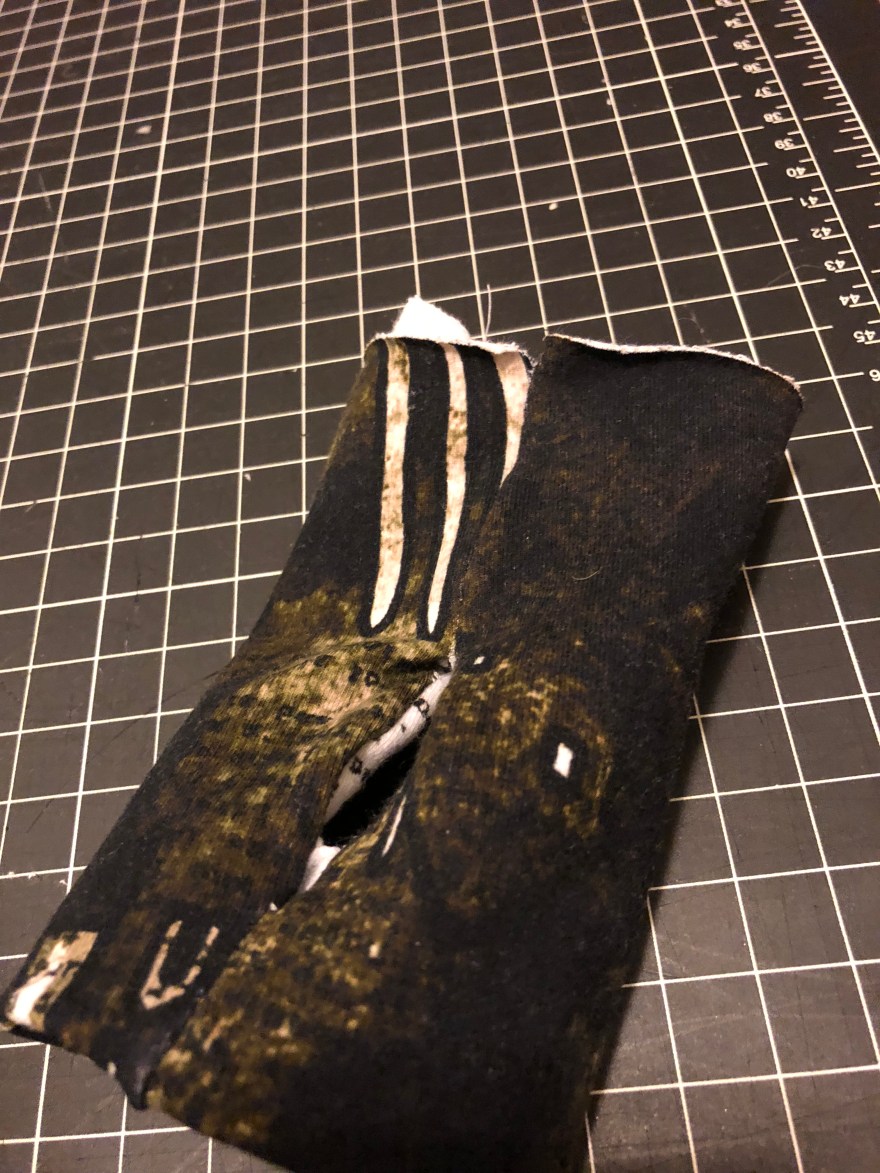
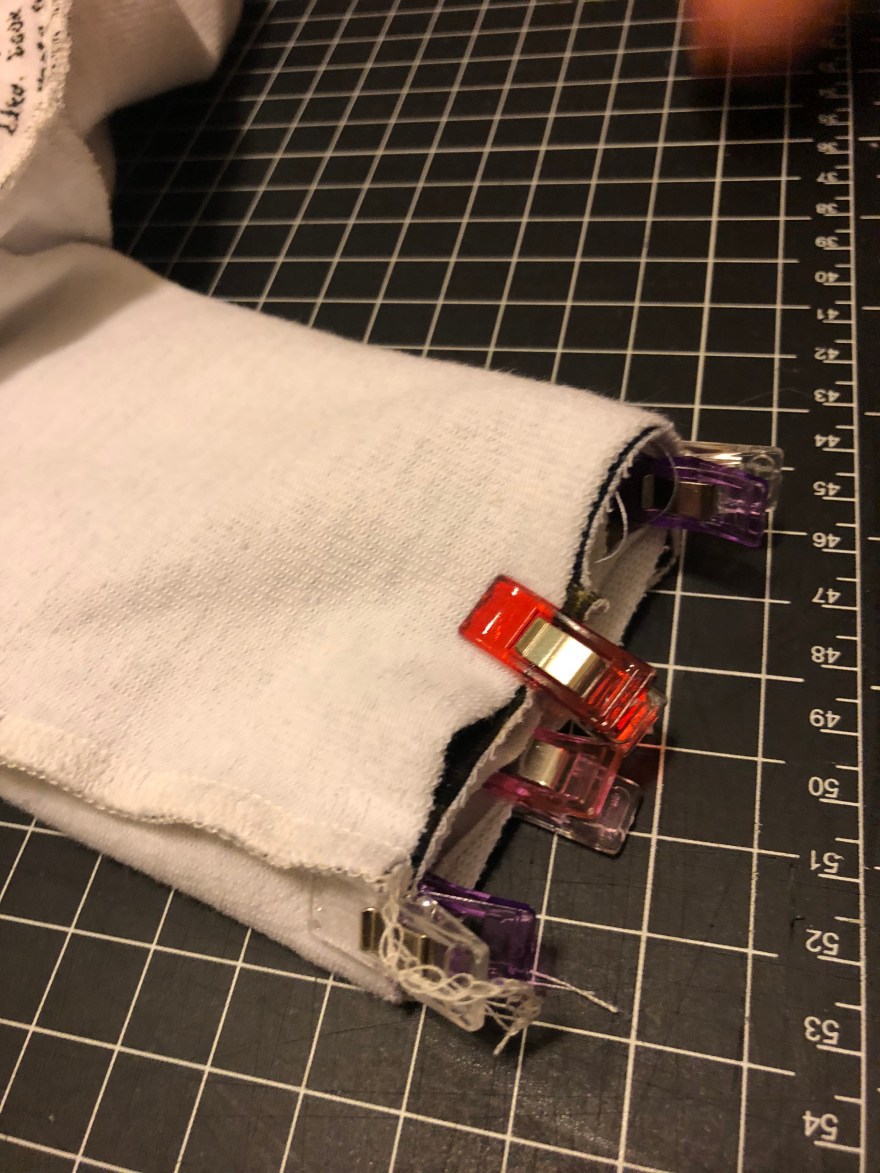
When attaching your thumbhole cuff you DO NOT want to match the seams. You actually want the seam of the thumbhole to face towards the front. That way the thumbhole will match your thumb without twisting the sleeve. I like to use different color clips (red is seam, purple are sides, and pink is front/opposite the seam).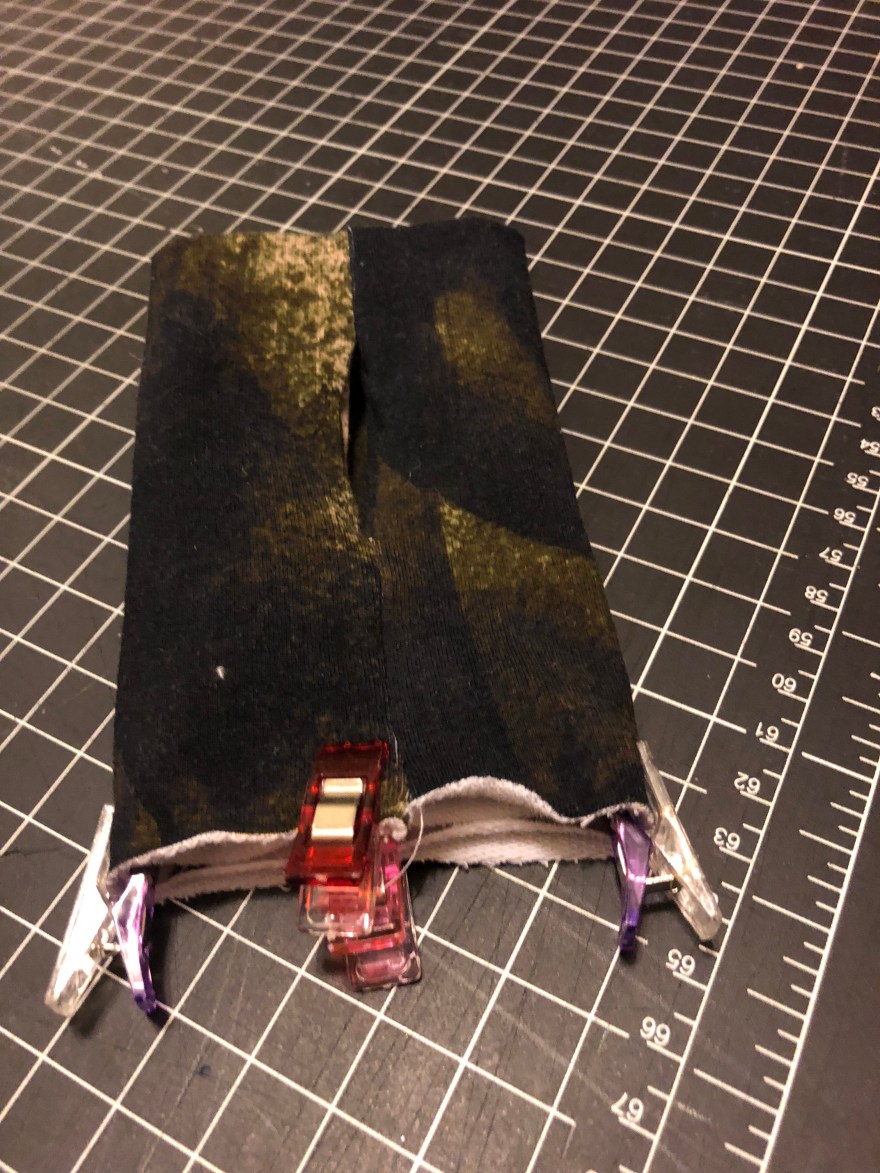
Last step! The bottom band. I like to cut mine in two pieces that way the side seams line up with the bodice. I made my bottom band a bit longer when I cut the bodice at shirt length, and a bit shorter when I cut the bodice at tunic length. This was personal preference, you can make it how ever long/short you like. I did 80% the width of the shirt. So mine ended up being 18.5×8 for shirt and 18.5×5 for tunic.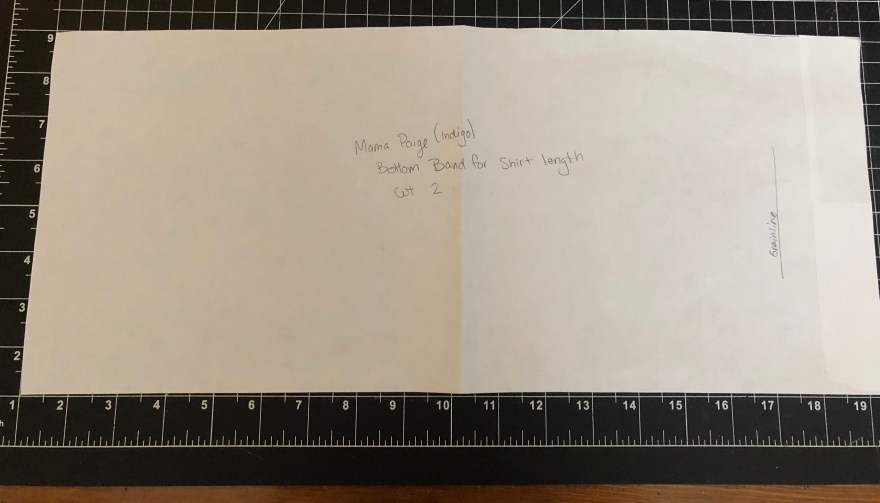
Now its my favorite part…. you get to wear it!!!!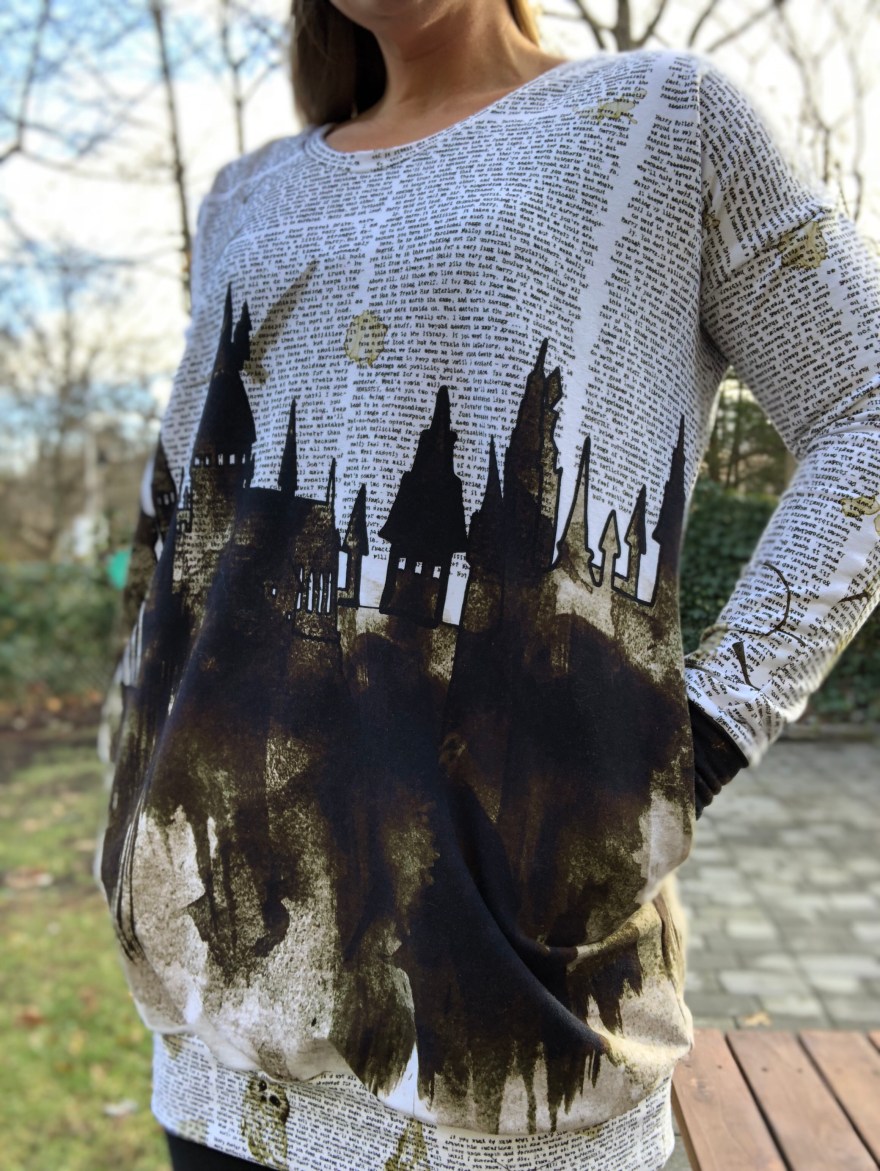
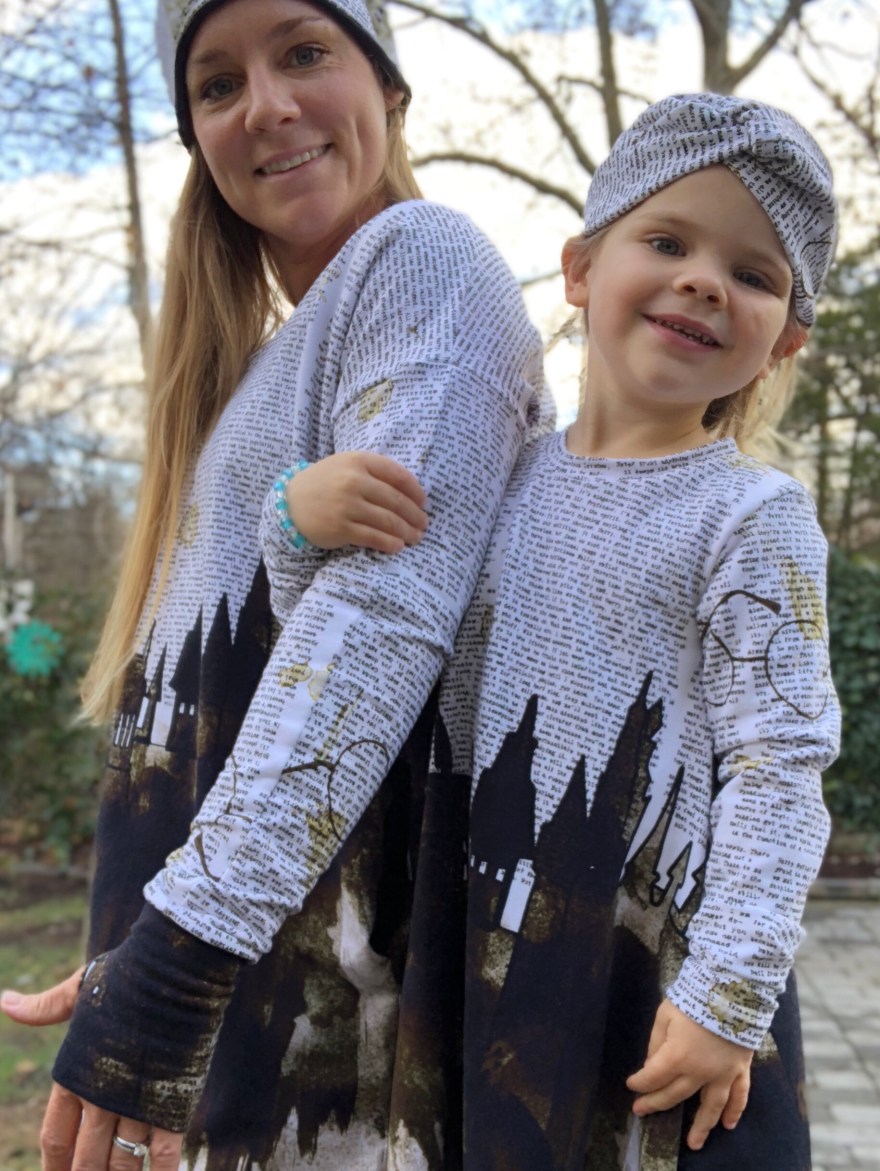
I made a matching twirly dress for my little miss…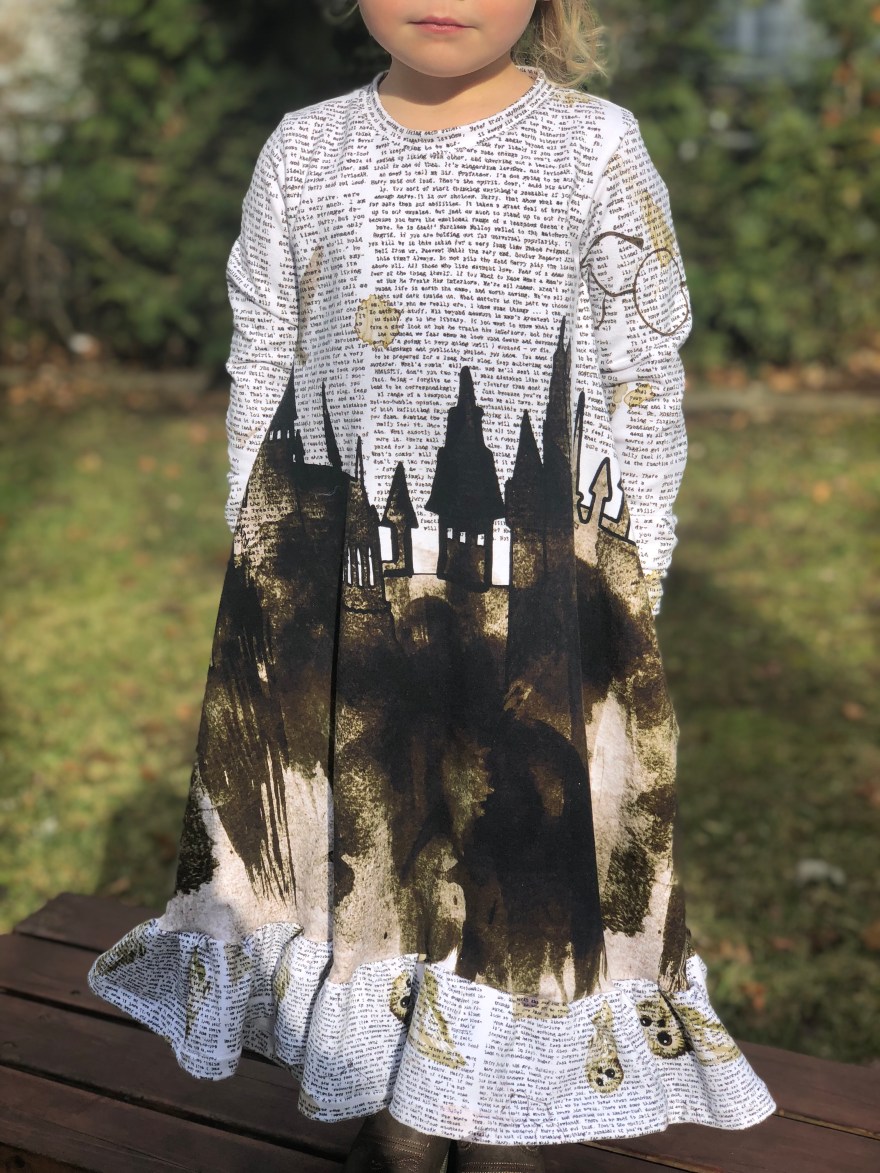
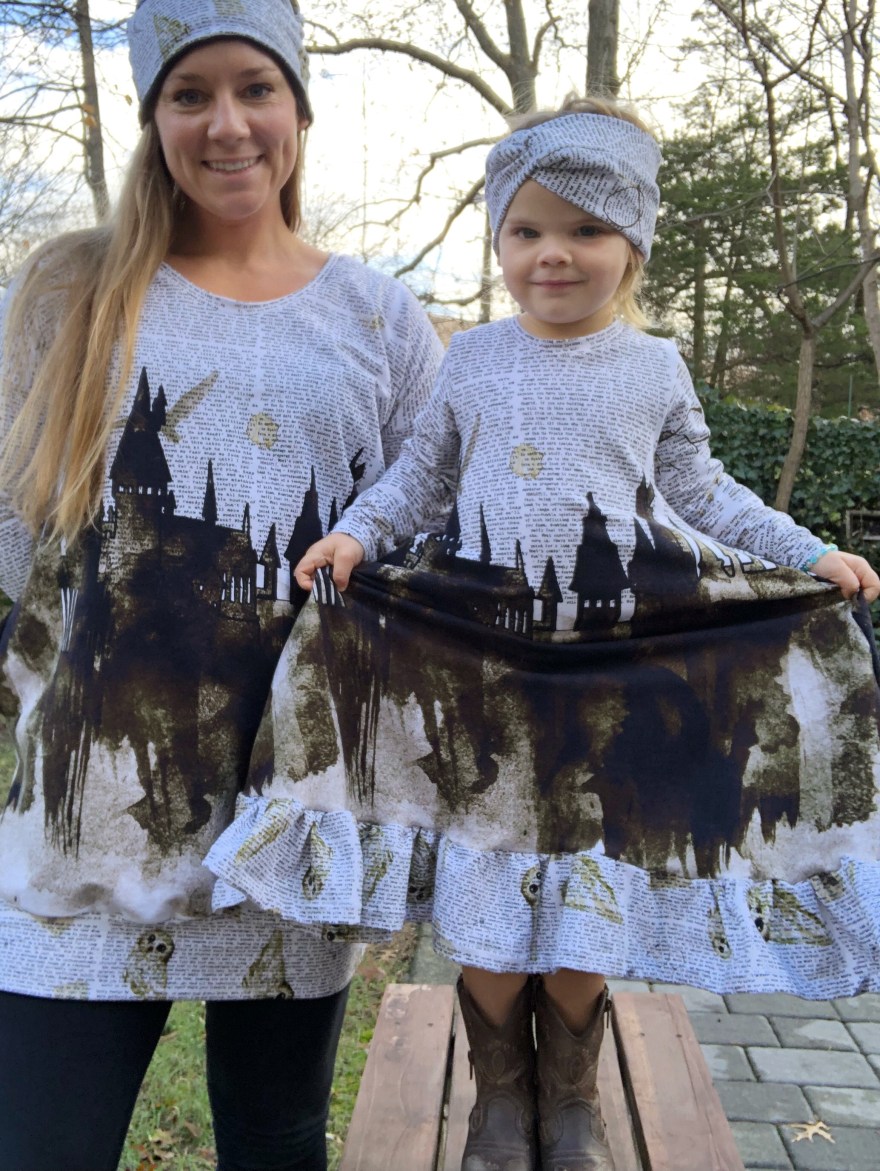
and some hats/headbands with the scraps.