
I mostly sew for me and my daughter (mostly because she’s so small I like using up all my scraps on her stuff). Occasionally I try sewing for hubby. But truth be told, he is SO picky its often more defeating then rewarding. And when I’m really being honest, I’ll also admit that he’s also taught me the most. Not because he knows anything about sewing but by pointing out what I need to learn, or how he likes things. The delivery of this feedback is always a work in progress though haha
His most favorite thing is a V-Neck shirt. Unfortunately there have only been two shirt patterns that I have found that he likes, neither of these are a V-Neck though. So, rather then trying 100 million more patterns I decided to alter the neck line of one of them. The pattern I chose to work with is the Mens Henley by P4P.

*** fabric used for this sweater is a wool/bamboo/lycra blend from Fabric Mart. They have great affordable fabrics there, but you need to be very careful when ordering. Make sure to read the full description for each fabric.
I started with the basic version of this pattern, only changing the neckline. The first thing I did was change the cut in the front of the shirt. I usually just fold patterns when I am trying to alter them rather then cutting the actual pattern or retracing it. #lazy #ifitworksworkit I folded the pattern so it came to a point for the V Neck down to the size below his (so the neckline will be a little lower then a normal crew cut).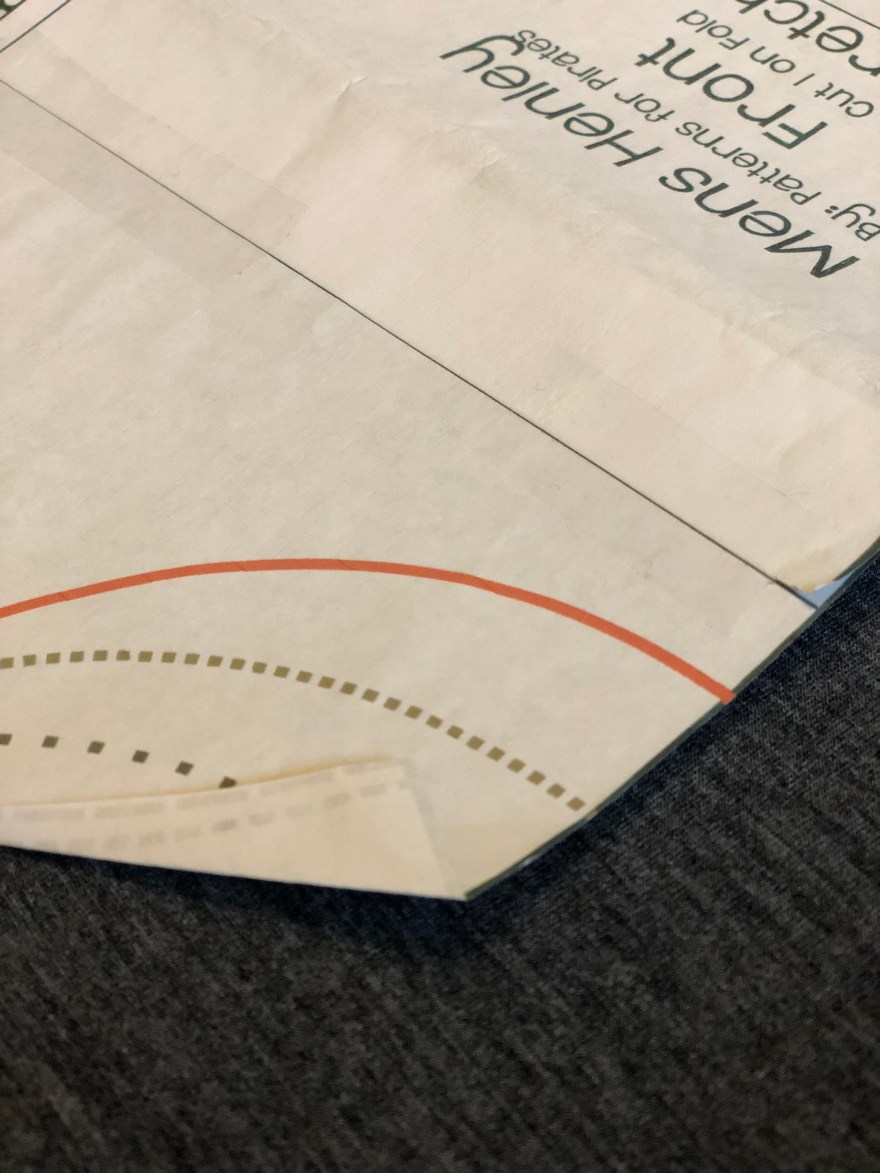
Then I constructed the shirt per usual all the way up to the last step of attaching the neckband.
Next I made my V Neck pattern piece. I actually used a separate piece of paper of this since its a different shape and size I found that easiest. I measured the neck opening and multiplied it by .85 to find out how long to make it, and I did 2 inch width. Then I cut a V onto the end (make a dot in the middle of your piece, 1 inch from the end and connect the dot to the two corners). Done! Now cut your V neck band.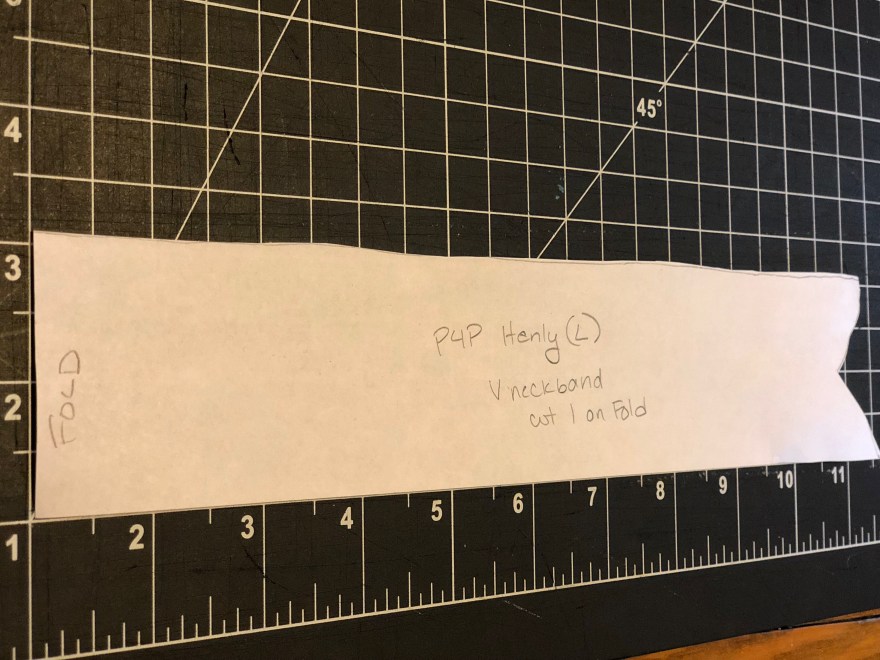
Now stitch with your regular sewing machine around the V (I use 1/4 seam allowance).
Iron your seam allowance open. This will help your V Neck lay flat.
Fold your V neck in half wrong sides together. Iron the seam. I never iron my neckbands like this except for when I do V Necks because it always seems like an extra unnecessary step, but when I do them for V necks its SO nice and makes me what to do it all the time!
Chop off a little bit at the end of the V point. This will give you a seam allowance when your attaching it and (hopefully) make your point nice and clean.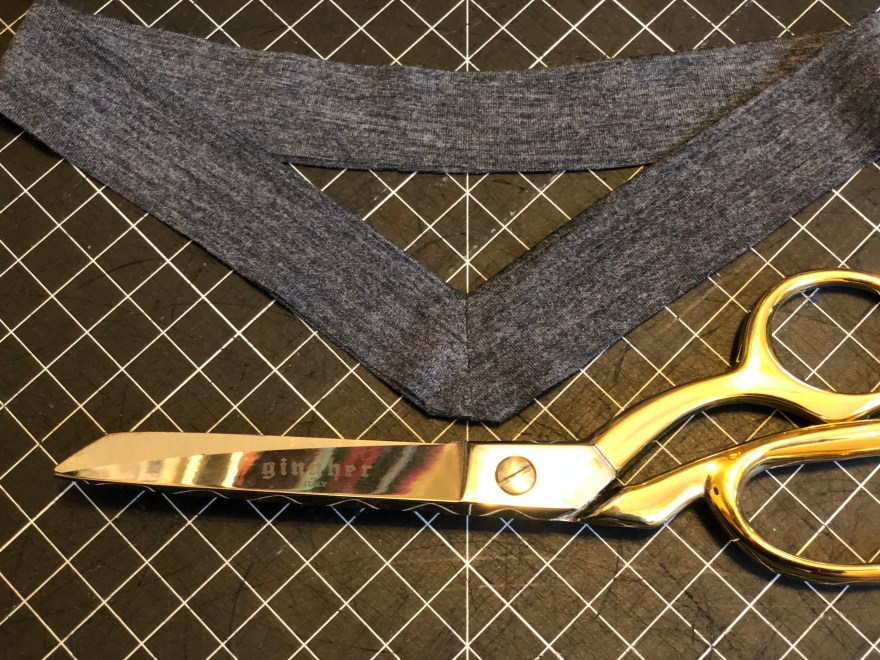
Clip about an inch away from your V point on either side. You will not stretch close to your V point, this will help it lay flat. Quarter the rest of band so it stretches evenly everywhere else.

Now attach your band to your shirt! If you look closely, you’ll notice my V isn’t perfect (yes husband will comment on this “area of improvement”) but truth be told unless you were really inspecting the garment no one would notice.
Now you can change any neckline you want into a V-Neck! Keeping on styling!

