

I didn’t change any of the actual pattern pieces I just changed the construction of it so I could adapt the pocket for the filter.
I did make the elastics a 1/2 in shorter then the directions for each size.

TIP: to save time cutting place fold both fabrics right sides together and place them on top of one another that way your cutting all the pieces of each mask at the same time. You will be cutting through four layers of fabric.

First sew the curved ends together for each set of fabrics.

Then open them up and place right sides together. Sew along the top (its the more curved side).


Then open this up and align one elastic along one edge. Place the elastic so its closer to the bottom of the first fabric and closer to the top of the second fabric. This way it spaces out the elastic on each side which will keep the pocket from gaping open either way you wear the mask.

Once your elastic is attached on one side, turn it towards the wrong side and top stitch it down.
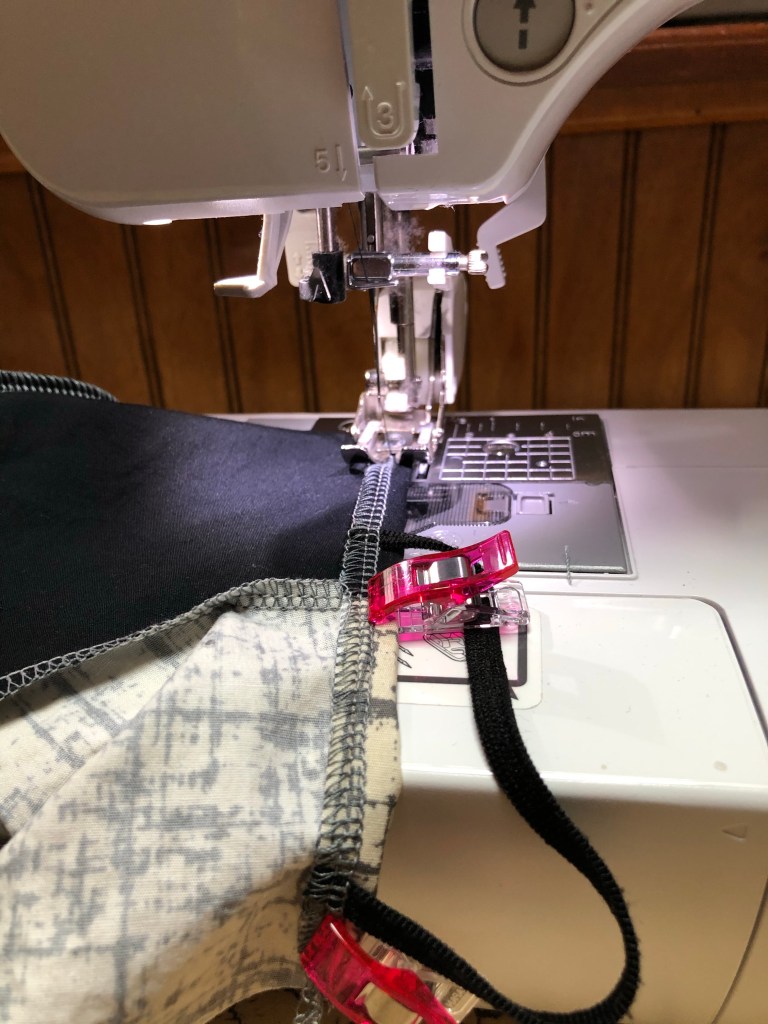
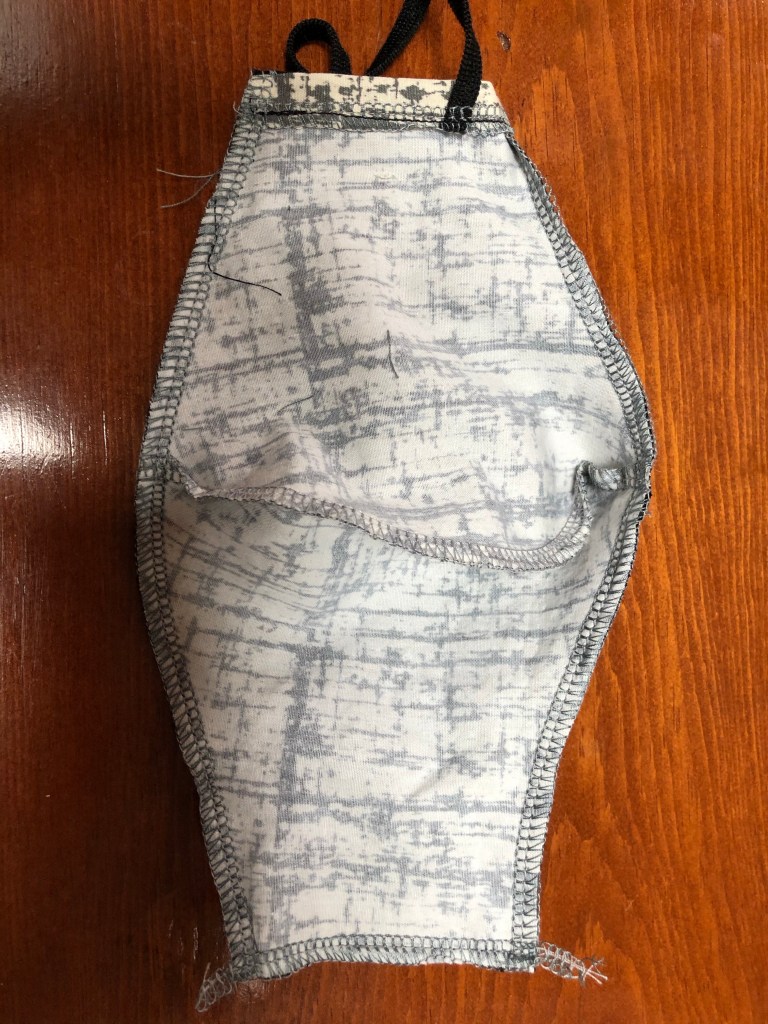
That side should look finished now.
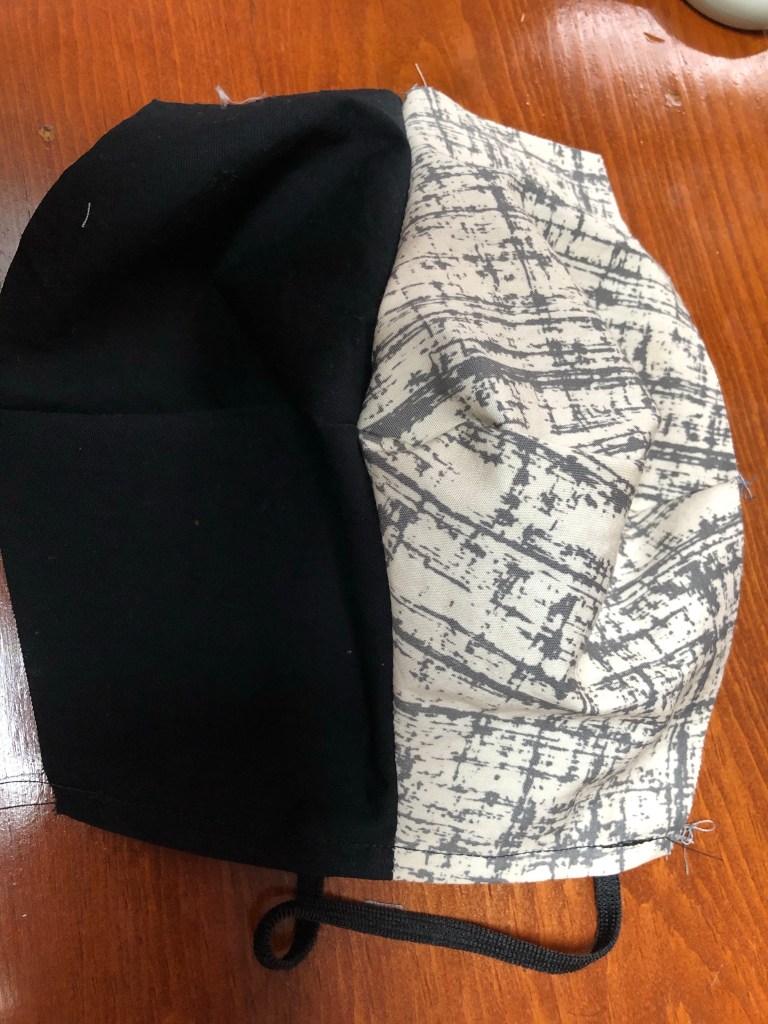
Now fold the mask right sides together and sew the bottom length of the mask.

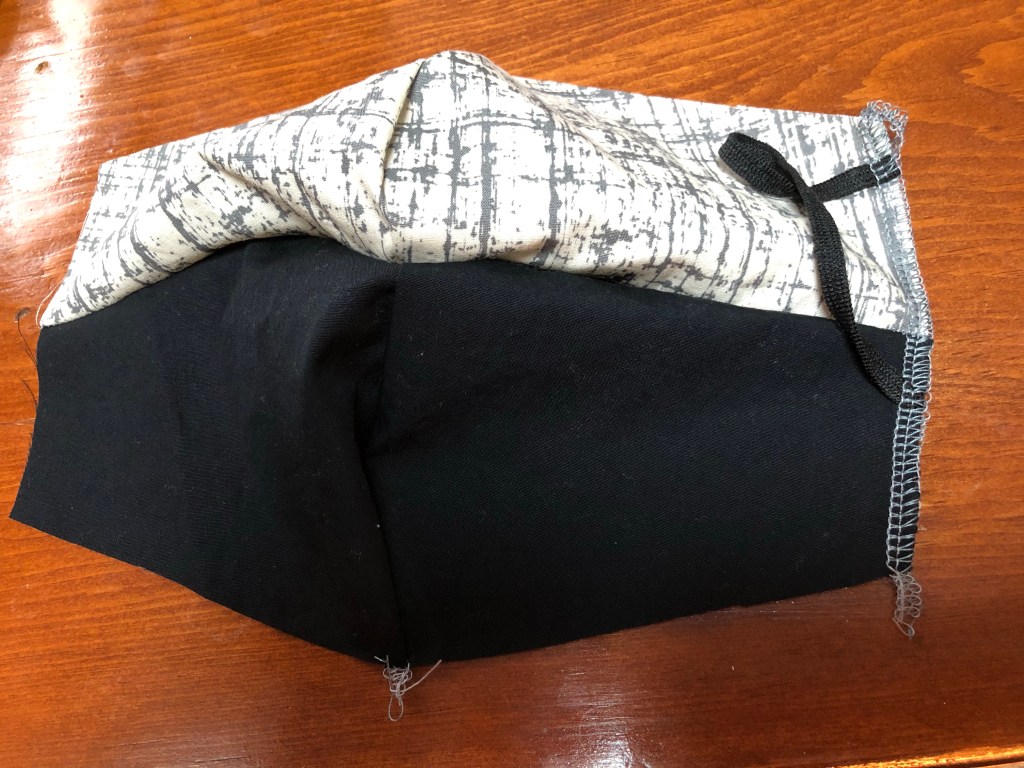
On your open side you will be putting the elastic inside – between the two fabrics – and stitching it closed. I placed the elastic ontop to show you what it will look like inside.
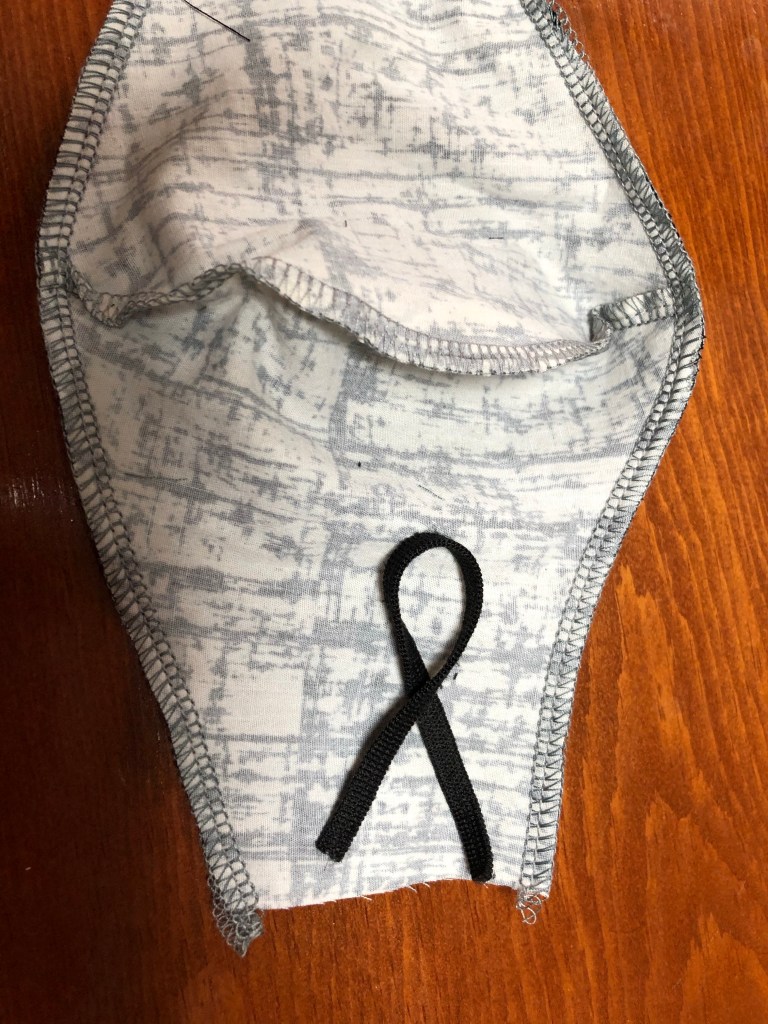
This is a picture of it inside before stitching.
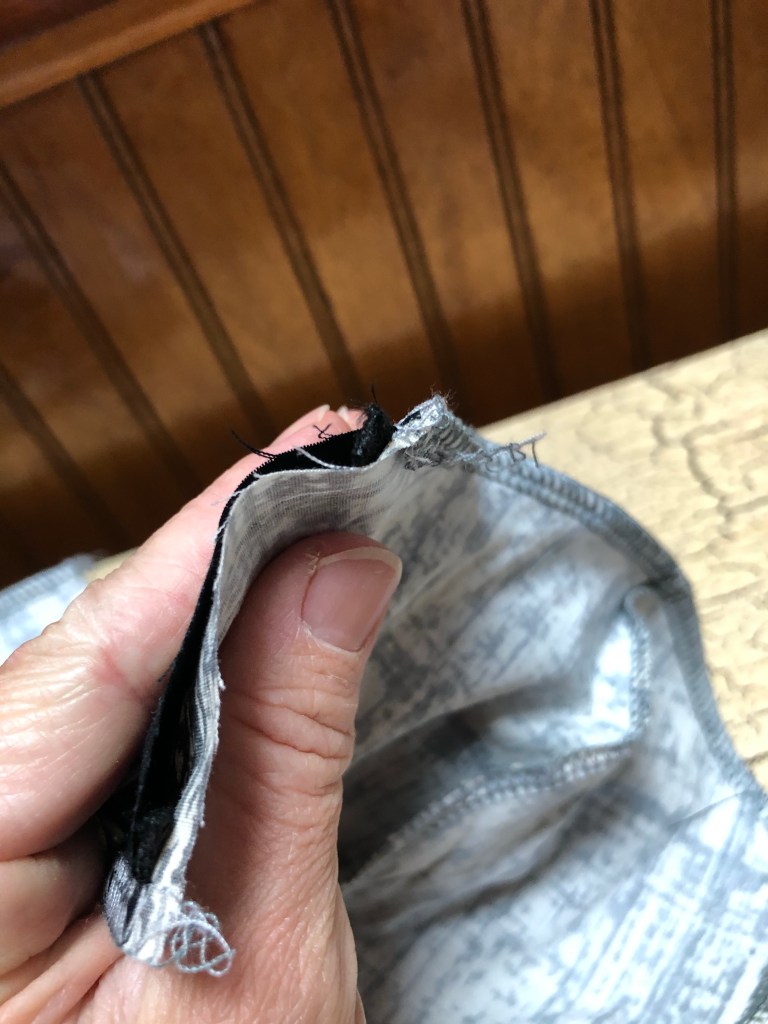
Last step is turning your mask right side out, push all the seems out so there isn’t any bunching then top stitch. Start at one opening by the filter and go all around your mask. Pick up your pressure foot when you get to the corners to make a nice clean corner.

BAM your all masked up! Now go make 100,000,000,000 more… just kidding, take care of yourself during these times, self care looks different for everyone, be sure your practicing yours.