Even though by this point you know how obsessed with Maxi dresses I am, I cant deny the need for nursing tank tops. These are great because they transition to under layers in the winter months as well as being a stand alone top in the summer (when I’m not in a maxi of course!). I’m still working on making my perfect basic nursing tank (yes of course I’ll post it once I have it perfected) for now I got a really fun one that can be worn during maternity and afterwards!
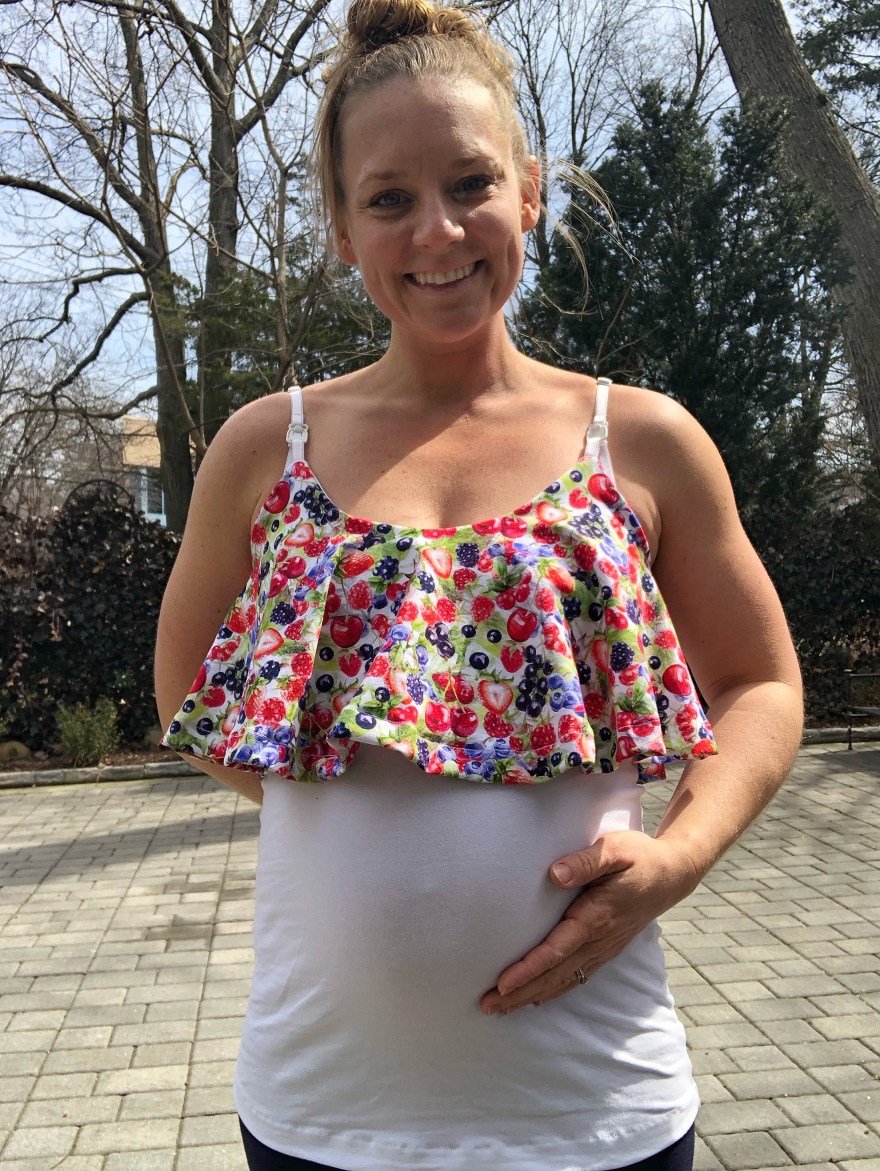
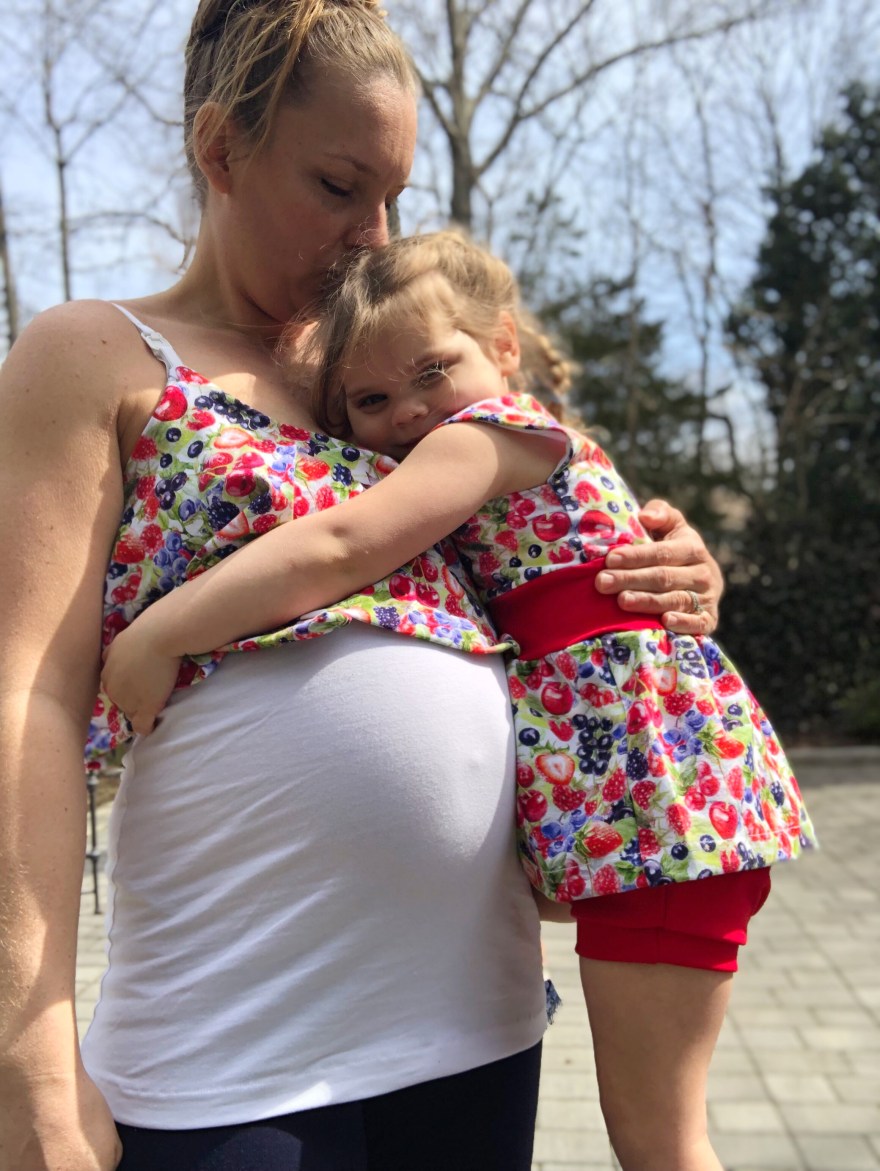
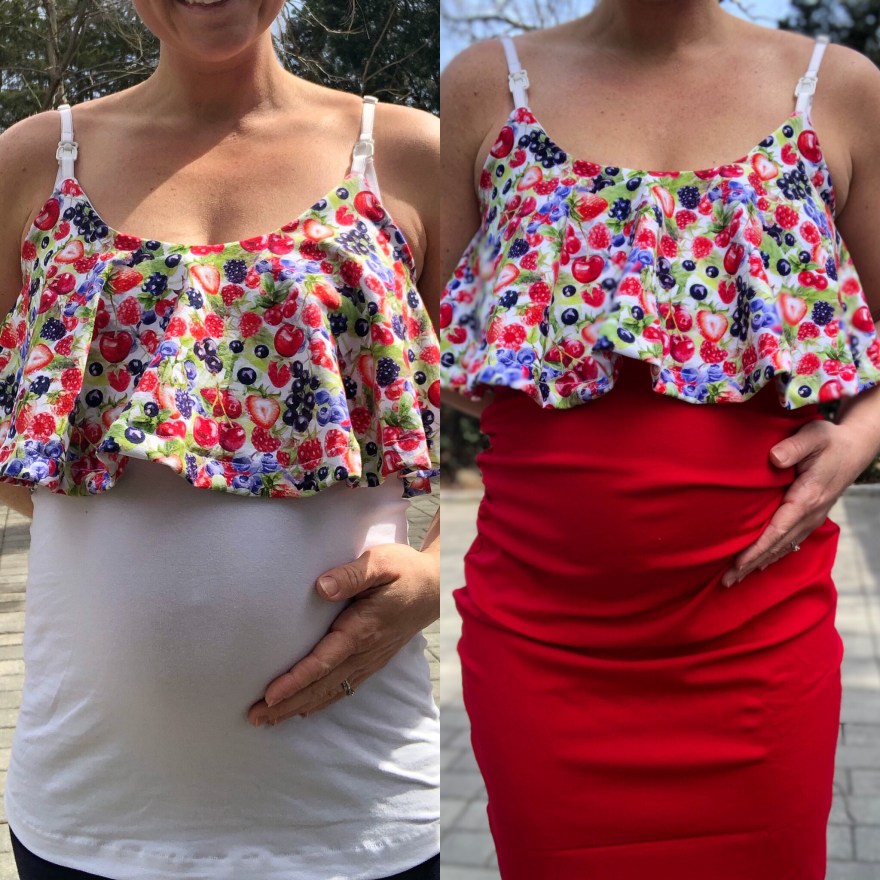
Even though this is a tank top it can be worn in maternity with the tank top pushed up under the flounce so its more like a crop top. When paired with a pencil skirt = perfection!
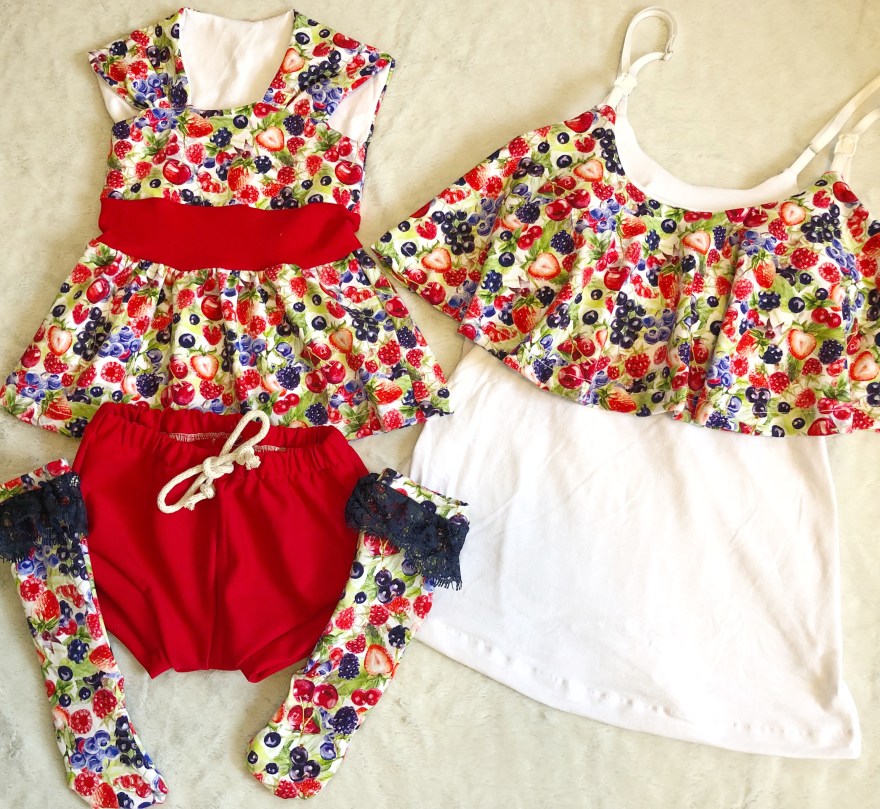
I had this awesome CL (cotton Lycra) Berries strike from Snowy Owl Fabrics that I feel in love with. Its got some great detailing on the print and vibrant yet vintage looking colors. I paired it with a scraps from a red Ponte I had in my stash. I knew I wanted to do something Mommy and Me. I love making more coordinating outfits rather then completely matching. This way I get to play with patters more and create more unique looks.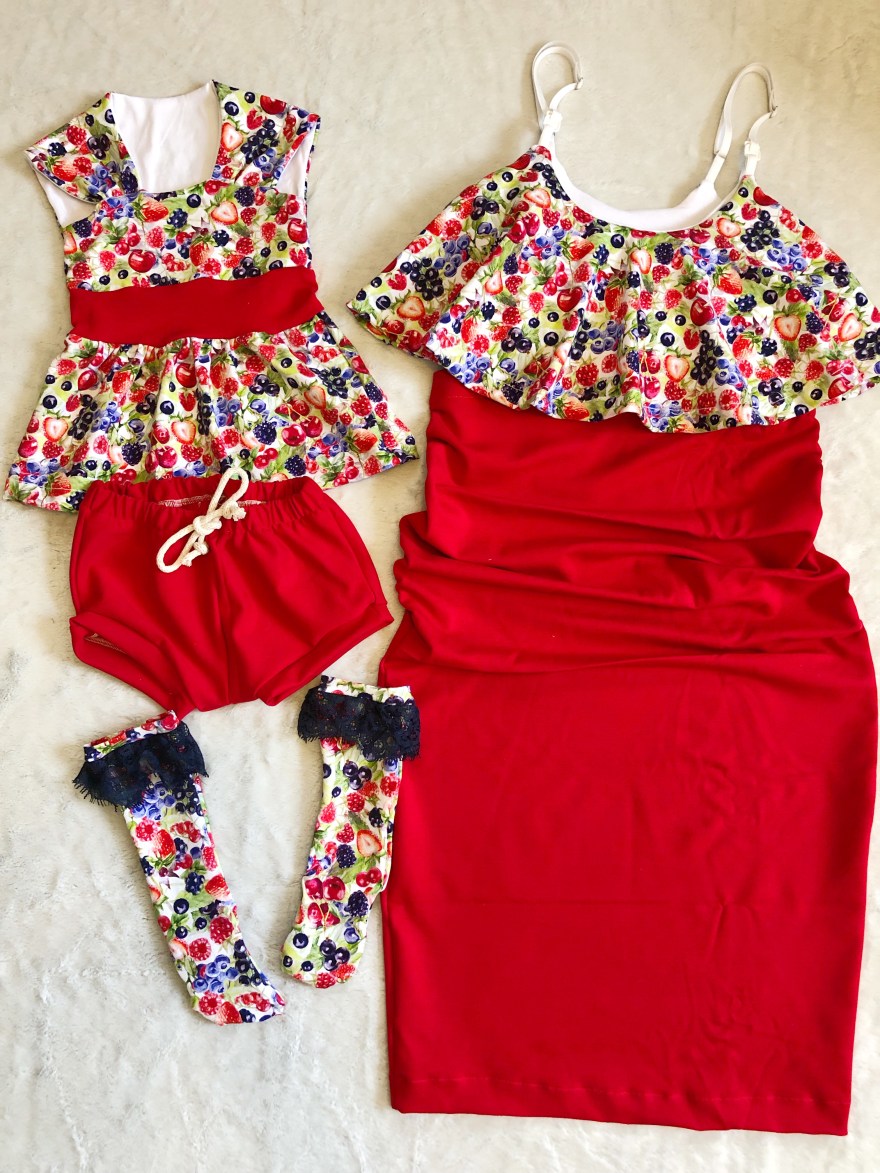
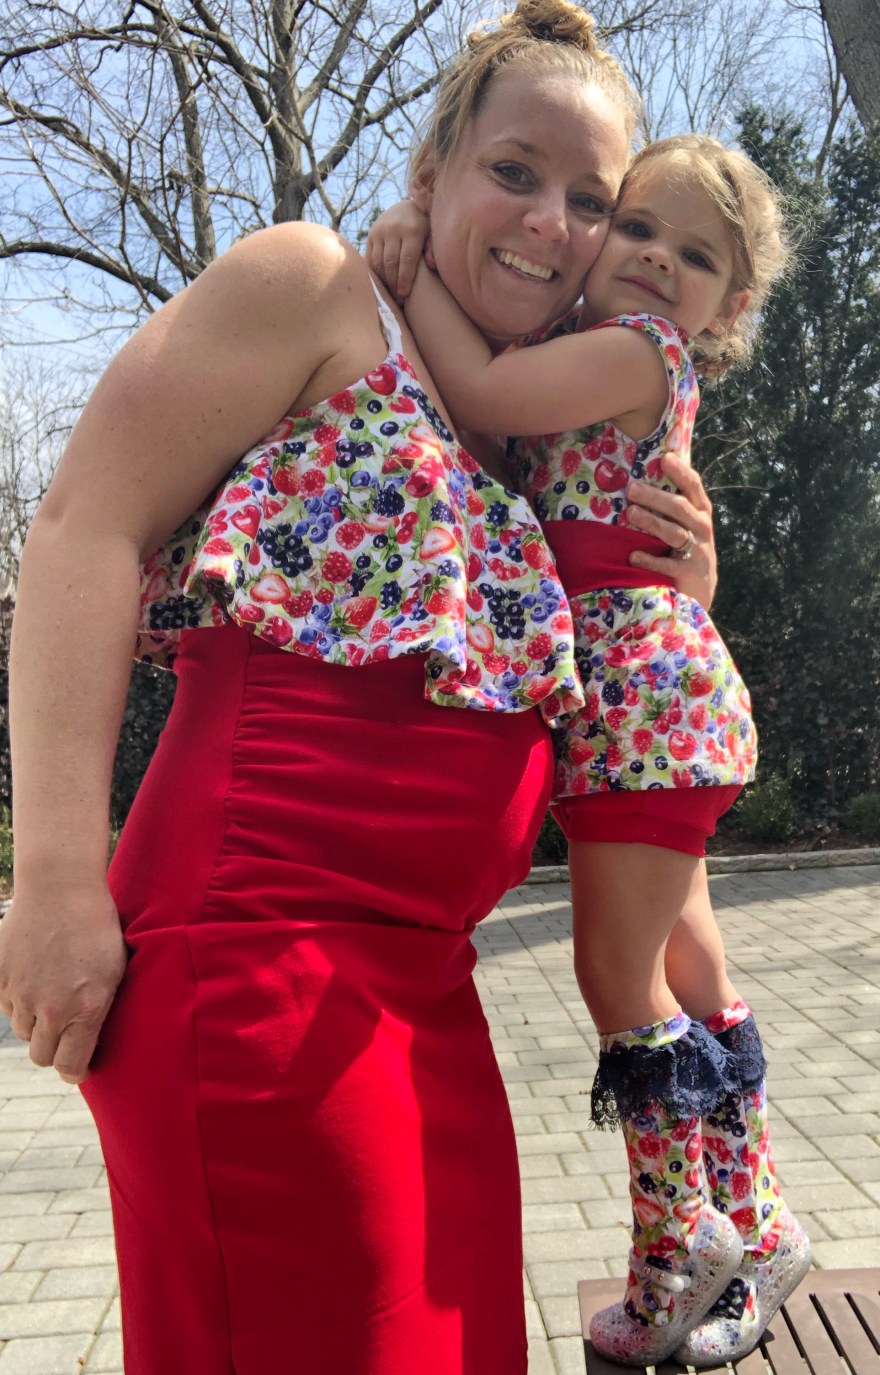
First, I’ll go through my Little’s outfit since there was very little modifying, just picking out the right patterns for the look I wanted. Her top is the Reverie from Goober Peas Designs. I shorted the skirt to 8″ and cut the bodice 2″ shorter too so its more like a top/tunic. Other then taking out the length I made the pattern according to the instructions. The shorts I made completely according to the instructions of Lowland Kids Shorties/Romper pattern. I added this clothesline string for a nice thick bow on the front. I think it gives it a more summer/casual shorts look. Lastly I used the M4M 90s sock pattern for the knee high socks, I just added some blue lace I had in my stash, but no other modifications. Fairly easy right!?
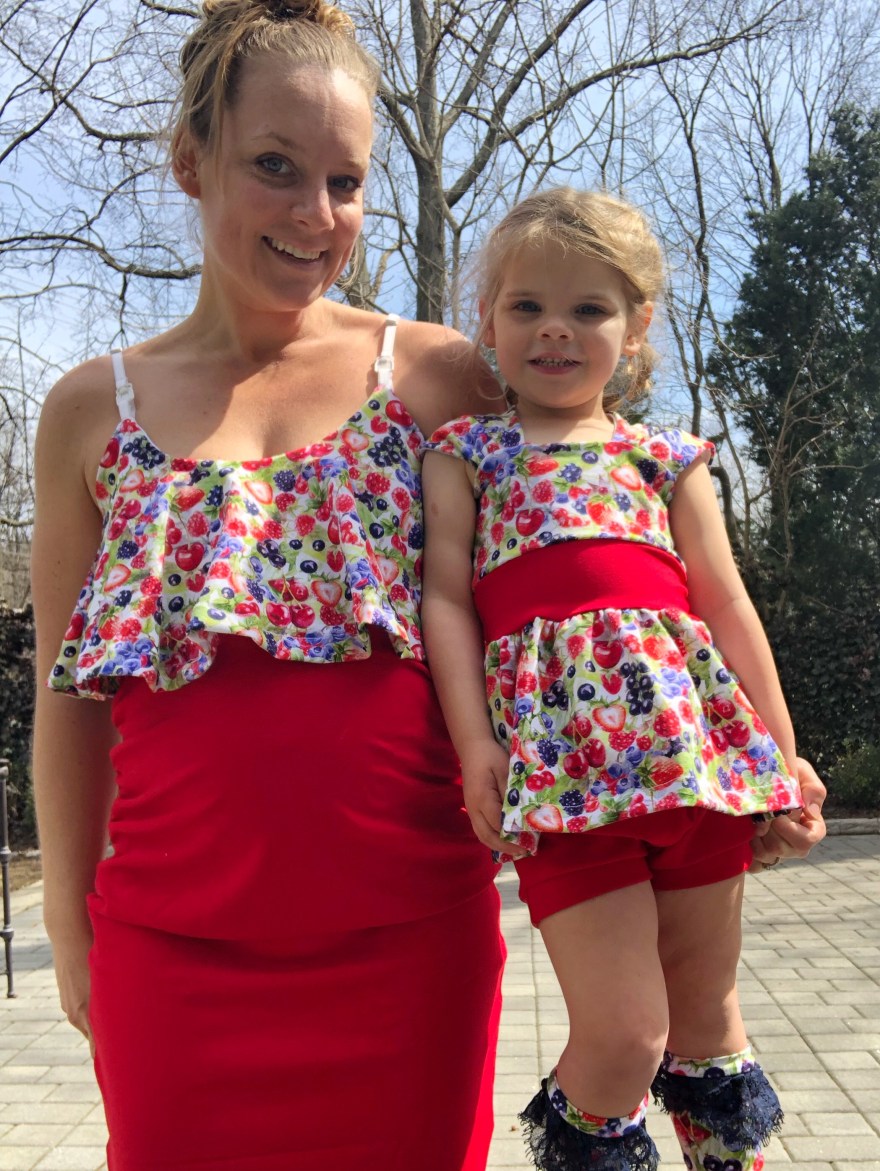
Now onto mama’s outfit! I had made the red Ponte pencil skirt using the free P4P pencil skirt in a previous post. You can see how I modified it for maternity here. The top is based on the Siren Swim Top by P4P. The flounce piece I cut and assembled according to the pattern.
I cut the lining according to the pattern pieces. The main outer fabric I altered. I used a body piece that I liked from another pattern and matched it with the front pieces of the Siren at the armcye. So this way it was a complete tank front.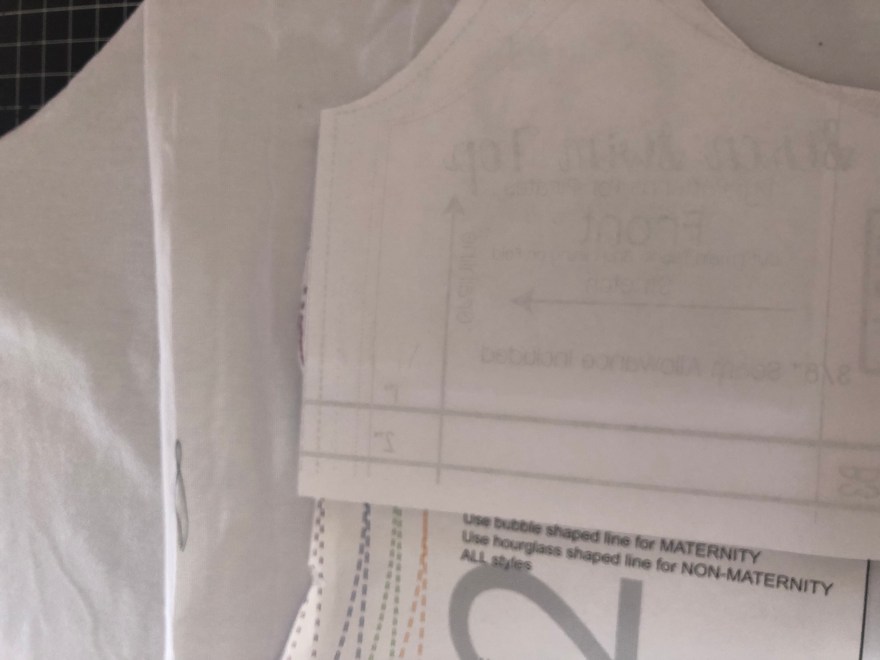
Sew the tank front side seams (similar to the pattern) all the way down. I also hemmed the bottom now too so there was less fabric to maneuver. Set aside for a moment while we make the nursing straps and lining.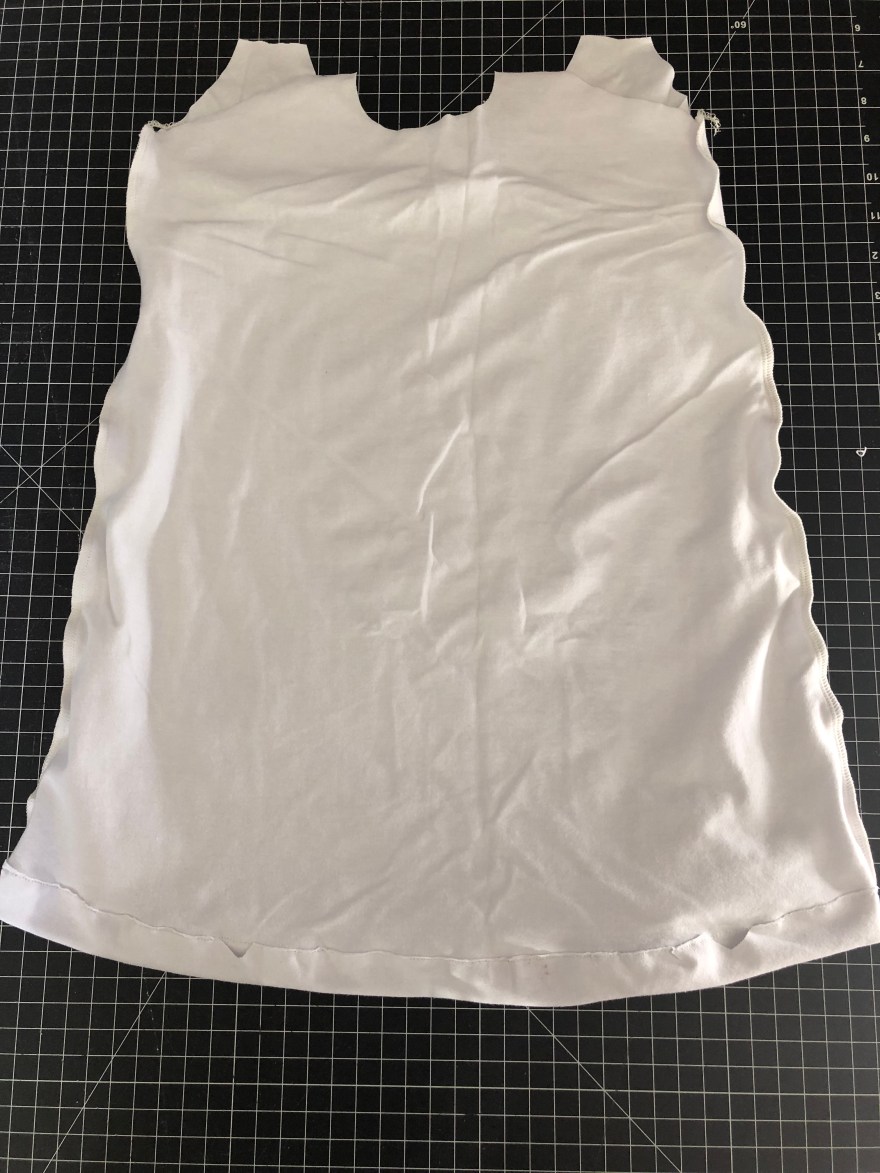
I highly recommend getting the right hardware for the straps. Since I’m making these during the pregnancy I’m aware that my boobs will likely change throughout the pregnancy and after the milk comes in. I really want these items to fit so I know that I need to have flexibility in the straps to adjust them accordingly. This led me to investing in the right products. I am SO glad I did too, I’m putting my time and energy into making these garments and I want to use them!! I got all my bra supplies from Phee Fabrics. The quality is amazing and I got most of it in bulk so it was cheaper (I also wasn’t sure how much I would be making mistakes on and wanted to have enough on hand). I got Sliders & Rings (this allows the straps to adjust which is crucial in my book for having this transition from pregnancy to postpartum. I got nursing clips (obvious need for these). Lastly, the straps. I got sets in black, nude and white. You could prolly just pick one or two colors but I knew I wanted to make several items and I hate having the straps stand out, its like their screaming “I’m nursing clothes”. But thats just personal preference.
For assembling the hardware onto the straps I watched this UTUBE video which I found to be extremely helpful, its also quick and to the point which I totally appreciate. Then to add the nursing clips I cut 2 strips that were the length of the front lining (this will hold the straps in place when unclipped), 2 strips that were 2.5″ long (this will hold the nursing clip to the main fabric), and lastly 2 strips that were 3″ long (this will attach the rings to the back).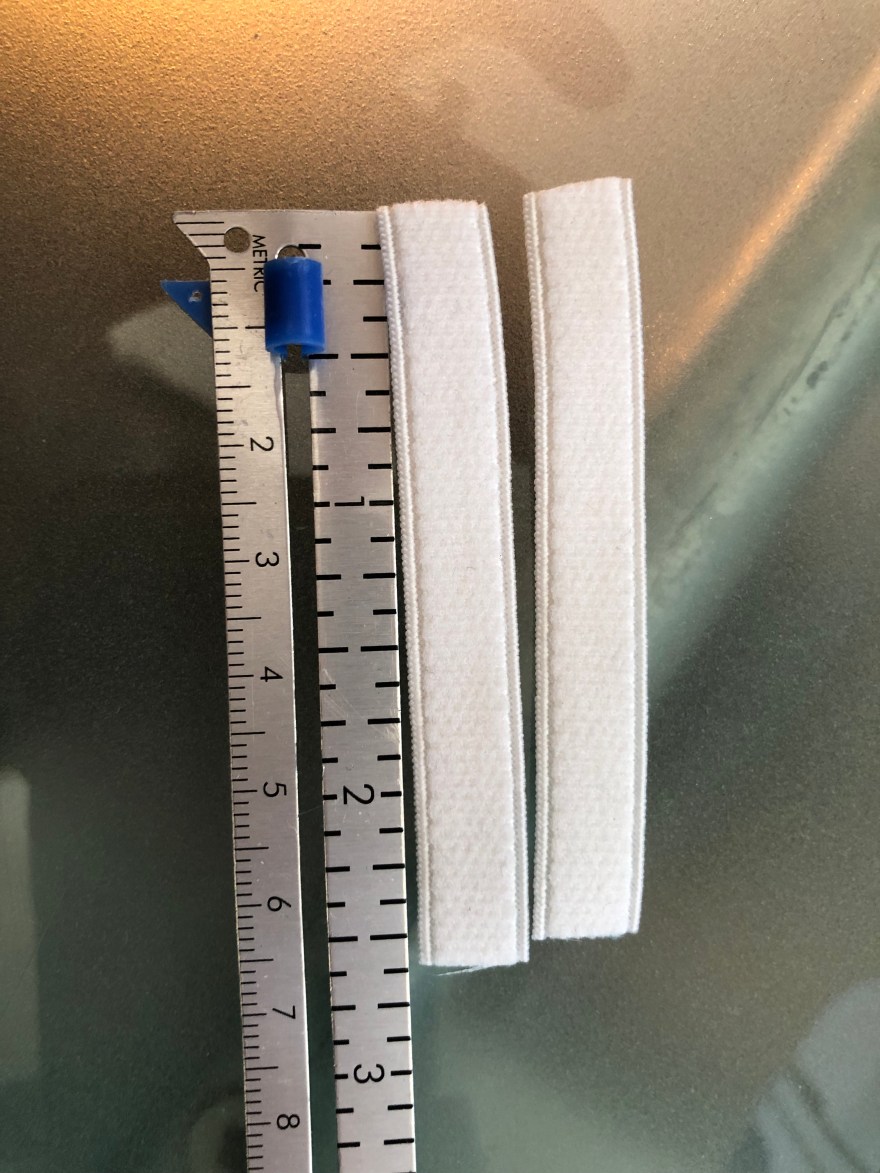
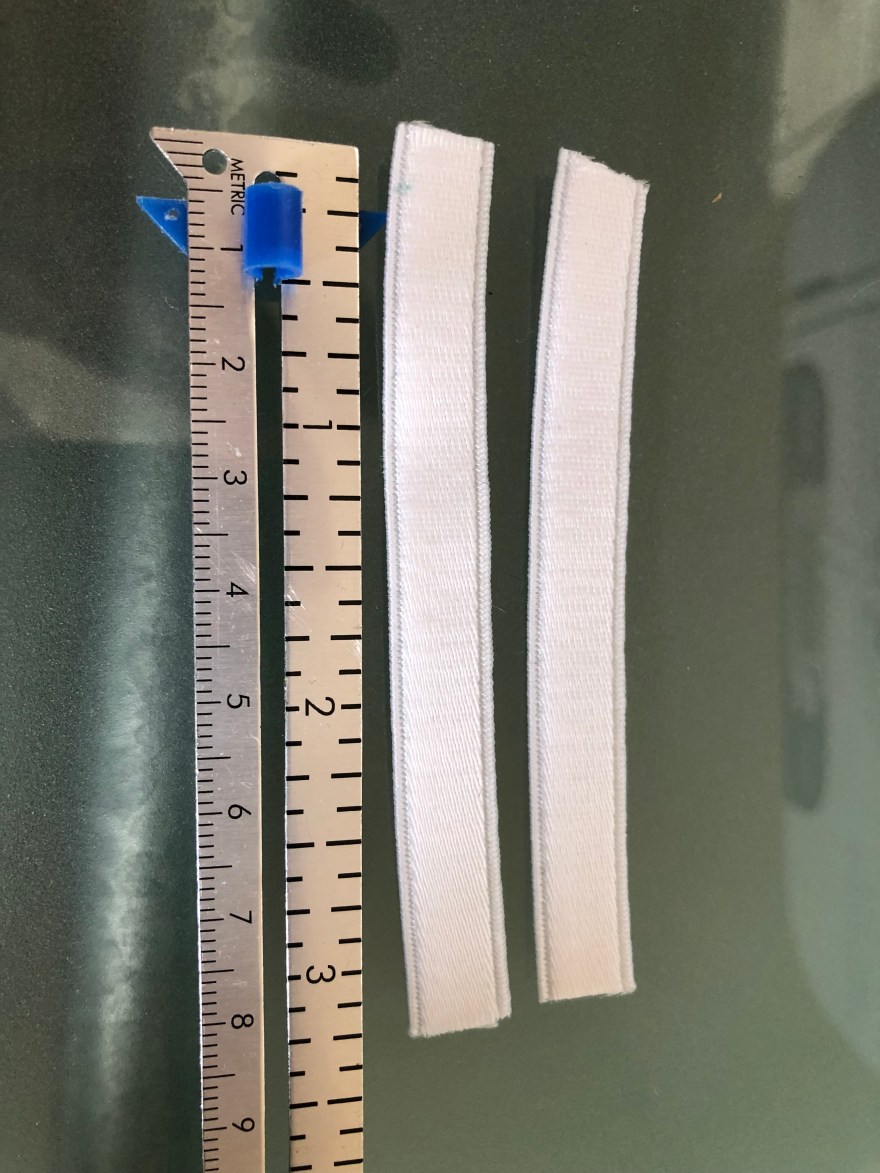
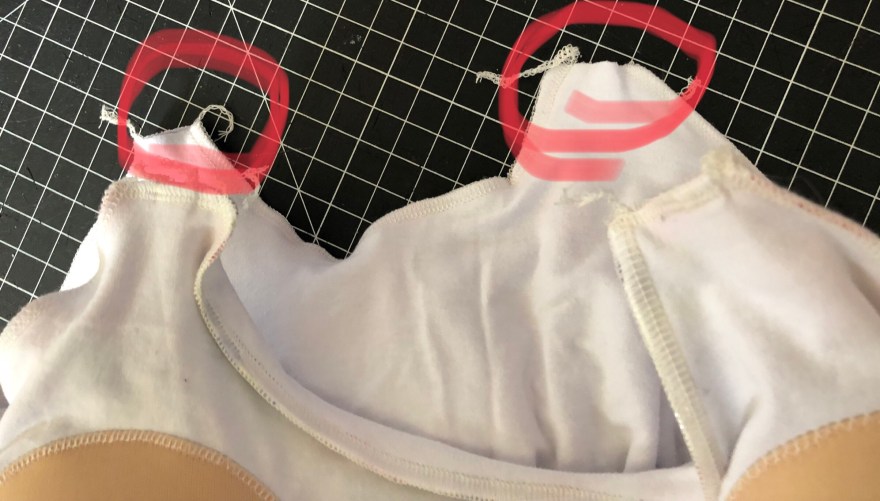
Thread the 2.5″ strips into the bottom of the nursing clips, fold in half and sew it together. Thread the 3″ strips into the rings, fold in half and sew together. Once each strap is assembled it should look like this. Now place it aside briefly while we work on the lining.
I made my lining according to the pattern. I like using foam cups for extra support (and nipple/nursing pad protection). For tips and tricks (and where I like to buy them) for sewing in foam bra cups see my previous post here.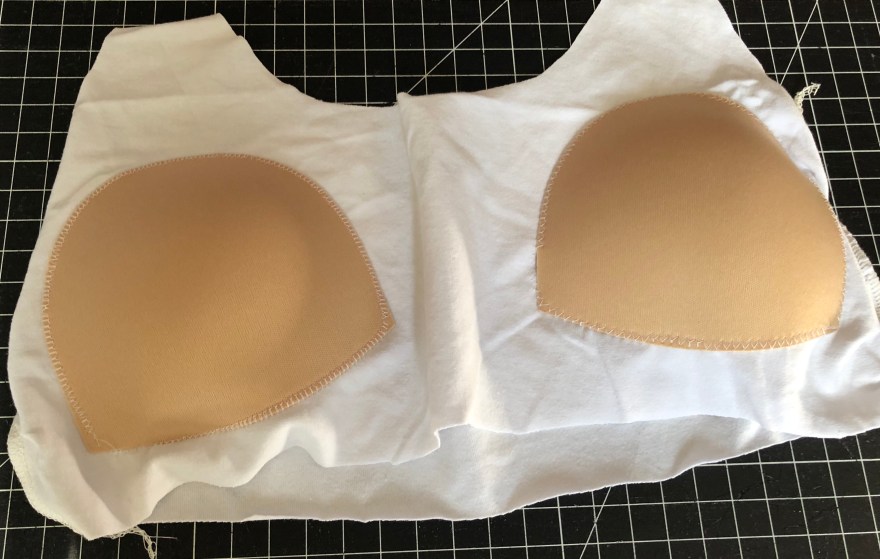
Then cut the band and elastic for the band according to the directions. I like to sew my elastic to the band so that it doesn’t flip when I’m putting it on. I place it slightly off center and use a zigzag stitch down the whole way. Then I sew the side seams together creating one continuous circle.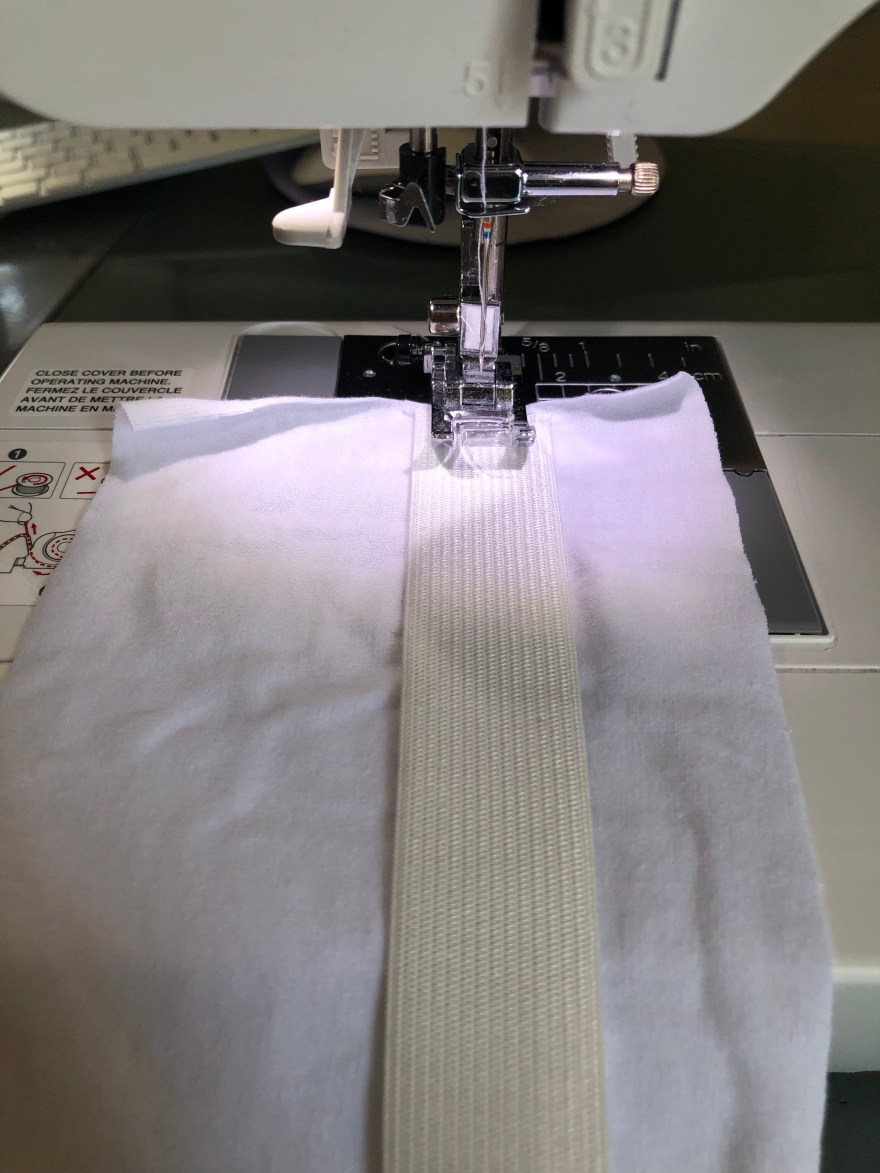
Attach the band to just the lining. Don’t forget to put in the nursing straps in-between the band and lining.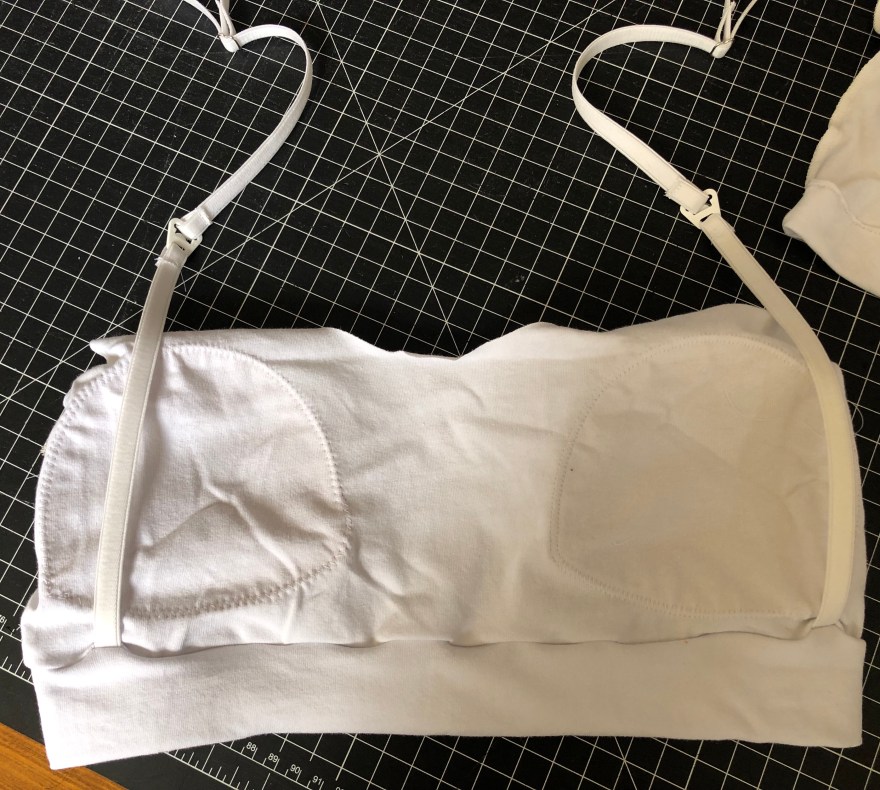
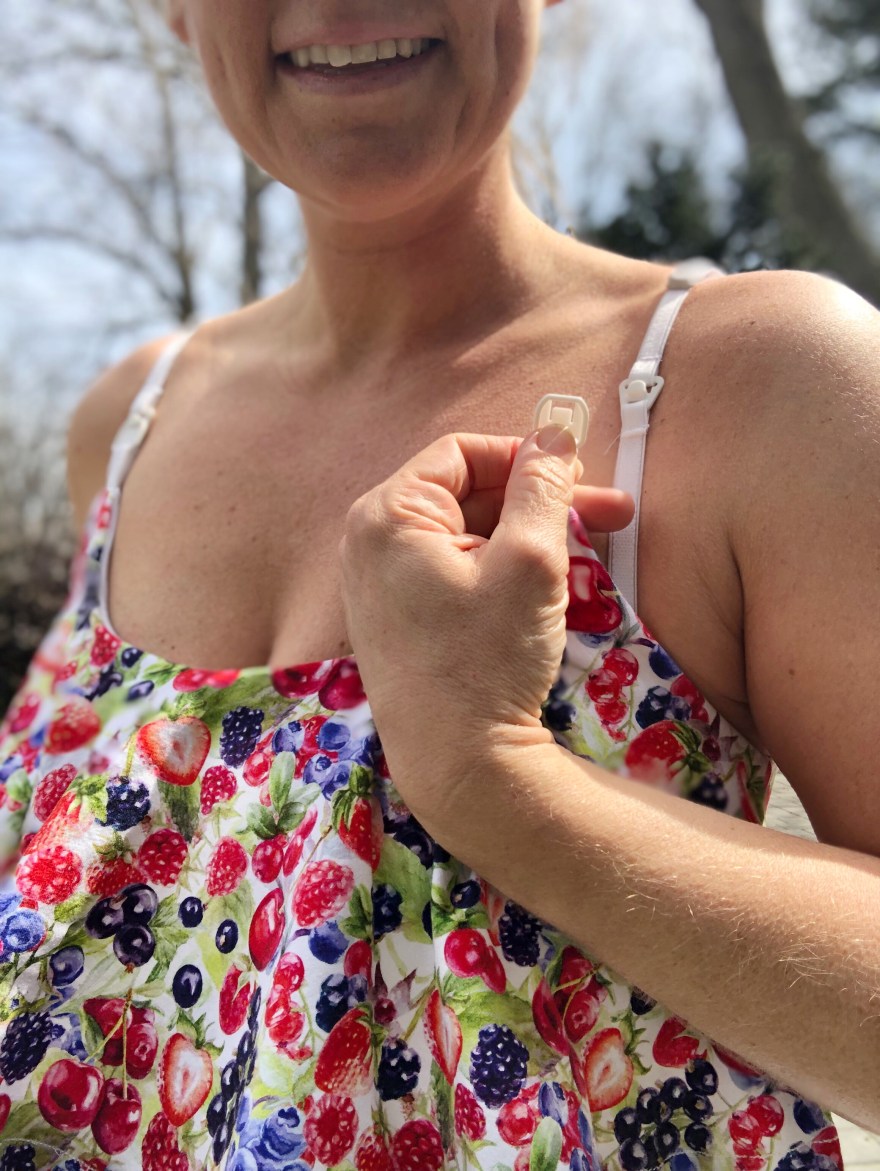
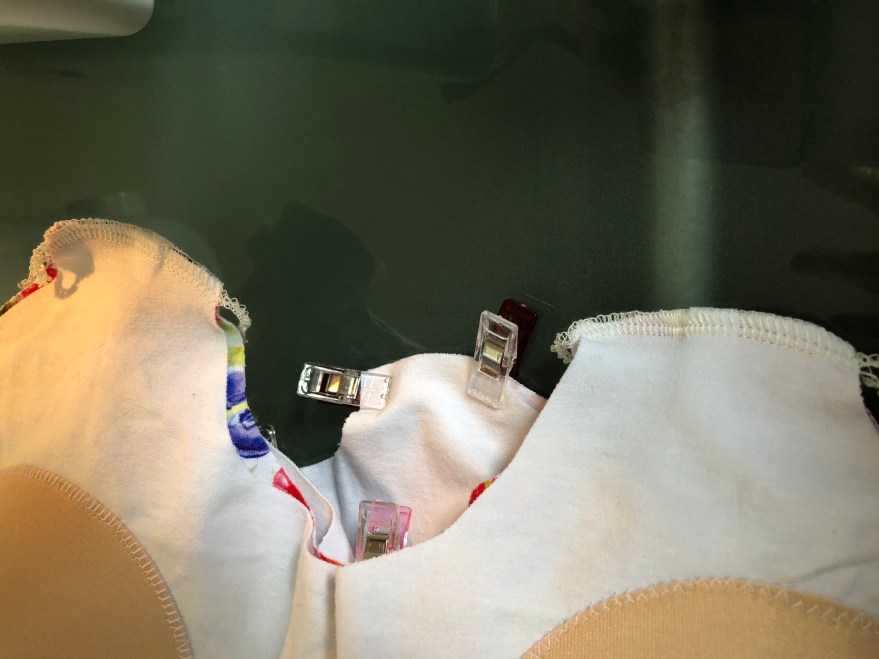
Now attach the lining, flounce, and main according to the pattern – mostly. Add the front bra clips (facing downwards, I took a picture of them outside to show you, but place it in-between the lining and flounce). I like to sew these front straps first before going around the rest of the top. Don’t sew the back bra strap piece yet!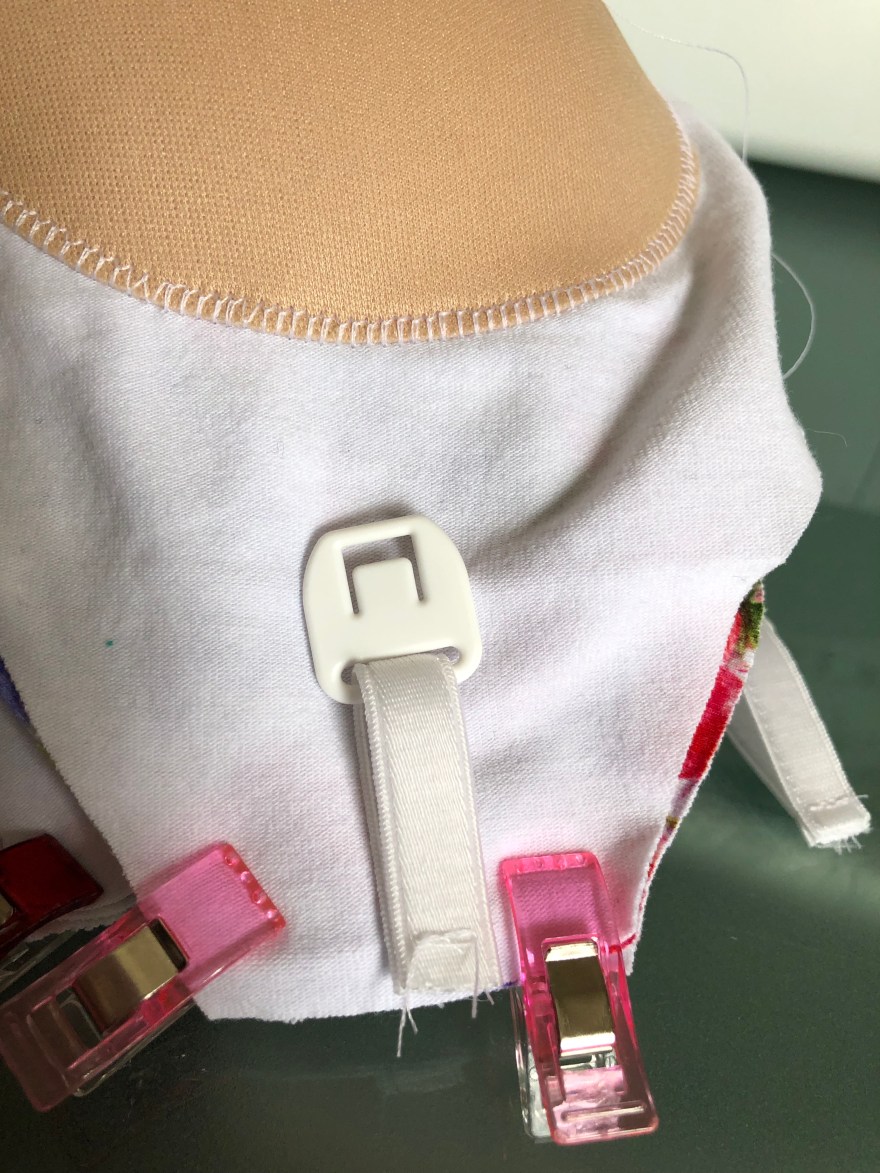

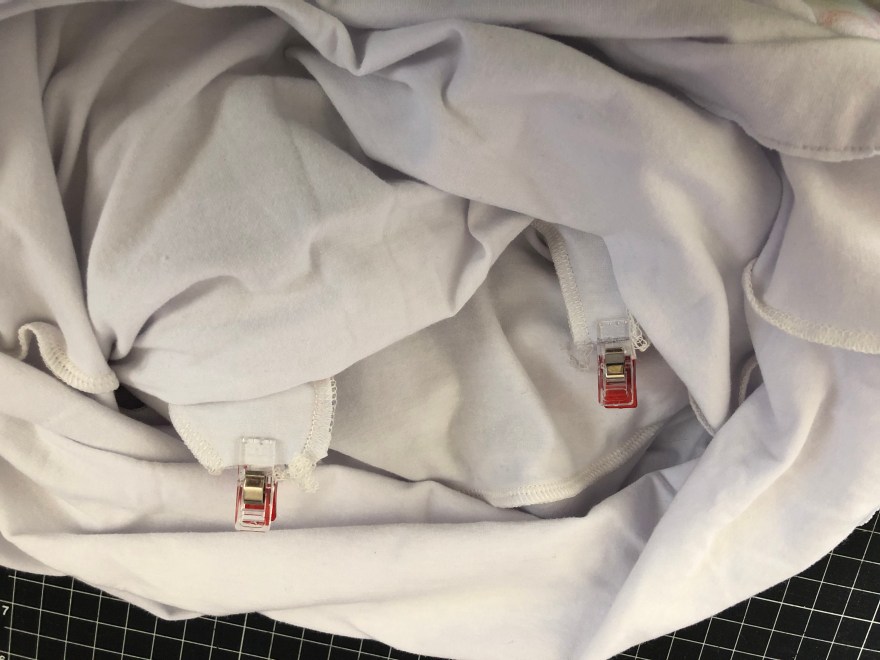
I think its easier to make sure that the strap doesn’t get twisted if you turn it all right side out and then thread it through the hole. Then lift up the tank part (so its wrong side out again) and sew once your certain that the straps are straight.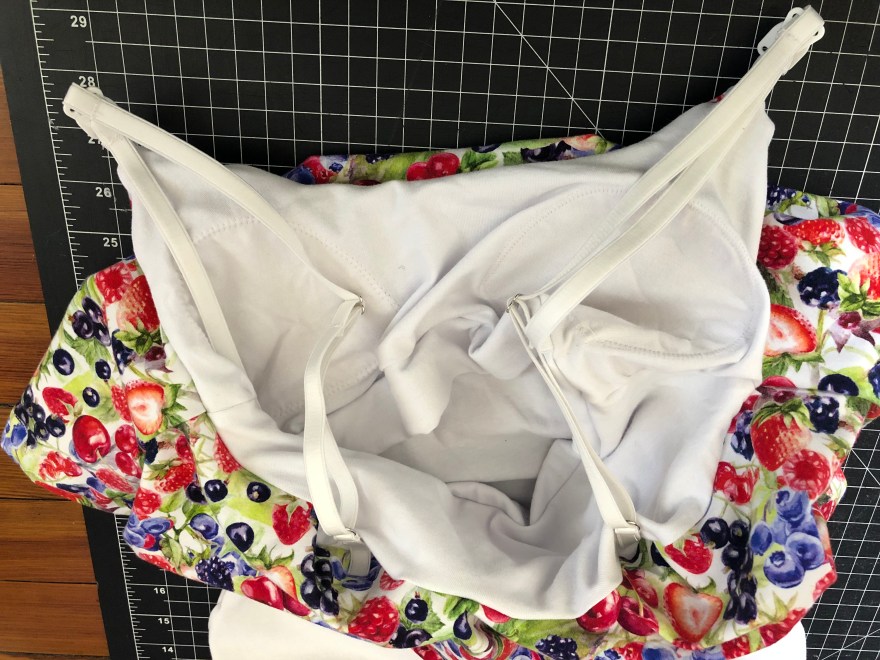
Viola! Your done!! Super cute flounce nursing tank that can be worn as a crop for maternity.